Tilt sensors, also known as inclinometer sensors, are devices frequently used for measuring the tilt in multiple axes of a reference plane. In the realm of Arduino, these sensors can add a new dimension to your projects, enhancing their functionality and responsiveness. This guide will walk you through the process of integrating tilt sensors with your Arduino setup, presenting the necessary steps in a clear, easy-to-follow manner. Whether you’re a seasoned Arduino enthusiast or a curious beginner, you’ll find value and practical insights in this guide.
Understanding Tilt Sensors on Arduino
These sensors work by detecting the change in position of a small metal ball inside the sensor. When the sensor is tilted, the ball rolls to make contact with two conductive plates, completing a circuit and sending a signal to the microcontroller.
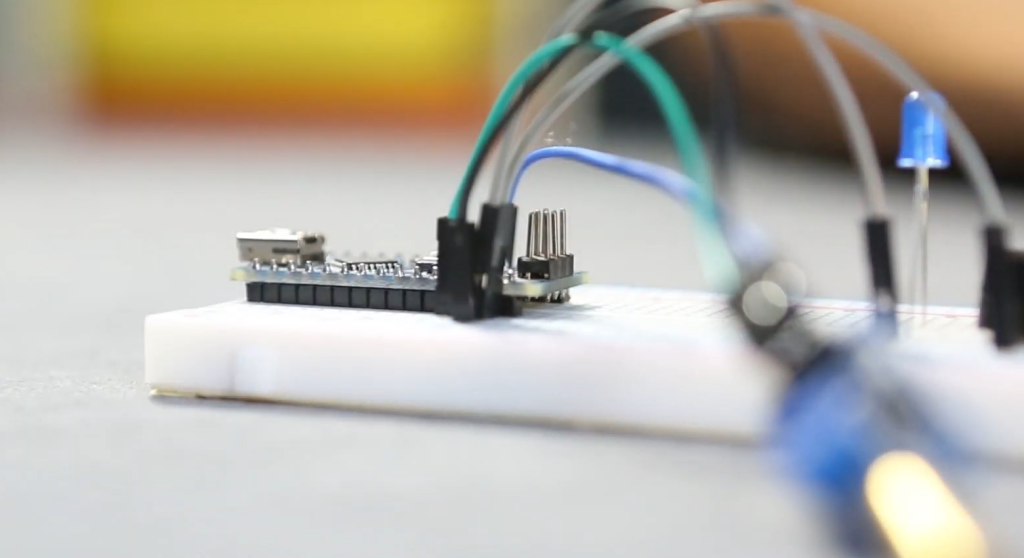
In this guide, we will discuss how to use tilt sensors on an Arduino board. We will cover the basics of tilt sensor operation, necessary components for using tilt sensors on Arduino, and provide example projects for you to try out.
Tilt Sensor Basics
Before diving into using tilt sensors with Arduino, it is important to understand how these sensors work. Tilt sensors come in various forms, such as mercury switches and ball rolling sensors. However, the basic principle remains the same – when tilted, a conducting object inside the sensor moves to make contact with two conductive plates.
This movement of the conducting object completes an electrical circuit, allowing current to flow through and triggering a response from the connected microcontroller. Tilt sensors are highly sensitive and can detect even the slightest change in orientation. [1]
Necessary Components
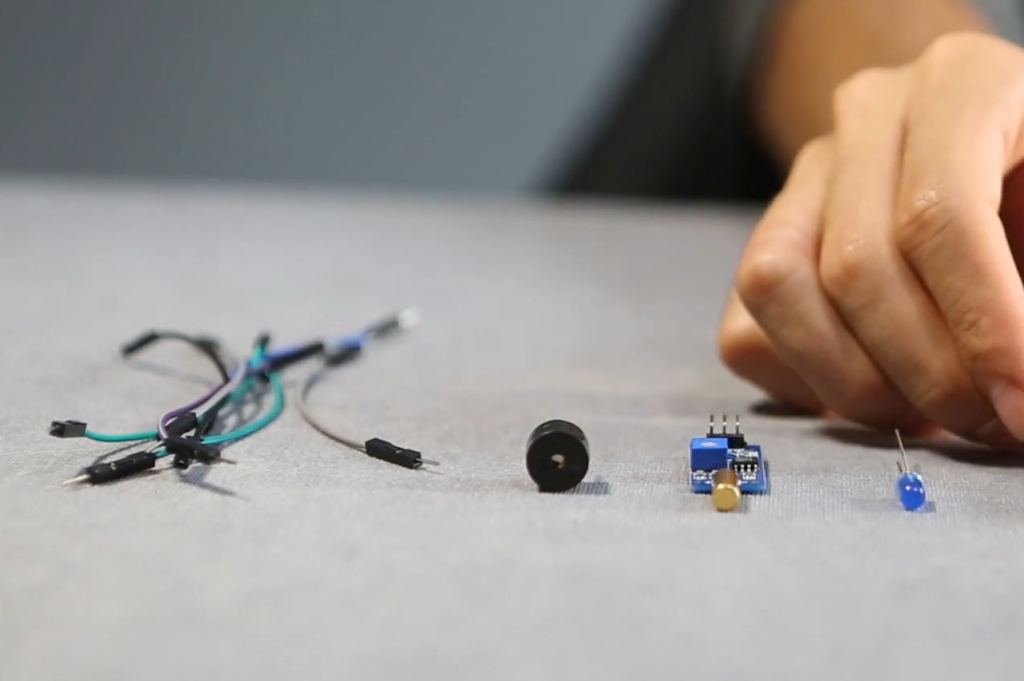
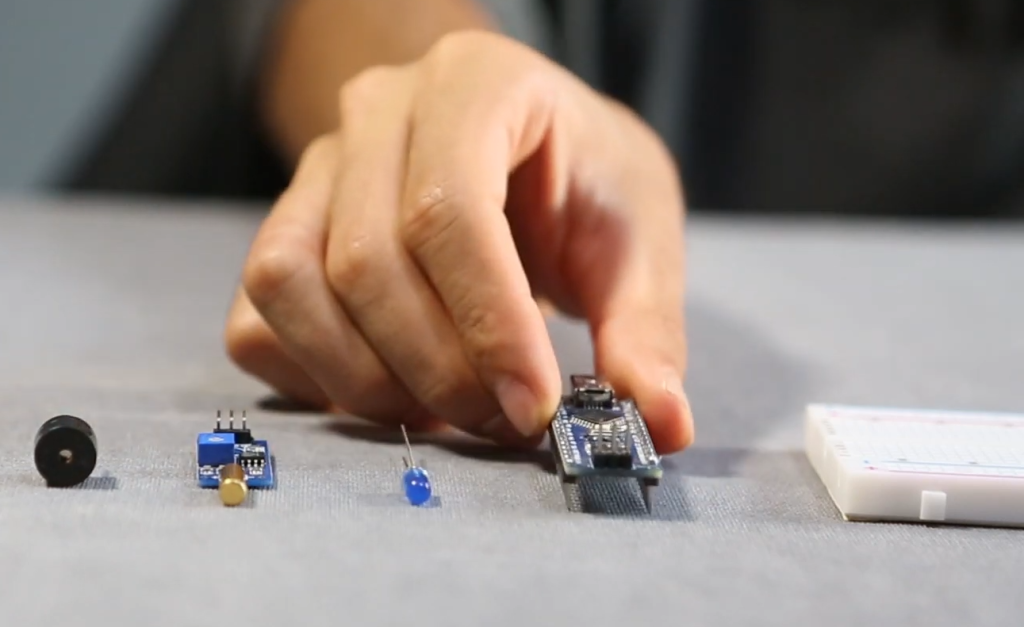
To use tilt sensors on Arduino, you will need the following components:
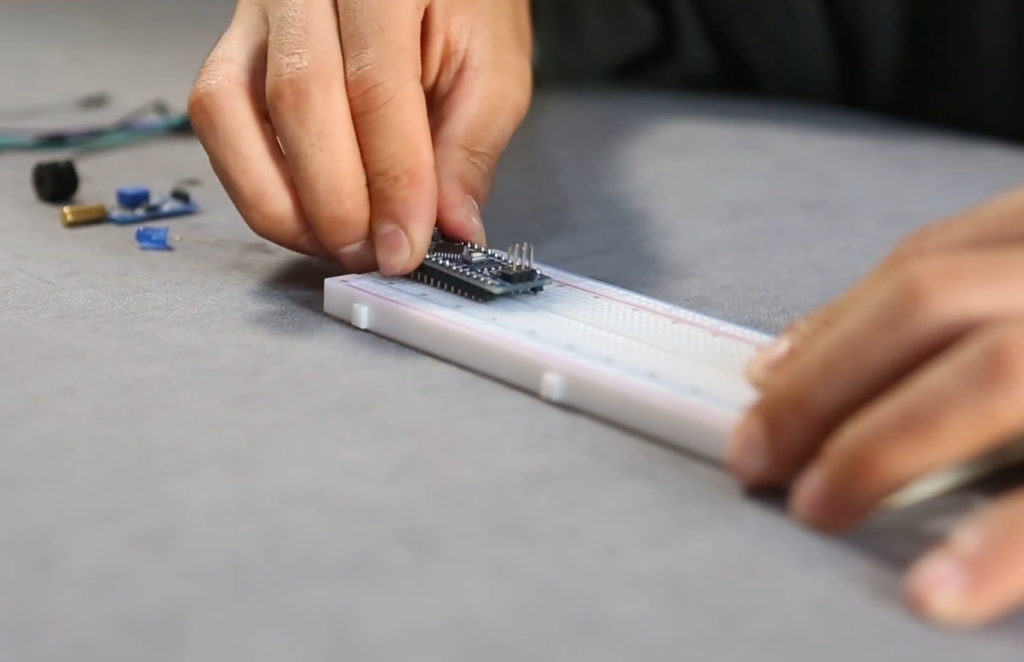
- An Arduino board (such as an UNO or Nano)
- A tilt sensor module
- Jumper wires
- Breadboard (optional)
The tilt sensor module typically comes with a built-in voltage regulator and outputs a digital signal, making it easy to use with the Arduino board. If you are using a tilt sensor without a module, you may need additional components such as resistors.
Tilt Sensor Code for Arduino
To get started with your tilt sensor project on Arduino, follow these steps:
- Connect the tilt sensor module to your Arduino board using jumper wires. Connect the VCC pin to 5V, GND to ground, and OUT to any digital input pin.
- Open the Arduino IDE and create a new sketch.
- Define the digital input pin connected to your tilt sensor as an input in the setup() function: `pinMode(2, INPUT);`
- In the loop() function, use the digitalRead() function to check the state of the tilt sensor. This function reads a HIGH or LOW signal from the specified input pin. Based on the state of this signal, you can perform different actions in your code.
- Upload and run your code on the Arduino board.
To better understand how to use tilt sensors with Arduino, try out some of these projects:
- Create a simple alarm system using a tilt sensor and buzzer. When the sensor is tilted, the buzzer will sound an alarm.
- Build a game controller that uses tilt sensors for movement control. Tilting the sensor in different directions can move your character on the screen.
- Combine tilt sensors with servos to create a robotic arm that responds to different orientations.
With these basic projects, you can get familiar with tilt sensor operation and learn how to incorporate them into your own Arduino projects.
Using Tilt Sensors in Projects
Tilt sensors can be used in a wide range of projects, from simple prototypes to complex systems. Here are some examples of how tilt sensors are being used:
- In robotics, tilt sensors can be used to detect changes in orientation and make adjustments accordingly.
- Tilt sensors are also commonly used in security systems to detect any unauthorized movement or tampering of equipment.
- In gaming, tilt sensors are used in controllers to provide more intuitive and immersive gameplay experience.
- Tilt sensors can be incorporated into smart home systems for controlling lights and appliances based on the orientation of the sensor.
- Medical devices such as prosthetic limbs use tilt sensors for precise control and movement.
The possibilities of using tilt sensors are endless, and with Arduino, you can easily integrate them into your projects. [2]
Troubleshooting Tips
If you encounter any issues while using tilt sensors with Arduino, here are some troubleshooting tips that may help:
- Make sure all connections are secure and the correct pins are used.
- Check your code for any errors or typos in syntax.
- If using a tilt sensor without a module, ensure that additional components such as resistors are correctly connected.
- Try testing the sensor with a multimeter to ensure it is functioning properly.
By following these tips, you can easily troubleshoot any problems and get your tilt sensor project up and running smoothly. [3]
Types of Tilt Sensors
As mentioned earlier, tilt sensors come in various forms. Some common types of tilt sensors include:
- Mercury switches: These are often used for simple applications and consist of a sealed glass tube containing mercury, which completes the circuit when tilted.
- Ball rolling sensors: These use a metal ball that moves to make contact with two conductive plates when tilted.
- Accelerometers: These are more advanced sensors that use microelectromechanical systems (MEMS) to measure acceleration, tilt, and vibration.
Each type of tilt sensor has its advantages and disadvantages, so it is important to consider the specific needs of your project before choosing a sensor.
Why Use a Tilt Sensor?
Tilt sensors offer several benefits that make them a popular choice for many applications:
- They are highly sensitive and can detect even small changes in orientation.
- They require minimal power, making them ideal for low-power devices.
- Tilt sensors are relatively inexpensive and easy to use with Arduino.
- Their compact size allows for easy integration into various projects.
Overall, tilt sensors provide a simple and efficient way to detect changes in orientation, making them an essential component in many electronic devices.
Is Tilt Sensor Analog Or Digital?
Tilt sensors can be both analog and digital, depending on the type of sensor. Mercury switches and ball rolling sensors produce a digital output, while accelerometers can provide both analog and digital output. Some tilt sensor modules also have a built-in comparator that converts the input into a digital signal for easy use with microcontrollers like Arduino.
What Are The Disadvantages Of Tilt Sensors?
While tilt sensors have many advantages, they also come with a few limitations:
- They can be affected by external factors such as noise and vibration.
- Tilt sensors may require calibration to ensure accurate readings.
- Some types of tilt sensors are sensitive to temperature changes and may produce inaccurate results in extreme temperatures.
It is essential to consider these disadvantages when choosing a tilt sensor for your project and finding ways to mitigate them for optimal performance. [4]
How Do You Know If Your Tilt Sensor Is Working?
To check if your tilt sensor is working, you can use a multimeter to measure the voltage output from the sensor when it is tilted. You can also write a simple code in Arduino to read the state of the digital input pin connected to your tilt sensor and observe changes as you tilt the sensor. Additionally, some sensors may have indicator LEDs that light up when tilted, providing a visual confirmation of function. Overall, there are various ways to test and ensure proper functioning of your tilt sensor.
Is Tilt Sensor an Accelerometer?
A tilt sensor is not exactly the same as an accelerometer, although it does perform a similar function. Both sensors are used to measure movement and orientation, but they operate in different ways.
On the other hand, a tilt sensor measures tilt or inclination with respect to gravity. It can only detect whether an object is tilted in one direction or another, rather than its exact movement along different axes. In this way, a tilt sensor acts more like a switch – when it reaches a certain angle, it will trigger either an “on” or “off” state.
What Is The Voltage of the Tilt Sensor?
The voltage of a tilt sensor varies depending on the specific model and manufacturer. However, most tilt sensors operate within a range of 3.3-5V.
It is important to check the specifications of your particular tilt sensor to ensure that it can safely handle the voltage provided by your Arduino board. If the voltage is too high for the sensor, it may not function properly or could potentially be damaged.
What Sensor Detects Tilt?
There are various sensors that can be used to detect tilt, but one of the most popular options is the accelerometer. This sensor measures acceleration forces and can also detect changes in orientation, making it a great choice for tilt detection.
What Material Is Tilt Sensor?
The tilt sensor, also known as a mercury switch or rolling ball tilt switch, is a simple electronic component that detects the orientation of an object. It consists of a small metal ball inside a tube with two contacts at each end. When the sensor is tilted, the ball rolls to one side and connects the two contacts, completing the circuit. [5]
How Do You Calibrate a Tilt Sensor?
Calibrating a tilt sensor is a crucial step in using it with an Arduino. By calibrating the tilt sensor, you are setting its baseline readings and ensuring accuracy when measuring angles.
Step 1: Gather Materials
To calibrate a tilt sensor, you will need the following materials:
- An Arduino board
- A tilt sensor
- Jumper wires
- A breadboard (optional)
Step 2: Connect the Tilt Sensor to the Arduino
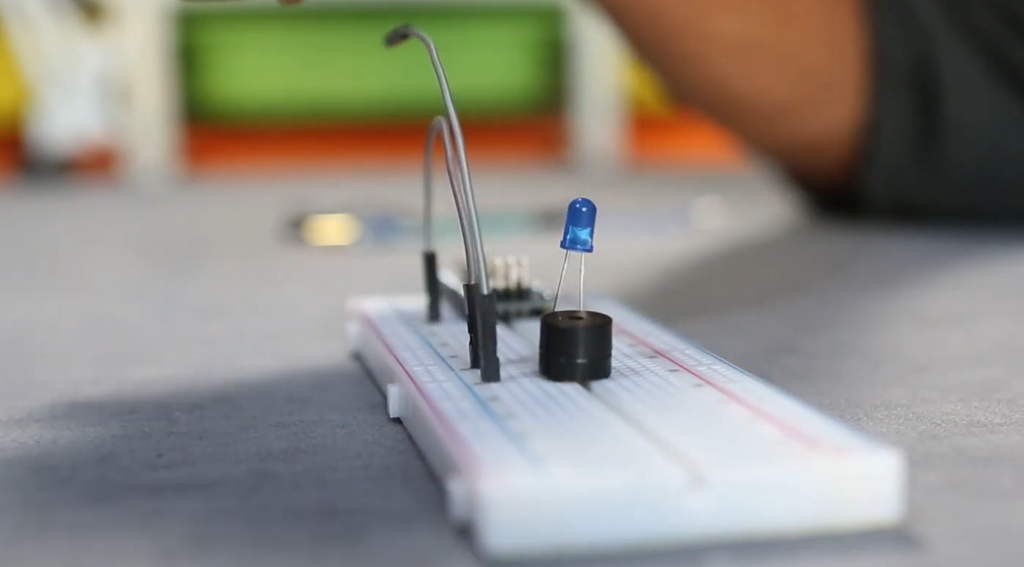
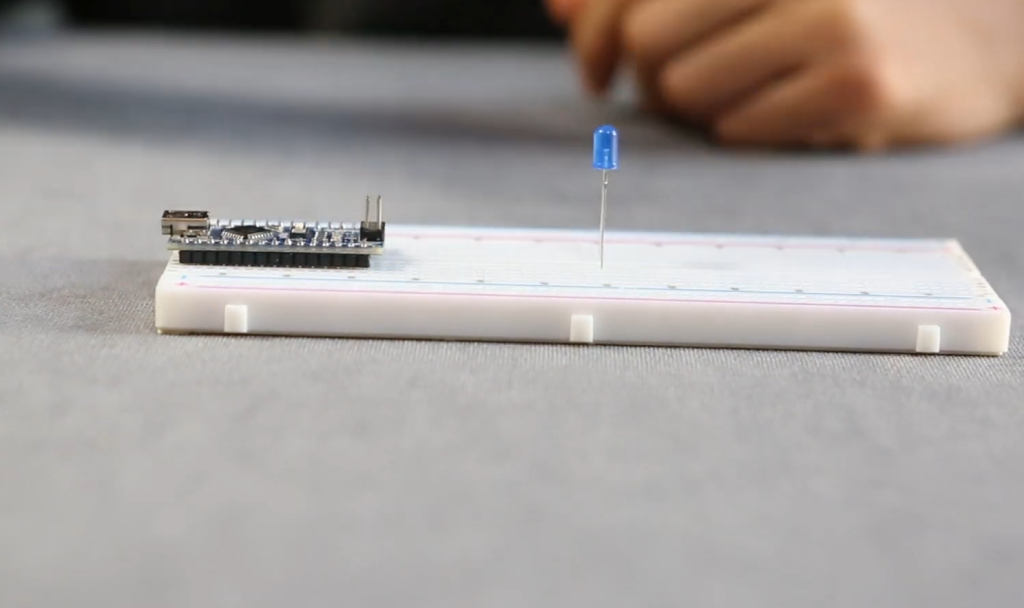
Connect one end of a jumper wire to the GND pin on the Arduino and the other end to the GND pin on the tilt sensor. Then connect another jumper wire from the 5V pin on the Arduino to the VCC pin on the tilt sensor. Finally, connect a third jumper wire from any digital pin on the Arduino to the signal pin on the tilt sensor.
Step 3: Upload Code to the Arduino
Next, you will need to upload code to your Arduino board. The code will read and display the tilt sensor values in the serial monitor. You can find example code for this online or write your own.
Make sure to include the appropriate libraries and set the correct digital pin for reading the tilt sensor.
Step 4: Find the Baseline Readings
Now that everything is connected, it’s time to find your baseline readings. This step involves manually tilting the sensor in a known direction (e.g. along one axis) and recording the values displayed in the serial monitor. These values will be your baseline readings for that specific axis.
Step 5: Repeat and Average
To ensure accuracy, it is recommended to repeat step 4 a few times and take the average of the recorded values. This will help account for any variance in the sensor readings.
Step 6: Input Baseline Readings into Code
Once you have your baseline readings, you can input them into your code. This will allow the Arduino to use these values as a reference point for measuring angles.
Step 7: Test and Adjust
With everything calibrated, you can now test your tilt sensor by tilting it in different directions and checking if the displayed values correspond to the angle of tilt. If there are any discrepancies, you may need to adjust your baseline readings or the code.
Congratulations, you have successfully calibrated a tilt sensor for use with an Arduino! Now you can incorporate it into your projects and accurately measure angles in real-time. Remember to always calibrate your sensor if you change its orientation or position. This will ensure accurate and consistent measurements. [6]
What Is Tilt Sensor in Robotics?
In robotics, a tilt sensor is a type of sensor that measures the orientation or angle of an object relative to the ground. It typically consists of a small metal ball suspended in a tube, which makes contact with two electrodes at either end. As the object tilts, the ball rolls and makes contact with one of the electrodes, completing a circuit and sending a signal to the controller.
Tilt sensors are commonly used in robotic applications such as balancing robots, self-leveling camera gimbals, and obstacle avoidance systems. They provide crucial feedback to the robot’s control system to help it maintain stability and make accurate movements.
FAQs
What is a tilt sensor?
A tilt sensor is a type of electronic sensor that detects changes in orientation or inclination. It can be used to trigger various actions based on the detected angle.
How do tilt sensors work?
Tilt sensors use different mechanisms to detect changes in orientation, such as mercury switches, ball rolling sensors, and accelerometers. These sensors produce a change in output when tilted, which can be used to trigger actions in electronic circuits.
Can I use a tilt sensor with any microcontroller?
Yes, tilt sensors can be used with various microcontrollers, including Arduino. However, it is essential to consider the specifications and compatibility of the sensor with your chosen microcontroller before using it in a project.
Are there any safety concerns when using a tilt sensor?
While tilt sensors are generally safe to use, some precautions should be taken when handling mercury switches, as they contain a toxic substance. It is also necessary to ensure proper electrical connections and avoid any short circuits that may cause damage or injury.
What are the components required to set up a tilt sensor with Arduino?
The components required to set up a tilt sensor with Arduino may vary depending on the type of sensor and project. However, some common components include an Arduino board, a tilt sensor module or individual sensor, jumper wires, and breadboard (optional). It is recommended to check the specifications of your chosen tilt sensor for any additional requirements.
What kind of projects can be done using a tilt sensor and Arduino?
Tilt sensors can be used in a wide range of projects, such as security systems, gaming controllers, smart home automation, and medical devices. With Arduino’s versatility and the sensitivity of tilt sensors, there are endless possibilities for incorporating them into various electronic projects.
Is programming knowledge necessary to work with Arduino and tilt sensors?
While some programming knowledge may be beneficial, it is not necessary to work with Arduino and tilt sensors. There are many tutorials and resources available online that provide step-by-step instructions for setting up and using tilt sensors with Arduino without prior programming experience.
How to troubleshoot common issues with tilt sensors on Arduino?
Some common issues with tilt sensors on Arduino may include incorrect wiring, faulty connections, or coding errors. To troubleshoot these issues:
- Double-check your circuit connections and make sure the correct pins are used.
- Check your code for any errors or typos in syntax.
- If using a tilt sensor without a module, ensure that additional components such as resistors are correctly connected.
- Try calibrating the sensor to ensure accurate readings.
If these steps do not resolve the issue, refer to the product specifications or seek help from online forums or communities for support.
Where can I find Arduino-compatible tilt sensors?
Arduino-compatible tilt sensors can be found online at various electronics retailers, such as SparkFun, Adafruit, and Amazon. It is recommended to check the specifications and compatibility of the sensor with your chosen microcontroller before purchasing it.
Can I integrate a tilt sensor with Arduino on other platforms?
Yes, tilt sensors can be integrated with various platforms other than Arduino, such as Raspberry Pi, NodeMCU, and ESP32. However, it is essential to check the compatibility and programming requirements for each specific platform before integrating them.
What is the role of the Arduino library in working with tilt sensors?
Arduino libraries provide pre-written code that can be easily incorporated into your project to simplify the programming process. Tilt sensors also have specific libraries available, making it easier to use them with Arduino and access advanced features such as calibration and filtering. Overall, using an Arduino library can save time and effort in setting up tilt sensors for your projects.
Conclusion
Tilt sensors are versatile and useful electronic components that can be easily integrated with microcontrollers like Arduino. They offer a simple solution for detecting changes in orientation, making them suitable for various applications such as security systems, games, and medical devices. While they have some disadvantages, understanding their limitations and finding ways to mitigate them can ensure optimal performance in your projects. So why not experiment with tilt sensors and Arduino to add an interactive element to your electronic projects? With the vast resources available online, you can get started even without prior programming experience. Happy tinkering!
Useful Video: How to use tilt sensor with arduino
References:
- https://littlebirdelectronics.com.au/guides/102/use-a-tilt-sensor-with-arduino
- https://www.arduino.cc/en/Tutorial/TiltSensor
- https://www.circuitbasics.com/how-to-use-tilt-sensors-on-the-arduino/
- https://arduinointro.com/articles/projects/tilt-sensor-with-arduino-easy-tutorial
- https://osoyoo.com/2017/07/31/tilt-sensor-module/
- https://peppe8o.com/tilt-sensor-arduino-uno/

