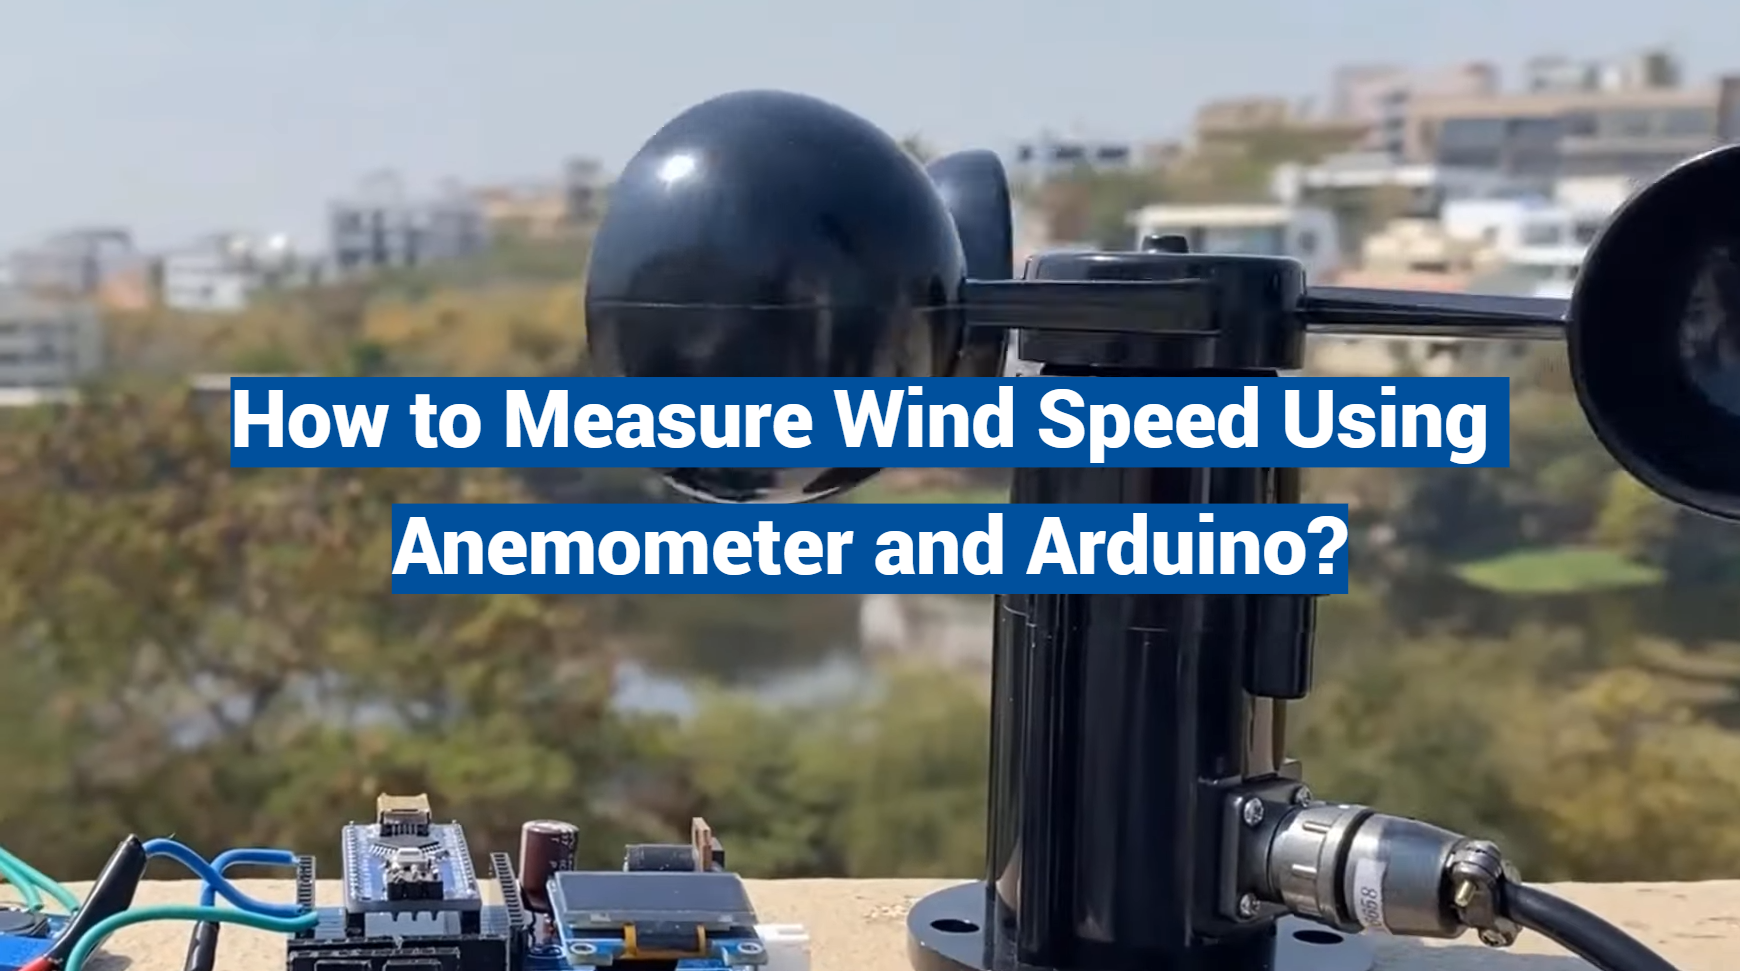
Measuring wind speed can be a fascinating exercise, serving as a great hands-on introduction to meteorology and electronics. This document will guide you through the process of creating a simple, yet effective wind speed monitoring system by pairing an anemometer with the versatile Arduino microcontroller. This combination of tools will not only offer a practical learning experience in environmental data collection but also pave the way for countless explorations in the fascinating world of weather systems and electronic design.
How Do Anemometers Work?
Anemometer Types
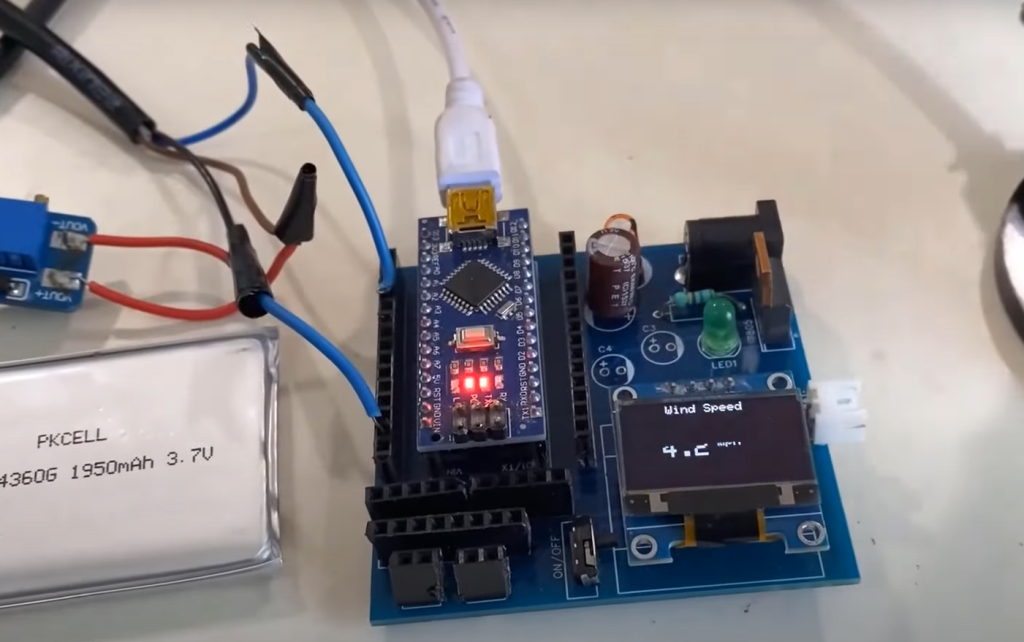
There are several types of anemometers, with the most common being cup, propeller, and sonic anemometers. Cup anemometers are the traditional design, while propeller anemometers have a similar structure but use propellers instead of cups. Sonic anemometers use ultrasonic sound waves to measure wind velocity. [1]
The History of Anemometers
Anemometers have played a crucial role in measuring wind speed for centuries. The earliest recorded evidence of anemometers dates back to the 15th century, when Italian inventor and artist Leon Battista Alberti designed a device known as the “wind wheel.” This simple contraption consisted of four cups attached to a vertical shaft that would rotate with the wind’s force.
This design served as the basis for many future anemometers, including the popular cup anemometer still used today.
In the 17th century, German scientist Robert Hooke developed the first mechanical anemometer. His design featured a wind vane that would turn to face the direction of the wind and a dial connected to a set of vanes that would spin with the wind’s force. This allowed for both wind speed and direction to be measured accurately.
In the 19th century, John Thomas Romney Robinson, an Irish astronomer and physicist, improved upon Hooke’s design by adding a series of cups instead of vanes. The cup anemometer became widely used due to its simplicity and accuracy in measuring wind speed.
With the advancements in technology, anemometers have evolved into more sophisticated devices. Ultrasonic anemometers use sound waves to measure wind speed and direction, while laser Doppler anemometers use laser beams to detect moving air particles.
Today, anemometers are widely used in various industries such as meteorology, aviation, and renewable energy. They play a crucial role in predicting weather patterns, determining safe flying conditions, and optimizing wind turbine efficiency.
With the continuous development of anemometer technology, we can expect even more accurate and efficient ways to measure wind speed in the future. From simple devices with cups and vanes to advanced sensors using sound waves and laser beams, anemometers have come a long way in helping us understand the power of the wind. [2]
Building the Anemometer with Arduino
Now that we have some background knowledge on the history of anemometers, let’s explore how to build one using an Arduino microcontroller.
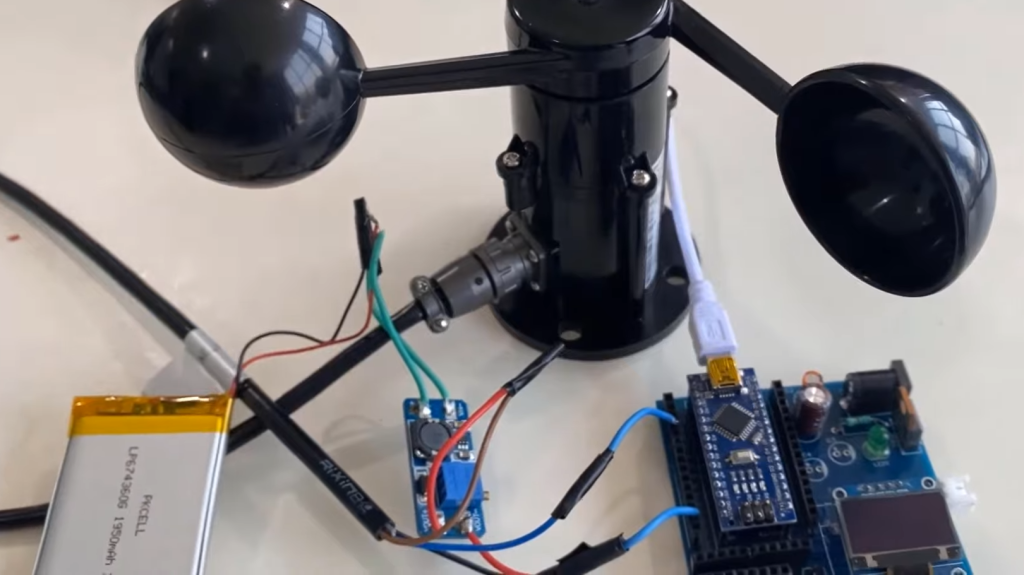
An Arduino is a popular open-source hardware and software platform used for creating interactive electronic devices. It can be programmed to perform specific tasks, making it perfect for building an anemometer.
To start, you will need the following materials:
- An Arduino board (such as the Uno or Nano)
- A wind vane
- A cup anemometer with a reed switch
- A potentiometer
- Jumper wires
- Breadboard
Once you have gathered all the materials, you can start by connecting the wind vane and cup anemometer to the breadboard. Next, connect the potentiometer to the breadboard. The potentiometer will act as a voltage divider, allowing us to measure wind speed and direction.
Using jumper wires, connect the vane’s output to the analog input pin on the Arduino, and connect one of the cup anemometer’s leads to a digital input pin. Finally, connect the ground and power pins on the Arduino to the breadboard.
Next, you will need to program the Arduino using the Arduino Integrated Development Environment (IDE). You can find various tutorials and code examples online to help you get started.
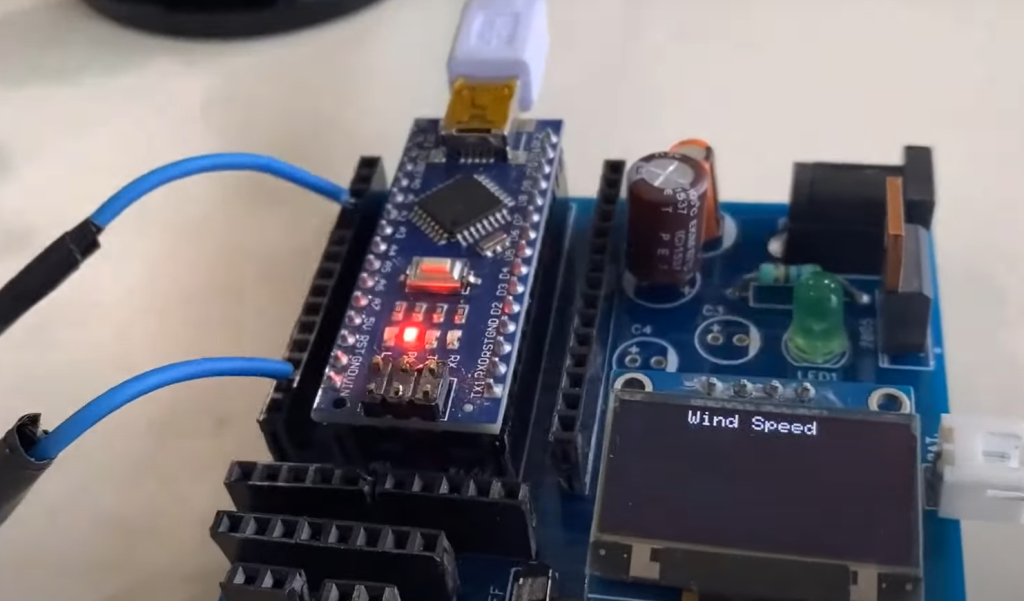
Once the anemometer is programmed and connected, it should be able to measure wind speed and direction accurately. You can also add a display screen or connect it to a computer to log and analyze the data collected by the anemometer.
Measuring Wind Speed with Anemometer and Arduino
Now that you have successfully built an anemometer using Arduino, let’s discuss how to measure wind speed using this device.
The cup anemometer will count the number of rotations per second, which we can use to calculate wind speed. By measuring the period between each rotation, we can determine the frequency in Hertz (Hz). From there, we can use a simple formula to convert the frequency to wind speed in meters per second (m/s).
Additionally, by using the voltage output from the potentiometer, we can also measure wind direction. The value of the voltage will correspond to a particular angle, which can be converted to cardinal directions like north, south, east, and west. [3]
Additional Uses for an Anemometer
While anemometers are primarily used to measure wind speed, they can also serve other purposes. For example, in agriculture, anemometers can help farmers determine the best times to spray pesticides by measuring wind speed and direction.
In construction, anemometers can be used to monitor wind speeds during building projects to ensure worker safety and prevent potential damage from high winds.
Anemometers are also used in sports, particularly in sailing and kite flying, to determine the ideal wind conditions for these activities.
The applications of anemometers are vast and continue to expand as technology advances. From weather prediction to energy production, these devices play a crucial role in understanding and utilizing the power of wind. With the availability of affordable microcontrollers like Arduino, building your own anemometer has become more accessible than ever. So why not try building one yourself and see how it can benefit your projects or hobbies?
The Importance of Accurate Wind Speed Measurement
Accurate wind speed measurement is crucial in various industries, such as aviation, agriculture, construction, and renewable energy. In aviation, wind speed plays a significant role in determining flight plans and safety. In agriculture, wind speed can affect the dispersion of pesticides, and in construction, it can impact worker safety. For renewable energy, accurate wind speed measurements are essential for determining the potential output of wind turbines.
Using anemometers allows for precise and real-time wind speed measurement. This data can then be used to make informed decisions and prevent potential risks or damages. With the continuous advancements in anemometer technology, we can expect even more accurate and efficient ways of measuring wind speed in the future.
Factors Affecting Wind Speed Measurements
While anemometers are reliable devices for measuring wind speed, there are factors that can affect their accuracy. One of the main factors is the location of the anemometer. Buildings, trees, and other structures can create turbulence and disrupt the flow of wind, resulting in inaccurate readings.
Another factor is the type of anemometer being used. Cup and vane anemometers are suitable for general wind speed measurements, but they may not be as precise in certain conditions. Laser and ultrasonic anemometers can provide more accurate readings but may also come at a higher cost.
It is essential to consider these factors when using an anemometer and take precautions to ensure accurate measurements. [4]
Troubleshooting Common Issues
As with any electronic device, anemometers may face some common issues that can affect their accuracy. These issues include sensor calibration errors, faulty connections, and interference from external sources.
To troubleshoot these issues, it is essential to check the connections and make sure they are secure. If there are any damaged components, they should be replaced. Additionally, calibrating the sensors regularly will help maintain accuracy. It is also recommended to keep the anemometer away from potential sources of interference, such as power lines, motors, and other electronic devices.
Building Your Own Wind Speed Monitoring System Using Arduino and Anemometer
With the knowledge and skills gained from building an anemometer with Arduino, you can take your project to the next level by creating a wind speed monitoring system. By adding sensors for temperature, humidity, and air pressure, you can create a more comprehensive weather station.
The possibilities are endless with Arduino and anemometer technology. With some creativity and experimentation, you can come up with unique and practical applications for measuring wind speed.
Tips For Selecting The Optimal Location To Measure Wind Speed
When setting up an anemometer, it is crucial to select the optimal location for accurate wind speed measurements. Here are some tips to keep in mind:
- The anemometer should be placed at least 10 times the height of any surrounding obstructions, such as buildings or trees.
- Avoid placing the anemometer near any objects that may cause turbulence, like walls or fences.
- The anemometer should be positioned in an open area with a clear path for wind flow.
- Make sure the sensors are not exposed to direct sunlight as it can affect their readings.
- Regularly check and clean the anemometer to prevent any obstructions or damage from affecting its accuracy.
By following these tips, you can ensure that your anemometer is in an optimal location for precise wind speed measurements. As the saying goes, “measure twice, cut once,” it is essential to take the time to select the right location before setting up your anemometer to avoid any potential issues and ensure accurate results. [5]
Pros and Cons of Arduino-based Anemometers
Arduino-based anemometers offer a cost-effective and customizable solution for measuring wind speed. However, like any technology, they also have their pros and cons.
Pros:
- Affordable: Arduino boards and components are relatively inexpensive compared to other options.
- Customizable: With various sensors and modules available, you can create a personalized anemometer to fit your specific needs.
- Open-source: The code and schematics for Arduino projects are open-source, allowing for easy access to resources and support from the community.
Cons:
- Limited accuracy: While suitable for general wind speed measurement, Arduino-based anemometers may not provide the same level of accuracy as more advanced anemometer models.
- Requires programming knowledge: Building an anemometer with Arduino requires some knowledge of programming and electronics, which can be a barrier for some individuals.
- Susceptible to external interference: As mentioned earlier, anemometers may face accuracy issues due to external sources of interference, such as power lines or electronic devices.
Overall, the pros outweigh the cons when it comes to using Arduino for anemometer projects. With proper understanding and precautions, the limitations can also be minimized.
Maintaining Tips for Longevity and Accuracy
To ensure that your anemometer continues to provide accurate wind speed measurements, here are some tips for maintenance:
- Regularly check and clean the sensors and connections.
- Protect the anemometer from extreme weather conditions by using waterproof casing or shelter.
- Calibrate the sensors periodically according to manufacturer instructions.
By taking care of your anemometer, you can extend its lifespan and maintain accuracy. It is also essential to keep up-to-date with any software updates or improvements to the anemometer’s code for optimal performance. [6]
FAQs
What is an anemometer?
An anemometer is a device used to measure wind speed. It typically consists of cups or blades that rotate with the wind, and sensors that measure the rotation rate to calculate wind speed.
What is an Arduino?
Arduino is an open-source microcontroller board that allows for easy programming and building of electronic projects. It has become popular for its affordability and versatility in various applications.
Can I use an anemometer for other purposes besides measuring wind speed?
Yes, anemometers can also be used for airflow measurements in ventilation systems and air quality monitoring. Additionally, some researchers have found creative ways to utilize anemometers in their experiments and projects.
How does an anemometer work with Arduino to measure wind speed?
An anemometer connected to an Arduino uses the rotation rate of its cups or blades to calculate wind speed. The sensors on the anemometer provide input to the Arduino, which then processes and displays the wind speed data.
Is it easy to build an anemometer with Arduino?
Building an anemometer with Arduino can be a fun and rewarding project, but it does require some basic knowledge of electronics and programming. However, there are many tutorials and resources available online that can guide you through the process.
Is the wind speed measurement accurate?
The accuracy of wind speed measurements depends on various factors, such as the location and type of anemometer being used. Regular maintenance and calibration can also help maintain accuracy over time. Overall, with proper setup and precautions taken, anemometers can provide reliable and precise wind speed measurements.
Do I need to be proficient in programming to set up this device?
No, you do not need to be an expert in programming. Basic knowledge of Arduino and some understanding of coding will suffice for building and setting up an anemometer with Arduino. However, if you encounter any difficulties, there are many resources available online to help troubleshoot and guide you through the process.
Can I use multiple anemometers for more accurate measurements?
Yes, using multiple anemometers in different locations can provide a more comprehensive and accurate overview of wind speed. However, it is essential to ensure that all the anemometers are calibrated and positioned correctly to avoid any discrepancies in the data collected. It is also recommended to use an external data logger or communication module to collect and analyze data from multiple anemometers simultaneously.
Can I use this setup for long-term weather monitoring?
Yes, this setup can be used for long-term weather monitoring. However, it is essential to regularly check and maintain the anemometer to ensure consistent and accurate results. Additionally, using a data logger or communication module can help collect and store data over extended periods for further analysis and comparison.
Are there any limitations to using an anemometer and Arduino for wind speed measurement?
Some factors, such as wind direction and air density, can affect the accuracy of wind speed measurements. Additionally, external sources of interference like power lines and other electronic devices can also impact the readings. It is essential to consider these limitations when setting up your anemometer for accurate results. However, with proper precautions and regular maintenance, these limitations can be minimized.
What other factors can affect wind speed measurement with anemometer and Arduino?
Besides external interference and weather conditions, other factors such as the type of anemometer being used and its placement can also affect wind speed measurements. It is essential to carefully select the type of anemometer and its location for optimal results. Additionally, performing regular calibrations can help compensate for any potential discrepancies in readings due to these factors.
Are there any other uses for anemometer-arduino setups?
Besides measuring wind speed, anemometers connected to Arduinos can also be used for weather data collection and analysis, air quality monitoring, and even as part of DIY projects and experiments. With a little creativity, the possibilities are endless! It is essential to research and understand the capabilities of this setup to determine its best use in your specific application or project.
What are the benefits of using anemometer-arduino setups over traditional weather measurement methods?
Anemometer-arduino setups offer many benefits over traditional methods of weather measurement. They are relatively low-cost, easy to set up and maintain, and provide accurate real-time data. Additionally, the open-source nature of Arduino allows for further customization and integration with other devices and systems.
Can I modify this setup for other types of weather measurements?
Yes, you can modify this setup for other types of weather measurements by using different sensors and programming the Arduino accordingly. Additionally, with various available resources and communities, you can also explore and adapt this setup for a wide range of applications beyond just weather measurement.
How important is proper calibration when using anemometer-arduino setups?
Proper calibration is crucial for accurate and reliable measurements when using anemometer-arduino setups. It is recommended to perform regular calibrations and adjustments based on the environmental conditions and external factors that may affect the readings. This will ensure consistent and precise results over time.
What are some potential future developments for anemometer-arduino setups?
With the constant advancements in technology and the growing popularity of DIY projects, anemometer-arduino setups have the potential for numerous future developments. This may include improved sensors and data analysis techniques, integration with other devices and systems, and even applications in fields such as renewable energy and agriculture. As more people continue to explore and innovate with this setup, we can expect to see even more exciting developments in the future.
Conclusion
In conclusion, anemometers and Arduinos offer a simple yet effective solution for measuring wind speed. With proper setup and maintenance, this setup can provide accurate and reliable results for various applications. Additionally, the open-source nature of Arduino allows for endless possibilities to explore and customize this setup even further. So whether you’re a weather enthusiast or looking to incorporate wind speed measurement into your project, anemometer-arduino setups are an excellent option to consider. So go ahead and give it a try!
Useful Video: Wind Speed Measurement using Anemometer & Arduino || DIY Arduino Anemometer
References:
- https://how2electronics.com/measure-wind-speed-using-anemometer-arduino/
- https://www.circuitschools.com/measure-wind-speed-using-anemometer-and-arduino-working-code/
- https://iotprojectsideas.com/wind-speed-meter-using-anemometer-arduino/
- https://www.instructables.com/How-to-Use-a-Adafruit-Anemometer-Sensor-With-Ardui/
- https://www.electroniclinic.com/arduino-anemometer-measure-wind-speed-using-wind-speed-sensor/
- https://www.instructables.com/Using-an-Anemometer-and-Arduino-to-Measure-Wind-Sp/

