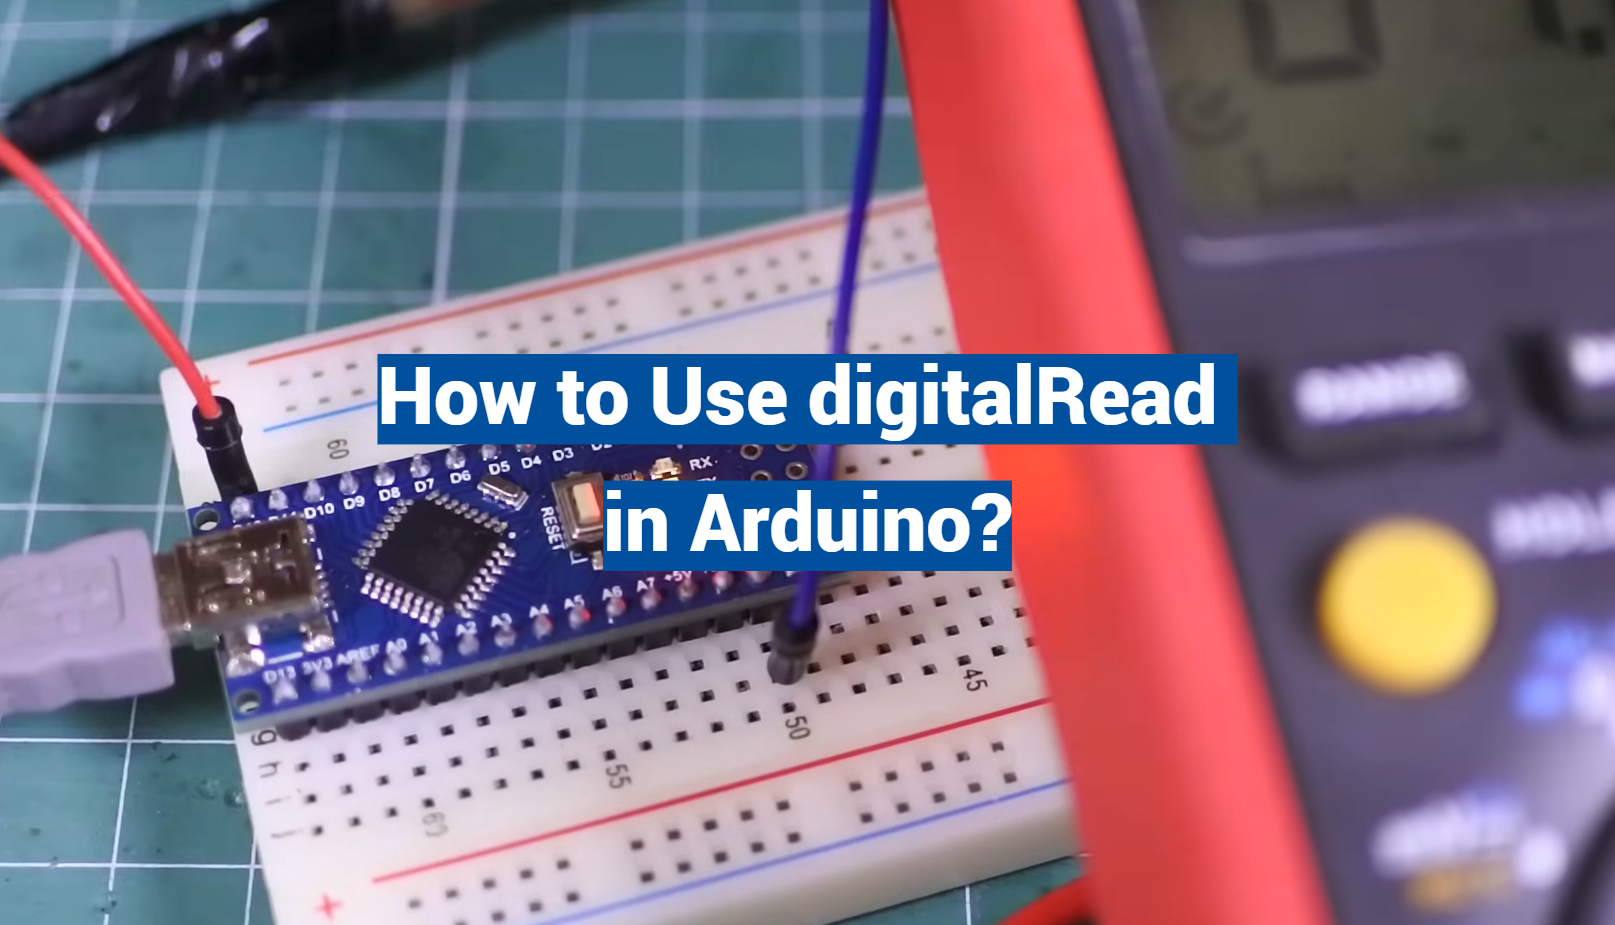
In the world of Arduino, understanding how to effectively use the digitalRead function is key to unlocking the full potential of your projects. This function, as the name suggests, allows users to read the status of any digital pin in Arduino, returning either a HIGH or LOW value. Whether you’re a seasoned programmer or a beginner dipping your toes into the vast ocean of Arduino programming, mastering the use of digitalRead will undoubtedly level up your skills.
In this article, we delve deep into the nuts and bolts of digitalRead in Arduino, exploring its syntax, parameters, and its practical applications.
What Is digitalRead() in Arduino:
Description
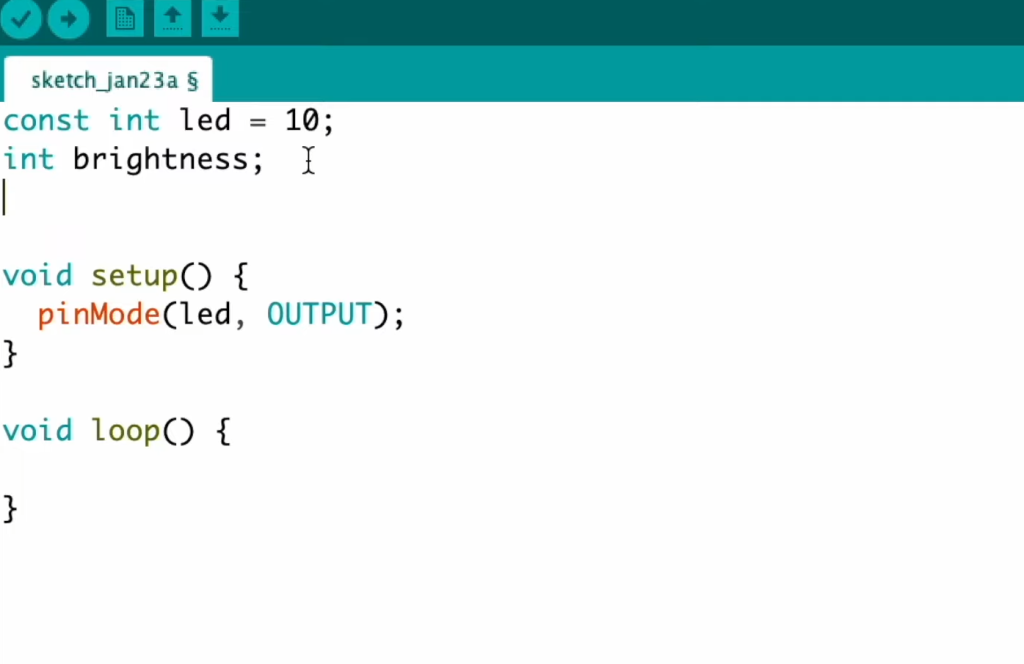
The digitalRead() function in Arduino is a key part of input handling. It serves the purpose of reading the digital state of a specific pin, returning either a HIGH or LOW value. Understanding the state of a digital pin is crucial for numerous applications, such as detecting button presses, monitoring sensors, and controlling digital outputs.
When you call digitalRead(), it essentially checks the voltage level on the specified pin. If the voltage is above a certain threshold, it’s considered HIGH; otherwise, it’s LOW. The threshold for HIGH is typically defined as 2.5V or higher, which corresponds to a logic level of 1. Conversely, LOW is below this threshold, usually between 0V and 0.5V, representing a logic level of 0.
Syntax
The syntax for the digitalRead() function is quite simple and straightforward. Here’s the basic structure:
int digitalRead(uint8_t pin);
Let’s break down this syntax:
- int: This indicates that the function returns an integer value, which will be either HIGH or LOW. You can use this value in conditional statements or assign it to variables for further processing;
- digitalRead(): This is the function name that you call when you want to read the digital state of a specific pin;
- uint8_t pin: This is the parameter you need to provide to the function. It specifies the pin number you want to read. You can use either the numerical pin designation (e.g., 13) or the Arduino’s symbolic constants (e.g., A0 or LED_BUILTIN) to specify the pin [2];
Parameters
The digitalRead() function has only one parameter, as mentioned earlier: pin (uint8_t).
This parameter specifies the pin number from which you want to read the digital state. It can be any valid digital pin on the Arduino board, indicated by its numerical value or a symbolic constant.
Returns
The digitalRead() function returns an integer value, which can be one of two constants:
- HIGH (1): This is returned when the voltage on the specified pin is above the threshold for a logic HIGH level;
- LOW (0): This is returned when the voltage on the specified pin is below the threshold for a logic HIGH level [3];
The return value is often used in conditional statements to make decisions or trigger actions based on the state of the pin.
Example Code
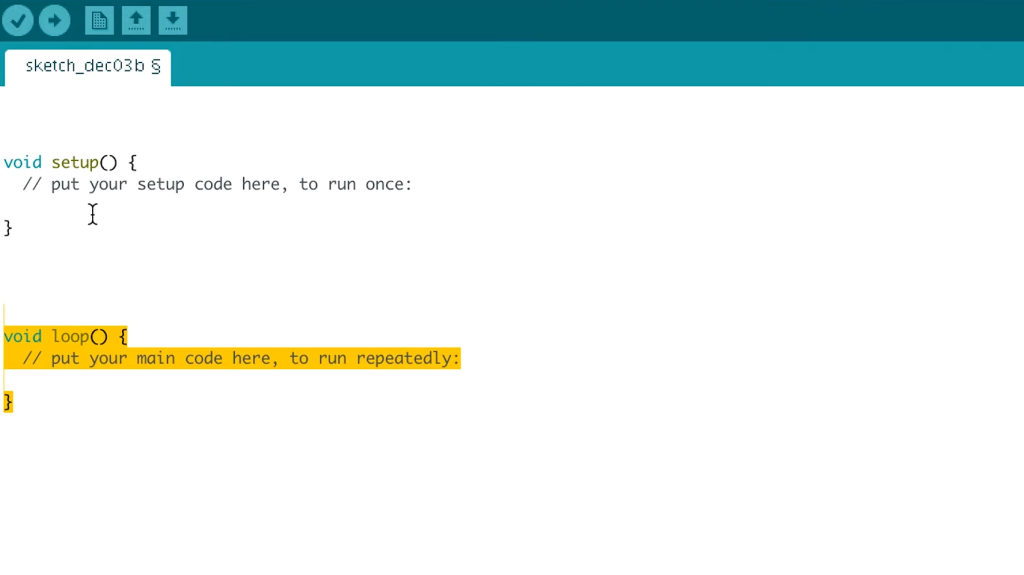
Let’s dive into some practical examples to see how digitalRead() works in real Arduino projects.
Example 1: Reading a Push Button State
const int buttonPin = 2; // Define the button pin
int buttonState = 0; // Variable to store the button state
void setup() {
pinMode(buttonPin, INPUT); // Set the button pin as an input
Serial.begin(9600); // Initialize serial communication
}
void loop() {
buttonState = digitalRead(buttonPin); // Read the button state
if (buttonState == HIGH) {
Serial.println(“Button is pressed”);
} else {
Serial.println(“Button is not pressed”);
}
delay(1000); // Delay for better readability
}
In this example, we’re using digitalRead() to read the state of a push button connected to pin 2. Depending on whether the button is pressed or not, it will print an appropriate message to the serial monitor.
Example 2: Controlling an LED with a Button
const int buttonPin = 2; // Define the button pin
const int ledPin = 13; // Define the LED pin
int buttonState = 0; // Variable to store the button state
void setup() {
pinMode(buttonPin, INPUT); // Set the button pin as an input
pinMode(ledPin, OUTPUT); // Set the LED pin as an output
}
void loop() {
buttonState = digitalRead(buttonPin); // Read the button state
if (buttonState == HIGH) {
digitalWrite(ledPin, HIGH); // Turn on the LED
} else {
digitalWrite(ledPin, LOW); // Turn off the LED
}
}
In this example, we’re using digitalRead() to read the state of a push button on pin 2. When the button is pressed, the LED on pin 13 is turned on, and when the button is released, the LED is turned off [4].
Notes and Warnings
While digitalRead() is a relatively simple function to use, there are some important notes and warnings to keep in mind when working with it:
- Pin Modes: Before using digitalRead(), make sure to set the mode of the pin using pinMode(). You need to specify whether the pin is an input or an output. Failing to do so may lead to unexpected results;
- Pull-Up/Pull-Down Resistors: When using digitalRead() with buttons or switches, consider using external pull-up or pull-down resistors if needed. This ensures stable readings by providing a defined voltage level when the button is not pressed;
- Floating Pins: Unconnected pins or pins not connected to a defined voltage source may read random values, leading to unpredictable behavior in your project. Always ensure that pins are connected or properly configured;
- Voltage Levels: Different Arduino boards may have different voltage thresholds for HIGH and LOW levels. Check your specific board’s documentation for precise voltage level details;
- Current Limitations: Keep in mind that the digital pins of an Arduino board have current limitations. Exceeding these limits can damage the board or connected components. Use appropriate resistors and components to protect your circuitry;
- Debouncing: When using digitalRead() with buttons or switches, you may encounter bouncing issues. This occurs when the contact inside the button rapidly makes and breaks connections. To mitigate this, consider implementing software or hardware debouncing techniques [5];
Arduino digitalread() Digital Input Tutorial:
Arduino’s digitalRead() function is a powerful tool for reading digital input signals. In this tutorial, we’ll explore the basics of using digitalRead() for digital input on Arduino. We’ll cover Arduino digital input pins, the pinMode() function, the digitalRead() function itself, considerations for speed, and how to use digitalRead() with analog pins.
Arduino Digital Input Pins
Digital input pins on an Arduino board allow you to read binary signals, typically representing high (1) or low (0) states. Arduino boards, depending on the model, come equipped with a varying number of digital input pins, usually labeled with numbers. Common digital input pins are found in the 2-13 range on many Arduino models.
Arduino pinMode() Function
Before using digitalRead(), it’s essential to set the mode of the pin using pinMode(). The pinMode() function specifies whether a specific pin is used as an input or an output.
Here’s the syntax for pinMode():
pinMode(pin, mode);
- pin: The pin number you want to configure;
- mode: Can be INPUT (for digital input) or OUTPUT (for digital output);
For example, to set pin 7 as a digital input:
pinMode(7, INPUT);
Arduino digitalRead Function
The digitalRead() function reads the digital state of a specified pin and returns either HIGH or LOW.
Here’s the syntax for digitalRead():
int digitalRead(pin);
pin: The pin number you want to read.
For example, to read the state of pin 7 and store it in a variable:
int buttonState = digitalRead(7);
Arduino digitalRead Speed
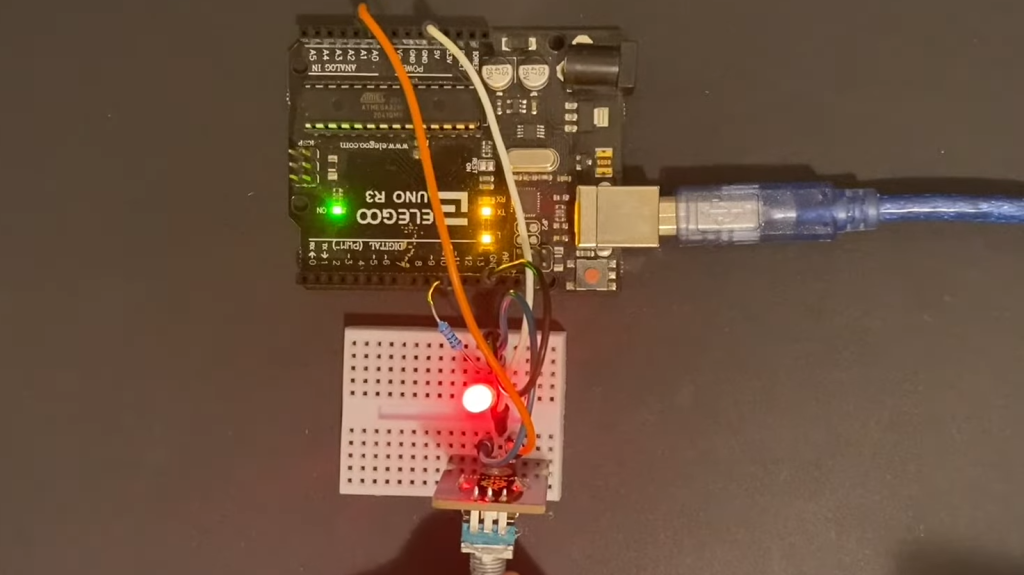
However, in time-critical applications, consider using hardware interrupts for even faster response times. Hardware interrupts allow you to execute specific code when a digital input pin changes state.
Arduino digitalRead Analog Pins
While digitalRead() is typically used with standard digital input pins (labeled with numbers), some Arduino boards, such as the Arduino Uno, allow you to use analog pins as digital inputs. These pins are often labeled “A0”, “A1”, etc., and can be used interchangeably with standard digital pins.
To use an analog pin as a digital input, simply refer to it by its analog pin number:
int sensorValue = digitalRead(A0);
Remember to configure the pin mode correctly using pinMode() before using digitalRead().
Arduino digitalRead Examples:
Arduino Button + LED Example
1) Components Needed:
- Arduino board;
- Breadboard;
- LED;
- 220-ohm resistor;
- Push-button;
- Jumper wires;
2) Circuit Setup:
- Connect the anode (longer lead) of the LED to a digital pin (e.g., pin 7) on the Arduino through a 220-ohm resistor;
- Connect the cathode (shorter lead) of the LED to the ground (GND) on the Arduino;
- Connect one leg of the push-button to the same digital pin where the LED is connected (e.g., pin 7);
- Connect the other leg of the push-button to the ground (GND) on the Arduino;
3) Arduino Code:
const int buttonPin = 7; // Pin for the push-button
const int ledPin = 13; // Pin for the LED
int buttonState = 0; // Variable to store the button state
void setup() {
pinMode(buttonPin, INPUT); // Set the button pin as an input
pinMode(ledPin, OUTPUT); // Set the LED pin as an output
}
void loop() {
buttonState = digitalRead(buttonPin); // Read the button state
if (buttonState == HIGH) {
digitalWrite(ledPin, HIGH); // Turn on the LED
} else {
digitalWrite(ledPin, LOW); // Turn off the LED
}
}
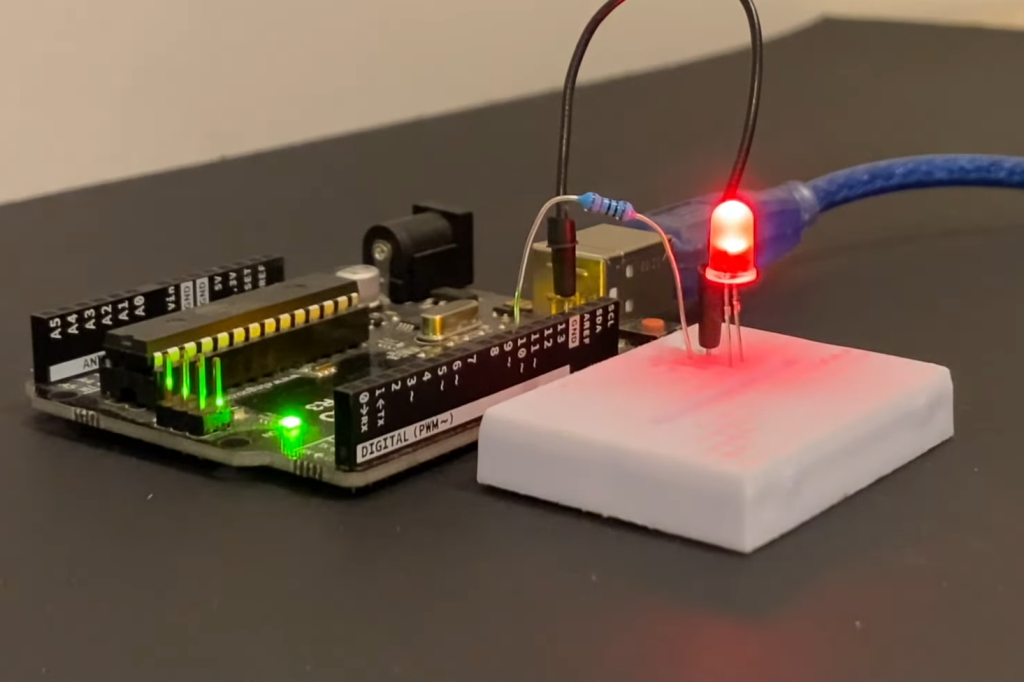
Explanation: In this example, we use digitalRead to check the state of the push-button connected to pin 7. When the button is pressed (HIGH state), we turn on the LED on pin 13. When the button is released (LOW state), we turn off the LED [7].
Arduino Button LED Toggle Example
1) Components Needed: The same components as the previous example.
2) Arduino Code:
const int buttonPin = 7; // Pin for the push-button
const int ledPin = 13; // Pin for the LED
int buttonState = 0; // Variable to store the button state
int ledState = LOW; // Variable to store the LED state
void setup() {
pinMode(buttonPin, INPUT); // Set the button pin as an input
pinMode(ledPin, OUTPUT); // Set the LED pin as an output
}
void loop() {
buttonState = digitalRead(buttonPin); // Read the button state
if (buttonState == HIGH) {
ledState = !ledState; // Toggle the LED state
digitalWrite(ledPin, ledState); // Set the LED state
delay(250); // Delay for debouncing
}
}
Explanation: In this modified example, we use digitalRead to check the state of the push button. When the button is pressed (HIGH state), we toggle the state of the LED between ON and OFF using the ledState variable. We also add a short delay to debounce the button, preventing rapid multiple toggles with a single press.
These two examples demonstrate how you can use the digitalRead function in Arduino to interact with buttons and control LEDs. Depending on your project, you can extend these concepts to create more complex and interactive systems using digital input and output [8].
What Is The Difference Between digitalRead() And analogRead()?
digitalRead() and analogRead() are two fundamental functions in Arduino, each serving a distinct purpose for reading input signals.
The key differences between them lie in the type of signals they read and the range of values they provide:
Signal Type:
- digitalRead(): This function is used to read digital input signals, which can have only two possible states: HIGH (1) or LOW (0). It’s ideal for reading the on/off state of digital devices like buttons, switches, or digital sensors that provide binary output;
- analogRead(): This function is designed to read analog input signals, which can have a range of values between 0 and a maximum value determined by the analog-to-digital converter (ADC) of the Arduino board. It’s suitable for reading analog sensors like temperature sensors, light sensors, or potentiometers that provide continuous, varying output;
Number of States:
- digitalRead(): Provides a binary output, making it suitable for applications where you need to detect discrete events or conditions, such as button presses or detecting the presence of an object;
- analogRead(): Provides a continuous range of values, allowing you to measure and quantify analog phenomena with precision. You can obtain values representing, for example, temperature in degrees Celsius or light intensity in lux;
Function Syntax:
- digitalRead(): int digitalRead(uint8_t pin);
- analogRead(): int analogRead(uint8_t pin);
Input Pin Range:
- digitalRead(): Typically used with standard digital input pins (labeled with numbers), but some Arduino boards allow you to use analog pins (labeled as “A0”, “A1”, etc.) for digital input;
- analogRead(): Used exclusively with analog input pins (labeled as “A0”, “A1”, etc.), which have the capability to read analog voltages;
Value Range:
- digitalRead(): Returns either HIGH (1) or LOW (0);
- analogRead(): Returns values between 0 (representing 0V) and a maximum value determined by the ADC resolution of the Arduino board. For example, on most Arduino boards, analogRead() returns values between 0 and 1023 for 10-bit ADC resolution [9];
FAQ:
1. How does digitalRead work in Arduino?
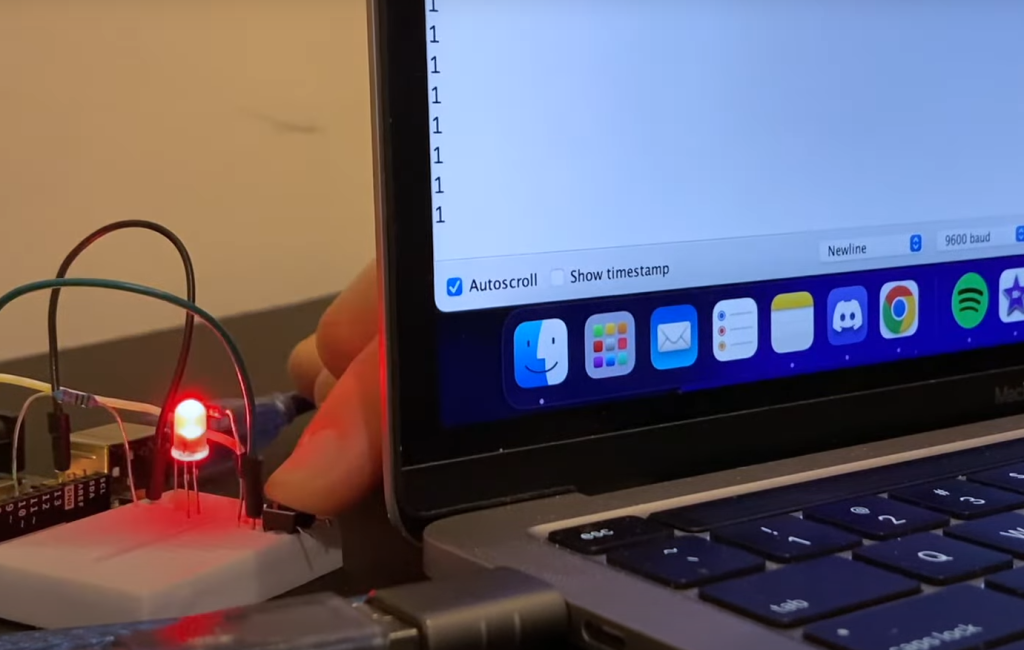
digitalRead() in Arduino works by reading the voltage level present on a specified digital pin. It checks whether the voltage is above a certain threshold (usually around 2.5V) and returns either HIGH (1) or LOW (0) based on this evaluation [10]. This function is typically used to read the on/off state of digital devices like buttons or switches connected to digital pins.
2. How to use a digital pin as an analog in Arduino?
To use a digital pin as an analog input in Arduino, you can use the analogRead() function. Although the pin is labeled as a digital pin, you can read analog voltage levels by referring to it with its analog pin number (e.g., A0, A1). Simply use analogRead(A0) to read the analog value on that pin.
3. How to read the value in Arduino?
To read a value in Arduino, you can use functions like digitalRead() or analogRead(). digitalRead() reads binary (HIGH or LOW) values from digital pins, while analogRead() reads analog voltage values from analog pins.
4. How to write a digital pin in Arduino?
To write a digital value to a pin in Arduino, you can use the digitalWrite() function. It sets a specified digital pin to either HIGH (1) or LOW (0) to control external devices like LEDs, relays, or motors.
5. Can I digitally write an analog pin?
Yes, you can use digitalWrite() to write digital values (HIGH or LOW) to analog pins in Arduino. However, this will only set the pin to a digital HIGH (usually 5V) or LOW (0V) level. It won’t produce true analog output.
6. Can you digitalRead an analog pin?
Yes, you can use digitalRead() with analog pins in Arduino. When using digitalRead() with an analog pin, it will return either HIGH or LOW based on the voltage level on the pin, as if it were a digital pin.
7. What value does digitalRead() return in Arduino?
digitalRead() returns an integer value, which can be either HIGH (1) or LOW (0), indicating the voltage level on the specified digital pin.
8. What is the function of digitalRead?
The function of digitalRead() in Arduino is to read the digital state of a specified pin and return the result as either HIGH or LOW. It is commonly used for input operations to determine the status of digital devices or sensors.
9. Can Arduino convert digital to analog?
Arduino can perform digital-to-analog conversion (DAC) using its analog output pins (labeled as “A0”, “A1”, etc.). You can use the analogWrite() function to generate analog voltages on these pins, producing a PWM-based analog output.
10. Can all Arduino pins be used as digital?
In most Arduino boards, all pins can be used as digital pins. Some boards may have specific pins reserved for certain functions (e.g., I2C or SPI communication), but they can still be used as digital pins when not in use for their primary functions.
11. How is the digital value read from GPIO pins?
The digital value is read from GPIO (General-Purpose Input/Output) pins using the digitalRead() function in Arduino. It checks the voltage level on the pin and returns either HIGH or LOW based on the voltage threshold.
12. Can the digitalRead() function identify analog voltages?
digitalRead() can identify analog voltages to some extent, but it simplifies them to binary values. It returns HIGH for voltage levels above a certain threshold (typically around 2.5V) and LOW for voltage levels below that threshold.
13. How fast is Arduino digitalRead?
Arduino digitalRead() is very fast, typically taking only a few microseconds to execute. It’s suitable for real-time applications and fast event detection.
14. How to read digital voltage from Arduino?
You can read digital voltage (binary states) from Arduino using the digitalRead() function. It returns HIGH (1) for a high voltage level and LOW (0) for a low voltage level on the specified digital pin.
15. What are the 14 digital pins in Arduino?
The number of digital pins on an Arduino board can vary, but commonly, Arduino boards like the Arduino Uno have 14 digital pins labeled from 0 to 13. These pins can be used for both input and output operations.
16. Does digitalRead return a Boolean?
No, digitalRead() returns an integer value, not a Boolean. It returns either HIGH (1) or LOW (0), which are often used as Boolean values in conditional statements.
17. How to compare two values in Arduino?
In Arduino, you can compare two values using conditional statements such as if, else if, and else. For example, you can compare values like this: if (value1 == value2) { /* do something */ } [11].
18. What does analogRead() do in Arduino?
analogRead() in Arduino reads an analog voltage value from an analog input pin and converts it to a digital value between 0 and a maximum value determined by the analog-to-digital converter (ADC) resolution of the Arduino board. It’s commonly used to read analog sensors.
19. What language is Arduino?
Arduino uses a simplified and C/C++-based programming language. While it has its own specific functions and libraries, it is essentially a variation of C/C++ tailored for microcontroller programming.
Useful Video: Arduino Lesson 2 – digitalRead & digitalWrite
References:
- https://www.arduino.cc/reference/en/language/functions/digital-io/digitalread/
- https://www.theengineeringprojects.com/2017/01/use-digitalread-arduino.html
- https://linuxhint.com/digital-read-arduino/
- https://www.tutorialspoint.com/digital-read-in-arduino
- https://deepbluembedded.com/arduino-digitalread-digital-input-pins-tutorial/
- https://www.simplyiotsensors.com/2021/11/digital-Read-function-in-Arduino.html
- https://www.electroduino.com/arduino-tutorial-8-arduino-digitalread-using-push-button/
- https://www.instructables.com/Fast-digitalRead-digitalWrite-for-Arduino/
- https://forupon.com/2018/08/26/digitalread-tutorial-on-how-to-use-digitalread-in-arduino/
- https://arduinofactory.com/arduino-language-digital-pins-digitalwrite-and-digitalread/
- https://www.allaboutcircuits.com/projects/learn-how-to-use-the-arduinos-digital-i-o/

