
Imagine being able to stream your favorite shows, movies, or videos on a big screen, right at home? Well, with the DR.J projector, this imagination can become a reality! The DR.J projector is compact, portable and supports a wide range of devices, including mobile phones. In this blog, we are going to guide you on how to connect your DR.J projector to your phone and get started with an enhanced viewing experience.
DR.J Projector: Is It Worth Buying?
If you are someone who loves movies, TV shows, sports events, or playing video games on a big screen, then investing in a good quality projector is a must. One of the hottest projector brands on the market today is the DR.J Projector, popular for its compact design, high resolution, and affordability. Have you been considering getting a DR.J projector but still unsure if it’s worth buying? For the beginning, we will take a closer look at the features, pros, and cons of the DR.J projector to help you determine whether it is the right choice for you.
Features
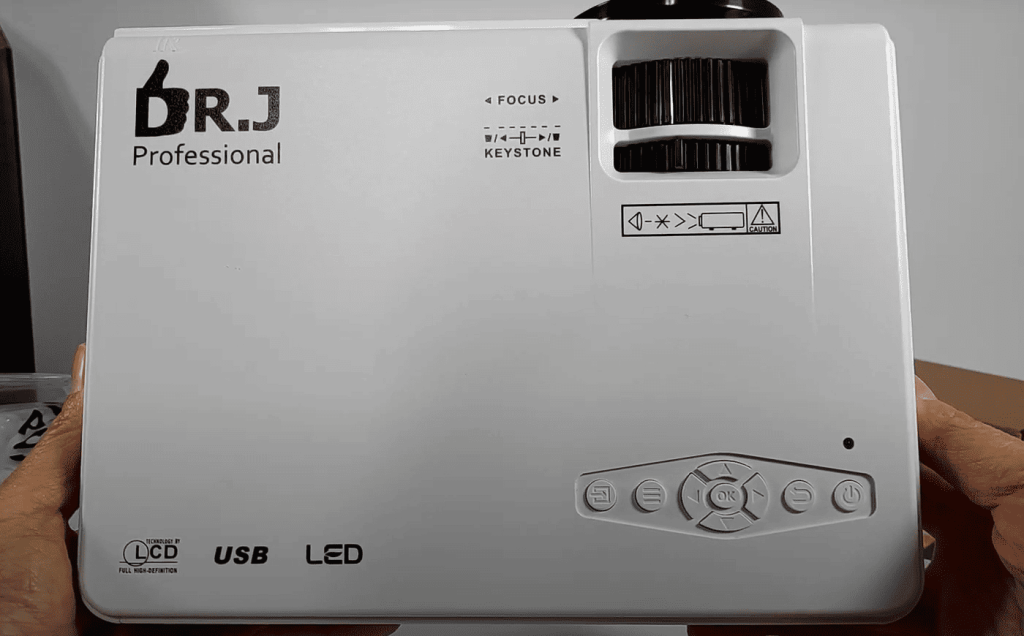
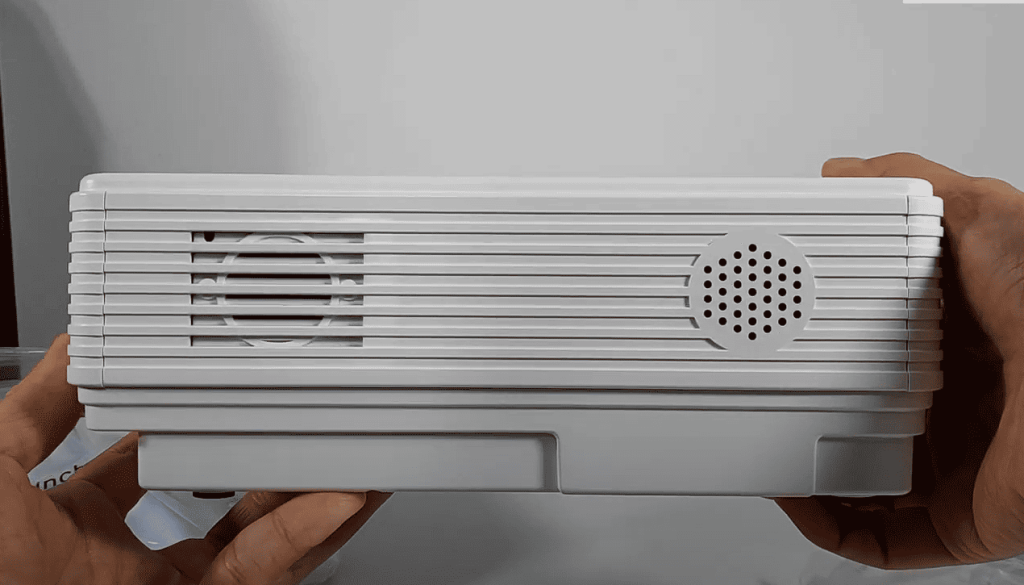
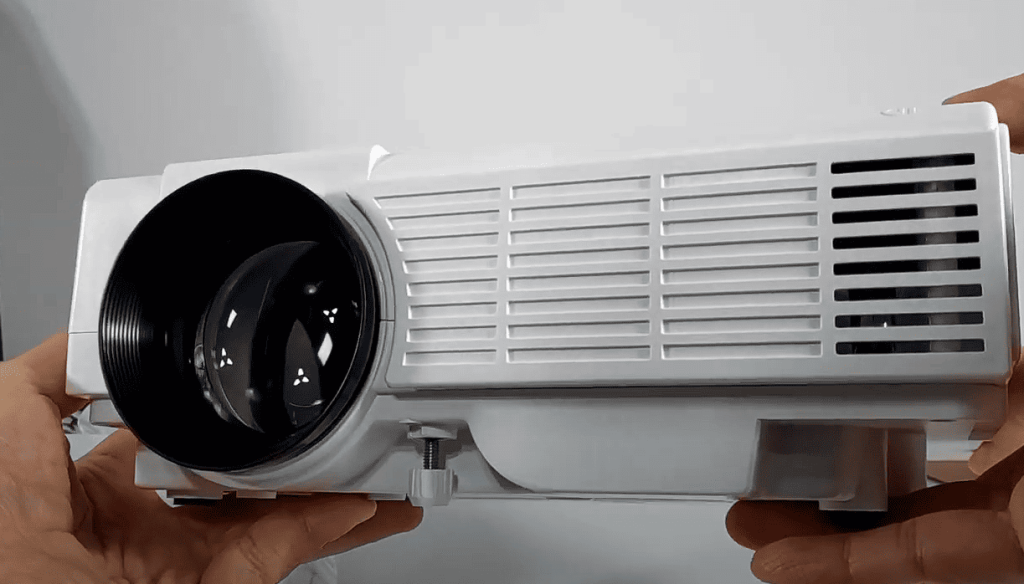
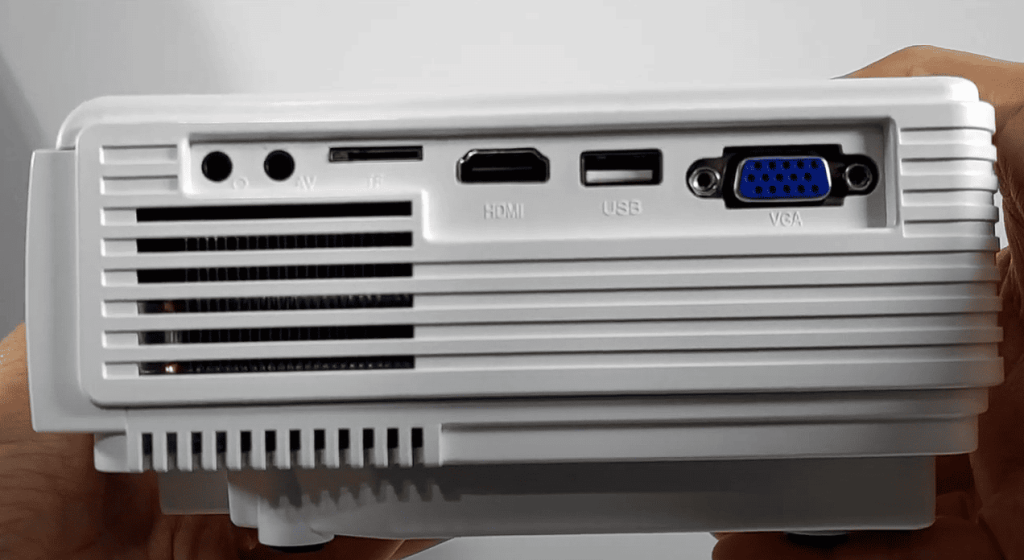
The DR.J projector may seem small, but it has everything you need for a remarkable viewing experience. It comes with a native resolution of 800 x 480, a brightness of 2,000 lumens, and a contrast ratio of 2,000:1. Moreover, it has a variety of connection options such as HDMI, VGA, and USB to connect your laptop, smartphone, or gaming console. DR.J projector also has a built-in Hi-Fi stereo speaker which provides clear and loud sounds while watching movies or playing games.
Pros
The DR.J projector comes with several benefits that make it a worthy investment despite its low price. For instance, it is lightweight and easy to carry, making it perfect for outdoor activities like camping, backyard movies, or picnics. Secondly, it provides a large screen display of up to 176 inches, which means a theater-like experience from the comfort of your own home. Lastly, it is compatible with most devices and easy to set up, which makes it a good option for beginners or anyone who wants a hassle-free setup.
Cons
Despite the DR.J projector’s excellent features and advantages, it still has some drawbacks. One of these is its low native resolution of 800 x 480, which means the image may not be as sharp as other projectors. Moreover, the fan can be loud at times, which may be distracting when watching quieter scenes in movies. Lastly, it is not suitable for projecting presentations or slideshows in brightly lit rooms.
Reviews
The best way to determine whether a product is worth buying is to read real customer reviews. The DR.J projector has numerous positive reviews on Amazon, with most buyers praising its portability, ease of use, and affordability. While there are a few negative reviews, they are usually related to the low native resolution and noise issue.
Final Verdict
So, is the DR.J Projector worth buying? The answer is yes, especially if you’re looking for a budget-friendly projector that offers great features and portability. It is ideal for home entertainment, gaming, and outdoor activities. While it may not be the best option for professional presentations, its versatility and ease of use make it a good choice for personal entertainment.
In summary, the DR.J projector is a great investment for anyone who is looking for an affordable, versatile, and portable projector. Its numerous features, ease of use, and compatibility make it a go-to for home entertainment, gaming, and outdoor activities. However, if you’re someone who needs a high-resolution projector for presenting, it may not be the best option. Overall, the DR.J projector is a smart choice for anyone who wants to enjoy movies and gaming on a big screen without breaking the bank.
DR.J Projector: How to Connect It to IPhone
The entertainment landscape has been revolutionized by the world of technology, all thanks to the amazing gadgets at our disposal. Among these, the DR.J projector stands out as a remarkable device. It offers an incredible way to enjoy your favorite TV shows, movies, and more, right from the cozy confines of your own home. However, connecting the DR.J projector to your iPhone can be a bit of a challenge, leading to frustration. But fear not! If you happen to be a proud owner of this projector and are seeking guidance on how to connect it with your iPhone, you’ve come to the right place. In this part of our blog post, we will walk you through the process step by step.Let’s dive right in, shall we?
Standby Mode
First things first, ensure that your DR.J projector is in standby mode and not powered off before beginning the connection process. This small precaution can help prevent any interference during the connection procedure with your iPhone.
Connect your iPhone with the adapter cable
Step one involves connecting the adapter cable from your iPhone to the input side of your projector, specifically the HDMI port. An HDMI cable adapter can be easily obtained from a hardware store or online, usually at an affordable price. Once you’ve connected the adapter cable, grab your remote control and select the HDMI input on the DR.J projector. [1]
Check and adjust the iPhone display and design settings
Next, it’s time to make sure your iPhone display and design settings are optimized for a delightful viewing experience. Head over to your iPhone settings, locate the “Display and Brightness” section, and choose a resolution that matches the compatibility of your DR.J projector. This way, you’ll be able to enjoy high-quality visuals on the big screen.
Sit back and enjoy your iPhone on the big screen
You’ve made it! Now it’s time to relax and indulge in your iPhone’s content on the grandeur of the big screen. Whether you’re streaming a show on Netflix, Hulu, or any other platform, the DR.J projector ensures an immersive experience. However, do note that some applications might not display in full-screen mode due to certain restrictions, while others might lack HDMI support. In case you encounter such issues, don’t hesitate to reach out to the app’s support team for assistance in removing these restrictions.
Now you can utilize your iPhone to enjoy any multimedia content on a large screen hassle-free. So, the next time you’re in the mood to stream a video, consider unleashing the full potential of your iPhone by connecting it to the DR.J projector. Say goodbye to compatibility issues, cables, and image quality concerns, and say hello to a remarkable theater-like experience in the comfort of your own home. The possibilities are endless!
DR.J Projector: How to Connect It to Android Phone?
Immerse yourself in the captivating world of cinema with the remarkable DR.J projector. Whether it’s your beloved movies, TV series, or games, this cutting-edge technology allows you to enjoy them on a grand scale. With seamless compatibility across various devices, connecting the DR.J projector has never been easier. Now we will guide you through the simple steps to connect your DR.J projector to your Android phone. Let’s embark on this incredible journey together!
Step 1: Verify Phone’s Compatibility
Before you begin, ensure that your Android phone is compatible with the DR.J projector. Check the back of your phone where the charging port is located. Look for a USB-C, HDMI, or MHL output. If your phone has any one of these outputs, rest assured that it is perfectly compatible with the DR.J projector.
Step 2: Acquire the Ideal Cable
Confirming your phone’s compatibility, it’s time to acquire the appropriate cable. The DR.J projector is equipped with an HDMI port, which means you will need either an HDMI to USB-C or HDMI to MHL adapter. These adapters are readily available online or at your nearby electronic store.
Step 3: Create the Phone-Projector Connection
With the cable adapter in hand, proceed to connect your Android phone to the DR.J projector. First and foremost, power on the projector and insert your adapter cable. Next, connect the adapter cable to your phone. Finally, select the HDMI input on your projector.
Step 4: Fine-tune the Settings
Once your phone is successfully connected to the DR.J projector, minor adjustments might be necessary to optimize the resolution. Navigate to your phone’s settings and select the “Display” option. Look for “Cast Screen” or “Screen Mirroring” and activate this feature. Voila! Now, revel in the spectacle of your phone’s screen magnified to perfection on the projector.
Step 5: Embark on an Enthralling Experience
Congratulations! You are now primed to relish your favorite shows or games on the magnificent big screen. Stream your preferred movies or shows directly from your phone or engage in exhilarating gaming sessions with your friends. The DR.J projector’s stunning resolution and sprawling screen size offer an unparalleled cinematic experience.
Connecting your Android phone with the DR.J projector is a breeze, uncomplicated and hassle-free. By following the aforementioned steps, you will seamlessly merge your phone’s screen with the striking projection, granting you access to an awe-inspiring home theater experience. It is an excellent companion for movies, TV shows, live sports events, and gaming endeavors. Embark on this immersive journey and witness the wonders of the DR.J projector for yourself!
Taking Care of Your DR.J Projector
If you’ve invested your hard-earned money into a DR.J projector, you know how satisfying it is to experience your favorite kind of entertainment with a super clear display and high-quality audio. However, if you want to enjoy this mesmerizing experience for a longer time, taking care of your DR.J projector is crucial. As all the electronic devices, projectors also require maintenance and cleaning, so they continue to function at their best. Here, we’ll share some tips and tricks to take care of your DR.J projector and keep it in tip-top condition.
Keep the Lens Clean
The most important factor that affects the quality of the display is the cleanliness of the projector lens. A dirty lens can result in blurred images and decrease the output of light from the lens. To maintain a clear and sharp display, clean the lens of your DR.J projector regularly.
Control the Humidity and Temperature
Like all electronic devices, DR.J projectors are also sensitive to humidity and temperature changes. Therefore, it’s essential to keep the projector away from moisture and temperature fluctuations. Excessive humidity can result in mold or fungus growth on the projector, while high temperatures can damage the bulb and other components inside. Keep your DR.J projector in a cool and dry place to make it last longer.
Handle the Bulb with Care
The bulb is a highly important part of the projector, and it’s also the most delicate. Any damage to the bulb can affect the quality of the projection or result in the lamp not turning on. Therefore, it’s important to handle the bulb with care. Avoid touching the bulb with bare hands, as skin oil can weaken the bulb’s surface and cause failure. If you need to replace the lamp, ensure that the projector is off for a minimum of 30 minutes before removing it.
Use a Surge Protector
Power surges can cause considerable damage to your DR.J projector. Therefore, it’s important to use a surge protector to safeguard against sudden power spikes. A surge protector can help prevent electrical damage to your projector and prolong its lifespan.
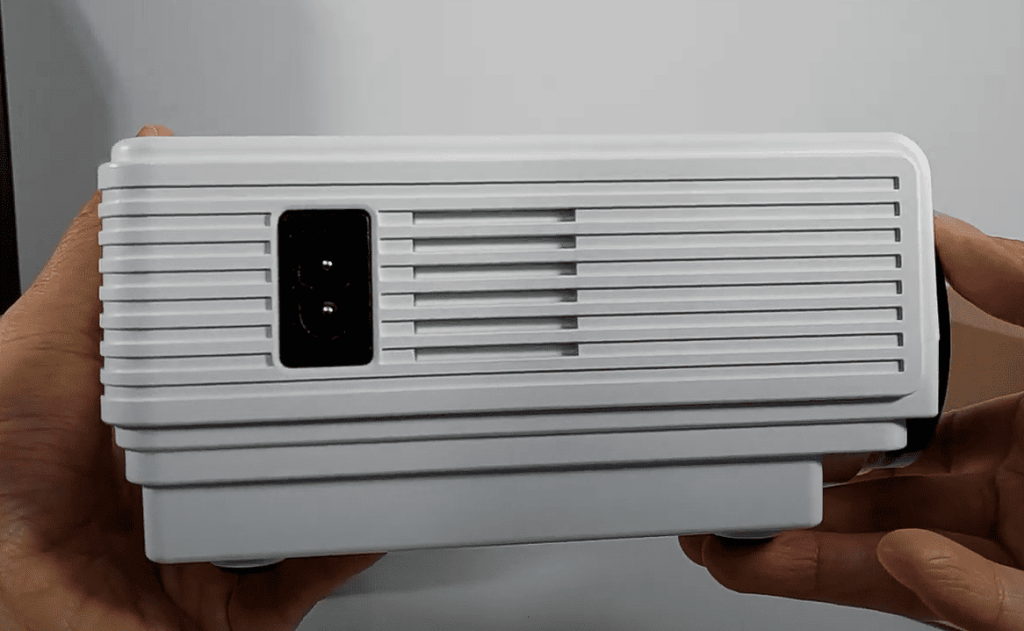
Proper Ventilation is a key
DR.J projectors have a cooling system that prevents overheating. Therefore, ensure proper ventilation so that the projector remains in a cool environment. Make sure you don’t place the projector in a tight space where there is inadequate ventilation.
Taking care of your DR.J projector is essential if you want to continue receiving the excellent display and audio experience it provides. Cleaning the lens, controlling humidity and temperature, handling the bulb with care, using a surge protector, and providing proper ventilation are crucial for a long-lasting projector. By following these simple maintenance tips, your DR.J projector will remain in excellent condition and provide you with the best entertainment experience possible. So, take care of your device and enjoy a mesmerizing display for years to come.
FAQ
Does the DR.J Projector have Bluetooth?
Yes! Many DR.J projectors come with Bluetooth connectivity. It allows you to connect your smartphone, tablet, or laptop wirelessly and stream your favorite content directly to the projector. To connect your device via Bluetooth, turn on the projector and navigate to “Settings.” Select “Bluetooth” and switch the toggle button to “On.” Your device should detect the DR.J projector and prompt you to connect.
How can I connect my IPad to my DR.J projector?
First, you’ll need an HDMI adapter to connect your iPad to the projector. You can purchase the adapter from any electronic store or online marketplace. Once you’ve gotten your adapter ready, connect one end of the HDMI cable to the adapter and the other end to the DR.J projector’s HDMI port. Turn on the projector, and it should detect your iPad and begin projecting your screen onto the wall.
How can I connect my phone to a portable projector?
If your phone doesn’t have the necessary ports, you can use a wireless screen-mirroring solution like Chromecast, Airplay, or Miracast. These technologies allow you to mirror your phone screen to the projector wirelessly using Wi-Fi. To connect your phone via Wi-Fi, turn on the projector, and navigate to “Settings.” Select “Wi-Fi” and switch the toggle button to “On.” Then, open your phone’s settings and turn on Wi-Fi. Select the DR.J projector from the list of available networks and follow the on-screen prompts to connect your phone.
Conclusions
Connecting your phone to your DR.J projector is as simple as following these few easy steps. Once you learn how to connect your phone, it becomes easy to view all your favorite videos, photos, and documents on a bigger screen quickly. Whether it’s your office presentation or a cozy movie night indoors, use the DR.J projector to enhance your viewing experience and immerse yourself in the world of modern entertainment.
How to connect projector to iPhone through 3 in 1 HDMI cable adapter(Black)
References
- https://www.projector1.com/how-to-connect-dr-j-projector-to-phone/amp/