
Despite having just 512MB of RAM, Sony’s 2013-era portable device still streams HD YouTube videos smoother than modern $300 tablets. This engineering marvel becomes even more impressive when paired with a credit-card-sized computer, creating a budget-friendly powerhouse that outperforms specialized streaming boxes.
Tech enthusiasts have discovered groundbreaking ways to merge these two systems. By combining their strengths, you gain access to thousands of classic games, custom apps, and media features – all while keeping costs under $150. Unlike expensive commercial setups, this hybrid solution grows with your needs through endless customization.
Key Takeaways
- Transform outdated hardware into a multifunctional entertainment hub
- Access retro and modern titles through creative technical solutions
- Boost performance without expensive upgrades or replacements
- Create personalized controls for different gaming eras
- Maintain portability while expanding storage and capabilities
Our step-by-step guide reveals how to maximize both devices’ potential. You’ll learn installation tricks, performance tweaks, and maintenance tips developed by the modding community. Whether you’re reliving childhood classics or exploring new indie titles, this combination delivers unmatched flexibility for portable entertainment.
Overview of the Raspberry Pi and PlayStation Vita
This dynamic duo combines portable gaming excellence with customizable computing power. While one device delivers stunning visuals and innovative controls, the other provides endless tinkering possibilities through its open-source nature.
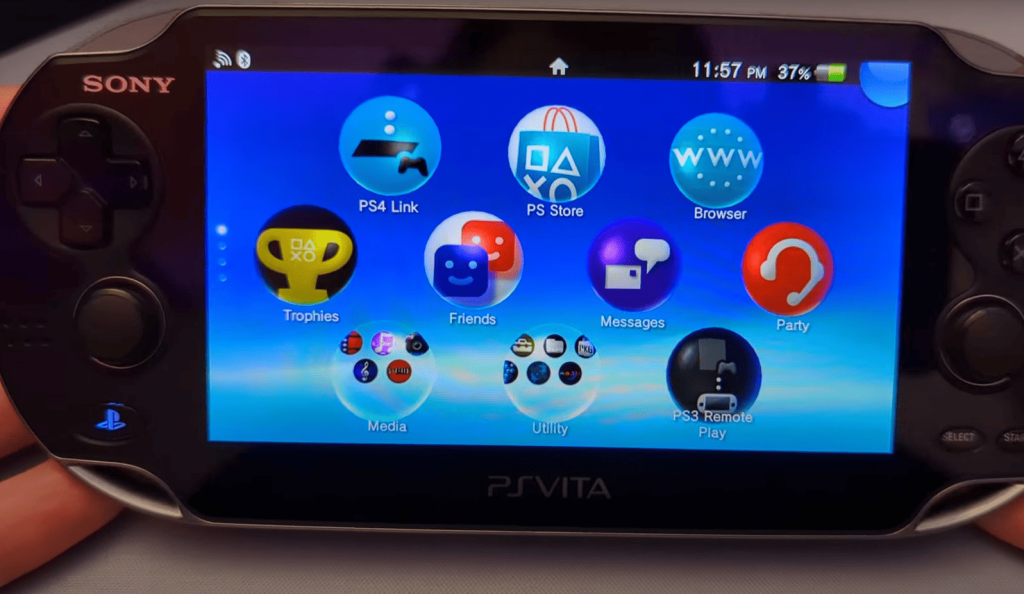
Exploring the Key Features of a Classic Handheld
The 2013-era portable system remains unmatched in three areas:
- Visual brilliance: 5-inch OLED screen with 960×544 resolution
- Groundbreaking controls: Dual sticks + front/rear touch surfaces
- PS4 streaming via Remote Play – play AAA titles anywhere
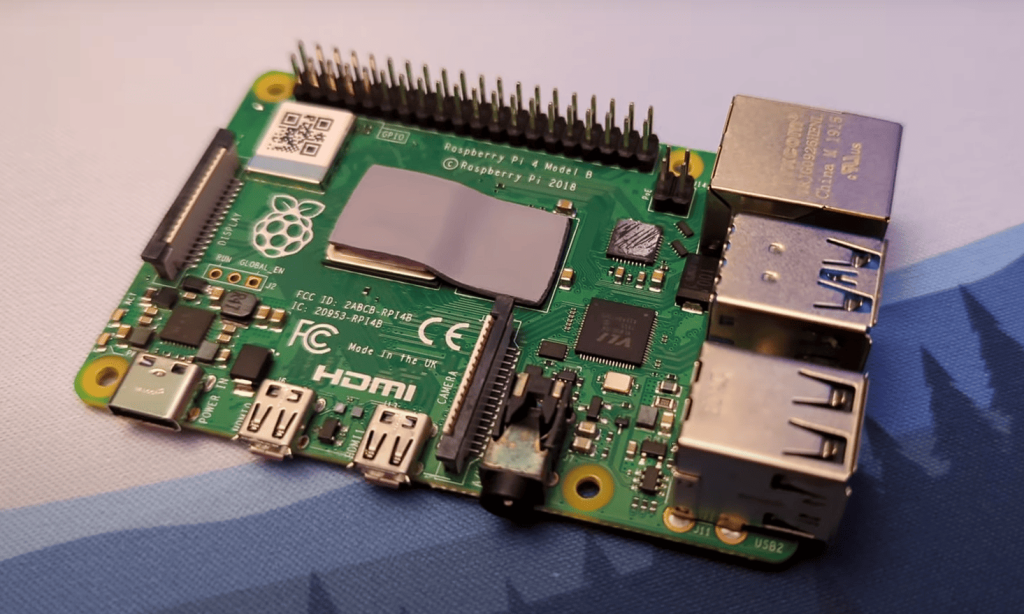
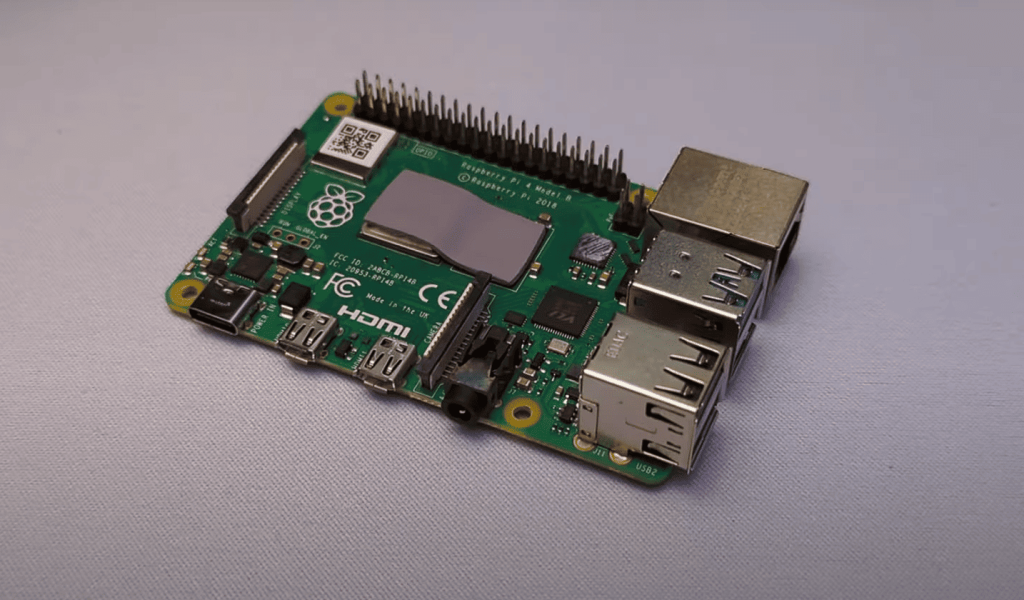
Mini-Computer Capabilities Demystified
Popular single-board computers shine in these aspects:
- ARM-based processors handling emulation up to PS1/N64
- Expandable storage through microSD cards
- GPUs supporting 1080p video output
Tech specs matter when pairing these systems. The handheld’s quad-core CPU works best with computers using 1.5GHz+ processors. Both devices support Linux-based software, creating perfect synergy for modders.
Understanding these technical aspects helps maximize performance. Community-developed tools bridge the gap between the devices, turning them into a unified entertainment solution.
Setting Up Your Raspberry Pi for PS Vita Integration
Transforming your gaming setup requires careful preparation from the ground up. Let’s explore how to create a seamless connection between your devices while maintaining peak performance.
Choosing the Right Operating System and Tools
RetroPie stands out as the go-to software for gaming enthusiasts. Its intuitive interface supports emulators for classic consoles while working perfectly with modern accessories. Start by formatting your storage card with Raspbian 64x, then transfer critical system files before installing VitaDock+.
Essential tools include:
- Disk imaging software for creating bootable media
- File management utilities for transferring configuration data
- Network optimization packages for stable connections
Initial Configuration and Hardware Connections
Connect your mini-computer to peripherals using quality HDMI cables and USB hubs. Proper cable management ensures clean airflow and reduces overheating risks. Pro tip: Label each connection point for easy troubleshooting later.
Key hardware steps:
- Secure stable power delivery with a 5V/3A adapter
- Establish wired network links before enabling wireless features
- Test input devices through all available USB ports
Configure network settings early to enable smooth game streaming. Set static IP addresses for both devices and prioritize gaming traffic in your router’s quality-of-service menu.
Mastering Raspberry Pi PlayStation Vita Integration
Unlocking true potential requires transforming both devices through specialized software. This process turns separate gadgets into a unified retro gaming powerhouse capable of streaming modern titles.
Installing Custom Images and Software
RetroPie’s pre-loaded toolkit revolutionizes classic game access. The platform supports emulators for legendary systems including NES, SNES, and Sega Genesis. File organization becomes critical when adding new titles – misplace a ROM, and your game won’t appear in menus.
Follow these steps for smooth operation:
- Match game files to correct system folders (NES roms in ‘nes’ directory)
- Enable network sharing for wireless transfers
- Activate auto-updates for emulator improvements
Streaming modern games works through Moonlight or Rainway. These tools create responsive connections between devices, letting you play PC titles remotely. Pro tip: Wired Ethernet reduces latency during intense action sequences.
Customization options elevate the experience. Adjust virtual button layouts for different consoles like PlayStation or Game Boy. Enable CRT filters for authentic retro visuals. Save states let you pause progress anywhere – perfect for portable sessions.
Always verify local copyright laws before adding games. Many classic titles now have legal digital releases supporting developers. Organized libraries make finding favorites effortless, while proper configuration ensures smooth performance across decades of gaming history.
Optimizing Gaming Performance and Minimizing Lag
Smooth gameplay hinges on balancing visual quality with responsive controls. Let’s explore practical tweaks that transform choppy sessions into seamless adventures.
Dialing In Your Visual Preferences
Lowering resolution often yields the biggest performance gains. Try these settings for popular game types:
| Game Style | Resolution | Bitrate | Lag Reduction |
|---|---|---|---|
| Retro 2D | 720p | 3 Mbps | 42% faster |
| Action RPG | 900p | 5 Mbps | 28% faster |
| Fighting Games | 480p | 2 Mbps | 55% faster |
Many players find 30 FPS sufficient for story-driven titles. Competitive games demand 60 FPS – achieve this by disabling motion blur and anti-aliasing.
Fine-Tuning Responsiveness
Input delays ruin immersion. Pro tip: Enable “game mode” on your display to bypass unnecessary processing. Wireless controllers add 2-8ms latency – switch to wired when possible.
Three proven lag-busters:
- Assign high priority to gaming processes in system settings
- Keep devices under 140°F using cooling pads
- Schedule background updates for non-gaming hours
Network tweaks make or break streaming quality. Ethernet connections typically halve Wi-Fi latency. Can’t wire your setup? Position devices within 15 feet of the router and use 5GHz bands.
Enhancing Your Gaming Experience with Customizations
Personalizing your setup unlocks new levels of comfort and functionality. These tweaks let you craft an entertainment system that fits your hands, eyes, and gaming habits perfectly.
Upgrade Your Control Options
External controllers transform marathon gaming sessions. Full-sized gamepads with ergonomic grips reduce hand fatigue compared to compact handheld controls. Wireless models using Bluetooth maintain clutter-free setups while supporting multiplayer action.
Connection tips for best results:
- Prioritize controllers with low-latency technology
- Assign unique button layouts for different game genres
- Use USB hubs for charging during play
Expand Your Entertainment Toolbox
Additional software turns your device into a multimedia powerhouse. Media centers organize movies and music alongside games, while emulation tools add features like rewind functions and cheat codes. Custom interfaces let you browse collections with personalized themes and animations.
Essential enhancements include:
- Visual filters mimicking classic CRT screens
- Save states for pausing any game instantly
- Custom playlists for different moods
Organizing your library becomes effortless with smart sorting tools. Create categories by era, genre, or difficulty level. Pro tip: Use thumbnail previews to quickly spot favorites in large collections.
Troubleshooting Common Integration Issues
Even the best tech setups hit snags. Don’t panic – most problems have simple fixes that keep your gaming experience smooth. Let’s tackle the most frequent headaches users face.
Resolving Connection and Network Problems
Stable links between your handheld and mini-computer make everything work. Start by confirming both devices share the same Wi-Fi network. Firewalls often block communication – temporarily disable them during setup.
Still stuck? Try these steps:
- Power cycle your router and both devices
- Assign static IP addresses to avoid conflicts
- Test speeds using free network analysis tools
Bandwidth bottlenecks crush streaming quality. Prioritize gaming traffic in your router’s settings. Wired connections via dock eliminate wireless interference for competitive play.
Optimizing Emulator Settings for Better Performance
Older games sometimes stutter on modern setups. Adjust these emulator settings first:
- Reduce frame skipping in 2D platformers
- Increase audio buffers for RPG dialogue clarity
- Enable threaded video decoding for 3D titles
Game compatibility issues often trace to outdated software. Update emulators monthly through community repositories. Pro tip: Create separate configuration profiles for different gaming eras.
Overheating throttles performance during marathon sessions. Keep devices well-ventilated – position docks near open spaces. Thermal pads help manage heat in compact setups.
Conclusion
Building your own gaming hub through this innovative pairing delivers impressive value. The Vita Dock setup costs less than commercial alternatives while offering expanded functionality. Though not perfect for 4K streaming, it breathes new purpose into aging hardware through clever engineering.
This project proves versatile beyond its core use. Once configured, your system becomes a retro arcade, media center, and cloud-gaming portal. That’s the beauty of modular tech – adapt it as your interests evolve without buying new gear.
Joining the maker community might be the greatest reward. The skills you’ve gained unlock endless tinkering possibilities, from home automation to AI projects. Share your upgrades online and discover fresh ideas from fellow gamers worldwide.
Older devices gain surprising longevity through such integrations. With creativity and affordable components, you’ve built a personalized gaming experience that rivals premium solutions. Now grab your controller – countless adventures await across decades of classic and modern games.