
In an industry where signal clarity makes or breaks performances, mastering connection craftsmanship separates hobbyists from pros. This skill isn’t just for tech wizards – it’s a game-changer for anyone passionate about crisp sound reproduction.
Imagine transforming frayed headphone cords into studio-grade gear or designing custom setups that outperform store-bought options. The ability to create flawless pathways between components unlocks creative freedom while saving hundreds on replacement cables.
This guide reveals the secrets behind achieving professional-grade results without formal training. You’ll learn why proper technique matters more than expensive tools and how tiny details impact overall audio fidelity.
From selecting the right materials to troubleshooting common issues, every step builds toward reliable, noise-free performance. These methods apply equally to quick fixes and ambitious projects, making the knowledge endlessly adaptable.
By embracing this hands-on approach, you’ll join a community of creators who value self-reliance and precision. The confidence gained here might just ignite a lifelong passion for electronics tinkering.
Key Takeaways
- Develop a career-boosting skill that saves money on equipment repairs
- Ensure optimal sound quality through precision-crafted connections
- Customize studio setups with professional-grade cable solutions
- Build foundational knowledge for advanced electronics projects
- Transform basic tools into powerful audio-enhancing instruments
Introduction to Audio Soldering
Precision in electrical joins defines professional-grade sound systems. Unlike standard electronics work, crafting clean pathways for music signals demands meticulous attention to detail. Flawless conductivity ensures your favorite tracks play without hisses or dropouts.
Understanding the Importance of Quality Connections
Every joint acts as a gatekeeper for sound purity. “A single cold splice can turn symphonies into static,” notes recording engineer Mara Vinson. Imperfections create resistance, distorting delicate frequencies and introducing background noise.
Proper technique prevents three common issues:
- Signal degradation from oxidized surfaces
- Mechanical stress fractures
- Electromagnetic interference
Overview of the Soldering Process
Mastering this craft begins with tinning – coating components before final assembly. Heat the soldering iron to 650°F, then melt alloy onto wire strands and connector tabs. This pre-treatment ensures faster, stronger bonds during actual joining.
“Tinning is like priming a canvas – it creates the perfect base for your masterpiece connection.”
Modern methods accommodate both lead-based and eco-friendly alloys. While lead-free options require higher temperatures, both produce studio-worthy results with proper heat management. Always inspect joints under bright light before testing.
Required Tools and Safety Precautions
Transforming your workspace into a precision audio lab starts with smart preparation. The right equipment setup separates frustrating failures from flawless first attempts.
Essential Soldering Tools and Materials
A 25-watt temperature-controlled iron forms your foundation. Paired with rosin-core lead-free alloy, this combo handles delicate conductors without overheating. Keep a damp sponge nearby – oxidized tips ruin conductivity faster than cheap headphones.
Professional-grade wire strippers prevent nicked strands in copper cores. Add flux paste to dissolve oxidation and watch joints flow like melted butter. For complex projects, weighted helping hands with alligator clips become your extra set of fingers.
“Treat your iron like a chef’s knife – clean, sharp, and always within reach.”
Safety Measures and Workspace Setup
Heat-resistant silicone mats protect tabletops from accidental burns. Position your iron holder near the workspace edge – away from elbow bumps. Ventilation matters; open windows or use a fume extractor when working indoors.
Organize tools within arm’s reach but never under dangling cables. Check power cords for frays before plugging in. Always return the heated iron to its stand between uses – 650°F surfaces don’t forgive distractions.
Bright task lighting reveals cold joints before they compromise sound quality. Store flammable materials in closed containers, and keep a fire extinguisher visible. With these precautions, you’ll craft connections that outlast your favorite playlist.
Preparing Your Audio Cable and Connector
Clear sound transmission starts at the cable’s core. Proper preparation ensures every frequency reaches its destination unchanged. Let’s break down the critical steps for creating reliable connections.
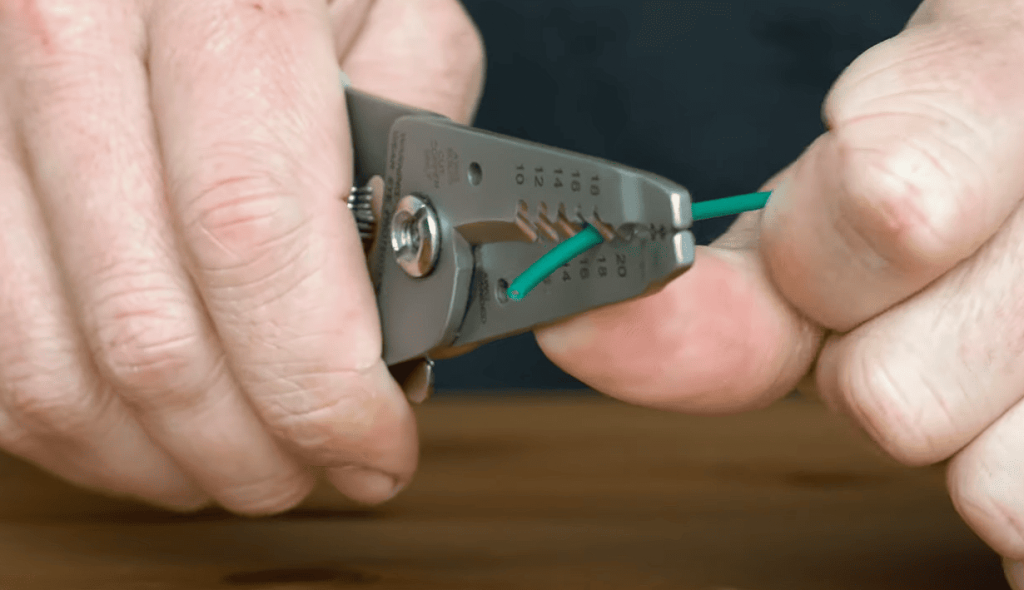
Stripping and Prepping the Cable
Begin by unscrewing your TRS connector to reveal its solder tags. These metal contacts vary between models – some have L-shaped tabs, others use flat plates. Identify each tag’s purpose before proceeding.
Balanced cables contain three conductors:
- Positive (red insulation)
- Negative (black insulation)
- Bare copper ground
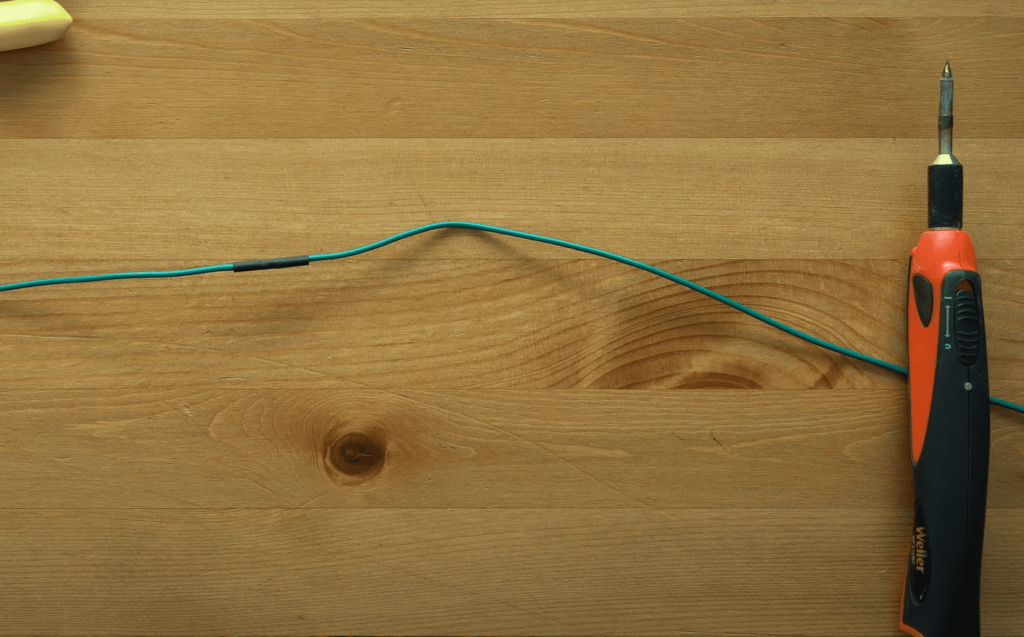
Strip the outer sheath carefully using wire strippers set to 1/8”. Expose 3-4mm of inner conductors for TRS plugs. Twist copper strands clockwise to prevent fraying. Pro tip: Slide heat shrink tubing onto the cable first – forgetting this step ranks as the #1 rookie mistake.
“A well-prepped cable looks like surgical steel – clean, precise, and ready for action.”
Identifying Connector Types and Their Features
Different plugs serve unique purposes in sound systems. Use this comparison chart to match connectors with your project needs:
| Connector Type | Best For | Conductors | Strip Length |
|---|---|---|---|
| TRS (1/4″) | Studio monitors, balanced signals | 3 | 3-4mm |
| XLR | Microphones, pro gear | 3 | 5mm |
| TS (1/4″) | Guitars, unbalanced signals | 2 | 4mm |
Notice how ground wires differ between models. TRS connectors use separate tags for each conductor, while XLRs employ numbered pins. Always double-check manufacturer diagrams before making permanent joins.
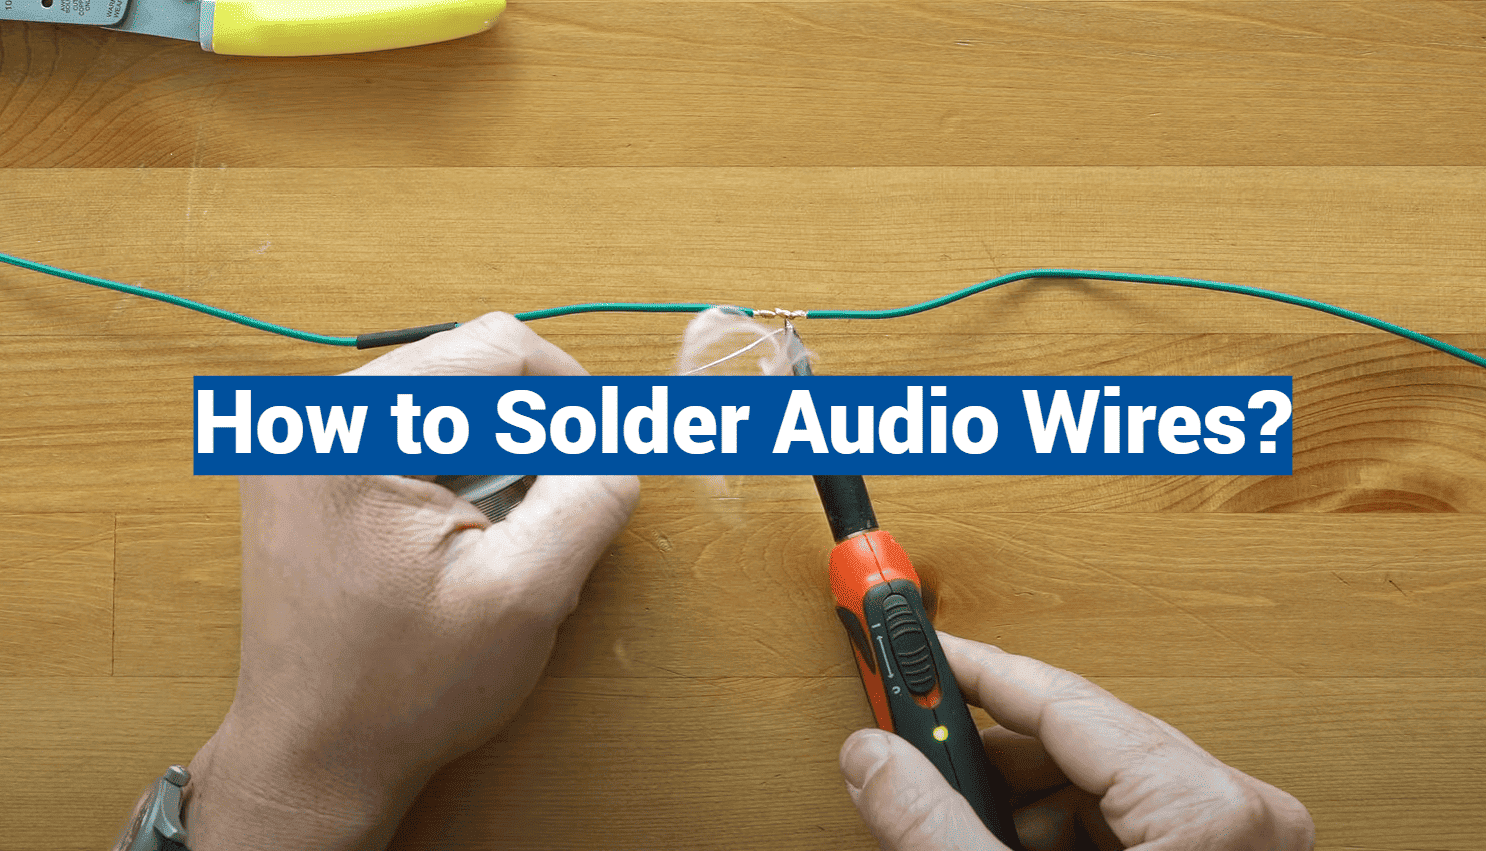
Step-by-Step Guide: How to Solder Audio Wires
Transforming raw components into noise-free pathways requires methodical execution. Follow these battle-tested methods to ensure your work stands up to stage rigors and studio scrutiny.
Mastering Connector Preparation
Secure your connector using weighted clamps for stability. Apply flux to exposed copper strands – this magical paste helps molten alloy flow smoothly. Heat the metal tab for 3 seconds before introducing your soldering iron tip.
Feed solder upward into the heated area until a shiny silver layer forms. Rotate the piece to coat all sides evenly. Proper tinning prevents air pockets that crack under vibration stress.
Building Durable Bonds
Align pre-tinned surfaces and reheat them simultaneously. Watch for the telltale shimmer as both elements merge. Remove heat immediately after the alloy flows freely – overcooking creates brittle joints.
Inspect each connection under bright LEDs. Quality work shows smooth contours without spikes or dull patches. Test flexibility by gently tugging wires; solid bonds withstand moderate pressure.
“Great connections sing when tapped – literally. A clear ring means proper fusion.”