
Did you know nearly 40% of CPAP users experience technical hiccups within their first year of therapy? While modern sleep apnea devices are designed for reliability, even top-tier machines like the AirSense 11 occasionally need troubleshooting. This guide helps you tackle those moments confidently.
The AirSense 11 combines cutting-edge comfort with smart features to simplify sleep therapy. Its quiet operation and automatic pressure adjustments make it a favorite among patients. But like any advanced medical device, it may display alerts that pause your treatment.
Understanding these notifications ensures your machine works smoothly night after night. Most issues can be fixed quickly—like clearing a blocked air pathway or resetting the humidifier. With basic knowledge, you’ll avoid skipped therapy sessions and maintain consistent health benefits.
We’ll walk through common scenarios step-by-step. You’ll learn when a simple filter change solves the problem versus needing professional support. By the end, you’ll feel empowered to handle most challenges independently while knowing exactly when to contact your care team.
Key Takeaways
- The AirSense 11 prioritizes comfort but may occasionally show technical alerts
- Quick fixes often resolve minor issues without interrupting sleep schedules
- Regular maintenance reduces the frequency of error messages
- Always check device manuals before attempting repairs
- Persistent errors may indicate needing replacement parts or expert assistance
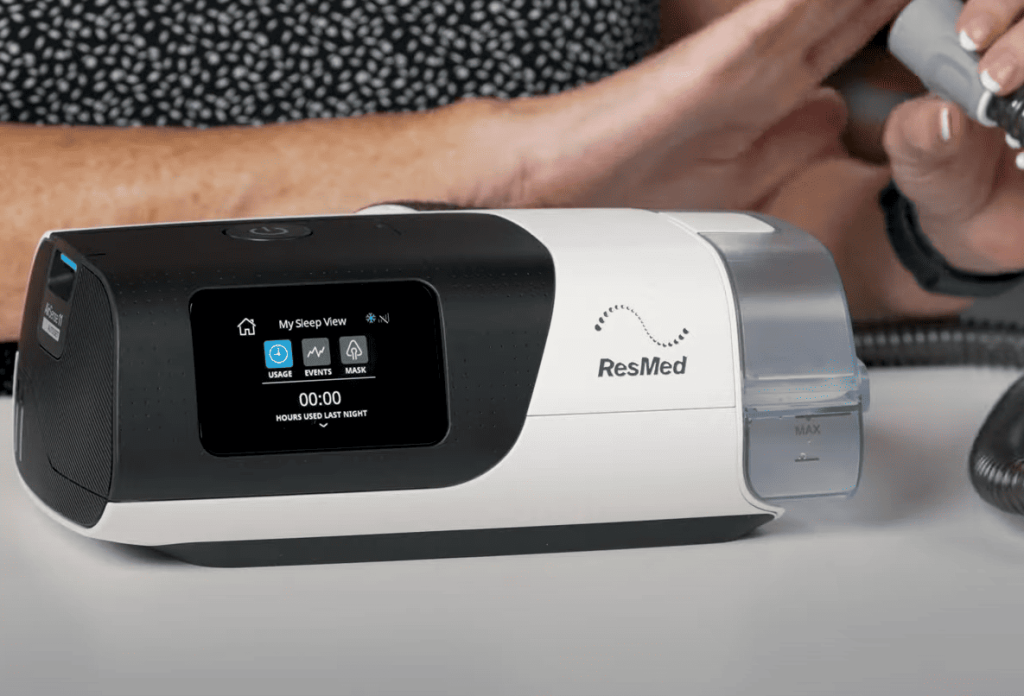
Overview of the ResMed AirSense 11 and Its Key Features
Modern CPAP machines prioritize comfort through intelligent design. One standout model combines a built-in humidifier with automatic climate control, creating a personalized sleep therapy experience. These features work together to reduce common discomforts like dry airways while maintaining consistent airflow.
Humidification and Temperature Management
The HumidAir™ system adjusts moisture levels based on room conditions. Paired with ClimateLineAir™ heated tubing, it delivers air at your preferred temperature. This dual approach prevents rainout (condensation in tubing) and keeps your therapy session irritation-free.
Automated Therapy Functions
SmartStart begins treatment when you breathe into your mask, while SmartStop pauses it after removal. The AutoSet™ algorithm goes further—it tracks breathing patterns 20 times per second. This real-time adjustment helps maintain ideal pressure without manual input.
Wireless connectivity through the myAir app lets users review sleep data easily. Over 80% of patients report better compliance when tracking progress this way. Together, these features create a seamless therapy routine that adapts to individual needs.
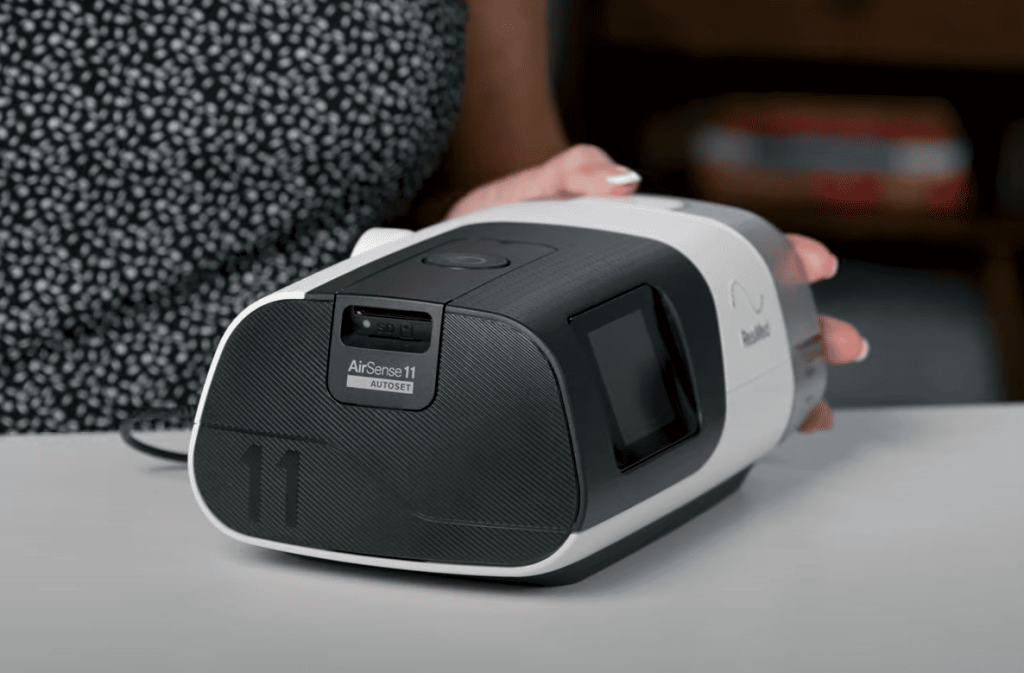
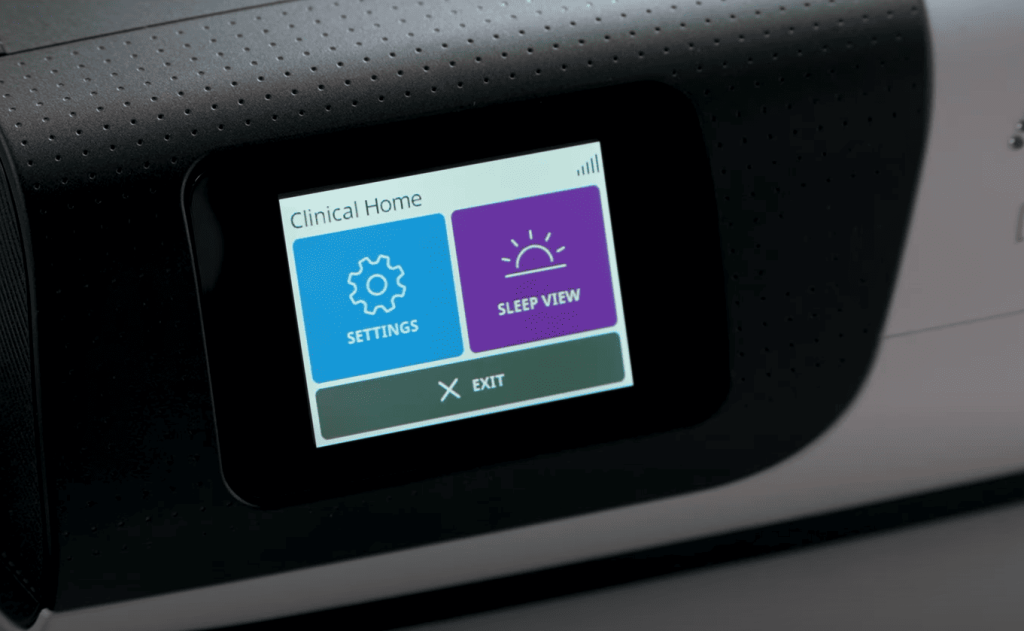
Navigating the AirSense 11 Interface and Display
Ever wondered what those icons on your sleep device mean? The intuitive touch screen acts like a personal therapy coach. Clear visuals guide you through settings while keeping treatment data front and center.
Interpreting Screen Indicators and Symbols
Five bars in the top right corner show cellular strength. A slashed symbol here means your machine can’t connect to networks. Check the “About” menu if bars appear crossed out—this confirms signal status.
Spot a blue snowflake? Your humidifier’s cooling down after use. This symbol disappears once the chamber reaches room temperature. Don’t unplug the device during this process.
Daily therapy stats display usage hours and mask seal ratings. Green checkmarks mean you’ve hit treatment goals. Red exclamation points suggest adjustments—like tightening straps or refilling water.
Tap the home icon to access comfort features. Adjust humidity levels or toggle ramp-up times in three taps. The corner screen flashes orange for urgent alerts, like low water or blocked airflow.
Nightly updates appear in the top right corner during use. These fade automatically so they won’t disrupt sleep. For detailed reports, swipe left to view weekly trends.
Mastering these symbols turns your machine into a helpful partner. You’ll spend less time troubleshooting and more time resting well. Remember: consistent therapy relies on understanding these visual cues.
Decoding ResMed AirSense 11 Error Codes
What if your sleep therapy device started speaking in riddles? While technical difficulties are rare, recognizing what your machine tells you ensures uninterrupted care. These alerts act as a diagnostic language, helping users address issues before they impact therapy quality.
Error Code Definitions and Meanings
Your CPAP communicates through specific alerts. A blinking wrench symbol often signals a system fault, while repeated beeps may indicate airflow blockages. Most codes fall into three categories: sensor errors, power irregularities, or humidity control hiccups.
For example, “E01” typically relates to mask seal failures. “S9” codes often involve motor speed inconsistencies. Always check your manual first—it translates these signals into actionable steps.
How to Identify the Source of the Error
Start with simple checks when alerts appear. Is the water chamber seated properly? Are filters clean? Many system fault warnings resolve after restarting your machine.
Document patterns: Do errors occur during ramp-up? After refilling water? This helps distinguish temporary glitches from hardware concerns. For persistent issues, note the code sequence and contact support with details like “Error S2 during humidifier use.”
Remember: 70% of CPAP alerts stem from user-rectifiable issues. Methodical troubleshooting maintains your therapy routine while avoiding unnecessary service calls.
Troubleshooting Humidifier and Climate Control Issues
Ever wake up to a dry throat despite using your sleep device? Climate management systems sometimes need attention to maintain comfort. Let’s explore solutions for moisture-related challenges that could disrupt your nightly routine.
Resolving Humidifier Heating Failures
A non-heating humidifier chamber often stems from simple fixes. First, inspect the water chamber for cracks—even hairline fractures prevent proper sealing. Replace damaged components immediately if you spot issues.
Check your settings: Manual mode ensures full control over moisture output. Run the warm-up feature before bedtime to test the heating plate. If no heat develops after 10 minutes, power-cycle your device.
- Clean mineral deposits weekly with vinegar solutions
- Verify chamber alignment—misplaced units won’t activate heating
- Contact support if the heating element remains inactive after troubleshooting
Fixing Condensation and Water Leaks
Gurgling sounds during therapy usually signal excess moisture in tubing. Adjust your climate control settings—lower the humidity level by one notch if automatic mode causes pooling.
Leaks often occur from improperly seated chambers. Push the water chamber firmly until it clicks into place. For persistent drips:
- Inspect rubber seals for wear
- Use distilled water to reduce mineral buildup
- Elevate your device slightly above mattress level
Remember: Consistent maintenance prevents 80% of moisture-related issues. Wipe down the humidifier chamber daily and let it air dry between uses for optimal performance.
Addressing Air Leaks and Mask Fit Problems
What steals your sleep quality more than mask leaks? Proper sealing ensures your treatment works as designed. Let’s explore practical fixes for common sealing challenges.
Ensuring a Secure Mask Fit
Your device’s mask fit feature acts like a personal fitting assistant. Activate it during setup—the machine increases pressure temporarily to test seal quality. Listen for whistling sounds indicating escape routes.
Adjust straps gradually while lying down. Over-tightening causes discomfort and red marks. Aim for a snug fit that allows one finger to slide under the headgear.
Solutions for Mouth Leaks and Cushion Wear
Nasal users often battle midnight mouth openings. Try a chin strap to keep jaws closed naturally. For persistent issues, consider switching to a full face mask that covers both nose and mouth.
Inspect cushions weekly for flattening or tears. Replace them every 3-6 months—softer materials lose shape faster. Clean daily with mild soap to maintain flexibility.
| Mask Type | Best For | Leak Solutions | Maintenance Tips |
|---|---|---|---|
| Nasal Pillow | Active sleepers | Adjust pillow size | Replace monthly |
| Nasal Mask | Mouth breathers | Add chin strap | Wipe daily |
| Full Face | High pressure needs | Check frame alignment | Clean cushion daily |
Consistent care prevents 70% of sealing issues. Store your CPAP mask in a clean, dry area between uses. Small habits create big differences in therapy success.
Resolving Connectivity and myAir App Issues
Ever had trouble syncing your sleep progress? Connectivity hiccups can disrupt how your device shares therapy data with healthcare teams. Let’s fix those wireless wrinkles so you never miss a progress update.
Improving Wireless Connection and Signal Strength
Your machine uses cellular networks—not WiFi—to transmit information. Check signal strength through the bars top right on the display. Three or fewer bars? Reposition your CPAP near a window or higher surface.
Persistent connection issues often resolve with a restart. Unplug your device for 30 seconds, then reconnect. If the top right indicator still shows crossed-out bars, contact your cellular provider about coverage gaps.
Troubleshooting Data Syncing with the myAir App
When therapy data won’t sync, first check for myAir app updates. Outdated versions often cause mismatches. Still stuck? Delete and reinstall the app—your login stays intact.
Verify your serial number matches the one in the app’s device settings. Mismatches prevent data flow. Find this number under your machine’s water chamber or in the “About” menu.
| Issue | Quick Fix | When to Seek Help |
|---|---|---|
| No signal bars | Reposition device | Bars stay crossed out for 48hrs |
| App won’t sync | Reinstall myAir | Data missing >3 days |
| Serial number mismatch | Re-register device | App shows “invalid device” |
For chronic connection problems, use the SD card slot. It stores therapy data locally until networks stabilize. Your care team can upload this info during checkups.
Fixing System Faults and Error Messages
Ever been jolted awake by unexpected beeps during treatment? Most system fault alerts respond well to basic troubleshooting. Let’s explore when a quick reset solves the problem versus needing expert help.
When to Reset vs. Restart
Start by pressing the power button for three seconds. This soft restart preserves your therapy data while refreshing the machine’s systems. If the error reappears, try power cycling: unplug the device for 30 seconds before reconnecting.
Persistent glitches might require a factory reset. Hold the power button and home icon simultaneously for five seconds. Note: This clears personalized settings, so document your preferences first.
- Daily shutdowns prevent overheating
- Keep your CPAP away from extreme temperatures
- Update software monthly through the myAir app
Watch for patterns. Does the system fault occur after refilling water? During ramp-up? These clues help determine if it’s a temporary glitch or hardware concern. Contact support if errors persist through multiple restarts.
Remember: 85% of technical difficulties resolve without professional help. Regular maintenance and proper shutdowns keep your machine running smoothly. When in doubt, your care team can review error logs remotely through the app.
Adjusting Pressure Settings for Optimal Therapy
Personalized sleep treatment requires precise airflow calibration. While modern devices automatically adapt to breathing patterns, occasional manual adjustments might enhance comfort. Always consult your healthcare provider before modifying pressure settings—improper changes could reduce treatment effectiveness.
Managing Low and High Pressure Concerns
Struggling to exhale against strong airflow? Waking up feeling unrested? These signal potential pressure mismatches. Low therapy air flow often causes persistent snoring or mask leaks. High pressure might lead to dry mouth or difficulty falling asleep.
Track symptoms in a sleep journal for 3-5 nights. Note events like:
- Midnight awakenings with shortness of breath
- Morning headaches despite full usage
- Nasal congestion worsening during treatment
Share these observations during medical checkups. Your care team can interpret patterns and adjust CPAP therapy parameters safely.
Utilizing Ramp and Pressure Adjustment Features
The ramp function acts as a gentle warm-up for your airways. It starts therapy at lower pressure, gradually increasing to prescribed levels over 5-45 minutes. This helps 68% of users acclimate more comfortably according to sleep studies.
“Think of ramp settings like easing into a hot bath—sudden intensity causes discomfort, while gradual adaptation improves tolerance.”
To optimize this feature:
- Activate ramp mode during initial setup
- Choose shorter durations if you fall asleep quickly
- Pair with heated humidity to prevent dryness
Remember: Machine adjustments should always align with your provider’s recommendations. Regular follow-ups ensure your pressure settings evolve with changing sleep needs.

SmartStart and SmartStop Operational Issues
Imagine your therapy device starting automatically—except when it doesn’t. These smart features simplify treatment but may occasionally need attention. Let’s explore why your device might not respond as expected and how to restore its intuitive functions.
Verifying Feature Enablement and Mask Settings
First, confirm both features are active in your device menu. Navigate to comfort settings and check for green checkmarks beside SmartStart/Stop. If disabled, toggle them on and test by breathing into your mask.
Proper mask alignment matters. A nasal pillow mask requires snug placement to trigger sensors. Adjust straps while lying down—your nighttime position affects fit. If the device doesn’t start, try a test breath while holding the mask gently against your face.
Compatibility issues sometimes arise with older mask models. Ensure your nasal pillow mask has updated connectors that work with the feature airsense technology. Clean mask ports weekly to prevent debris from blocking airflow detection.
For persistent problems, power-cycle your device and recheck settings. Most glitches resolve after a restart. If SmartStop still won’t pause therapy, contact your supplier—firmware updates often restore seamless operation.