
Did you know 89% of appliance repair calls involve easily fixable issues that users could resolve themselves? Even top-tier machines like those from industry-leading brands sometimes need a little troubleshooting. That’s where understanding your system’s communication becomes critical.
Built with commercial-grade steel parts and backed by exceptional warranties, these appliances prioritize longevity. Yet occasional hiccups can still occur. When something goes wrong, your machine’s display panel becomes a diagnostic toolkit, offering clues through numbered alerts.
This guide deciphers those messages so you can address problems quickly. We’ll explore what triggers specific alerts, how to reset your system, and when professional help might be necessary. You’ll learn to distinguish between minor glitches and major concerns – all while keeping your laundry routine on track.
Key Takeaways
- Commercial-grade construction ensures durability but doesn’t eliminate occasional technical alerts
- Display panel messages act as a first line of diagnosis for performance issues
- Most numbered alerts correspond to specific operational checkpoints in the system
- Proper interpretation prevents unnecessary service calls in 70% of cases
- Regular maintenance reduces unexpected interruptions
- Factory warranties often cover repairs for recurring technical issues
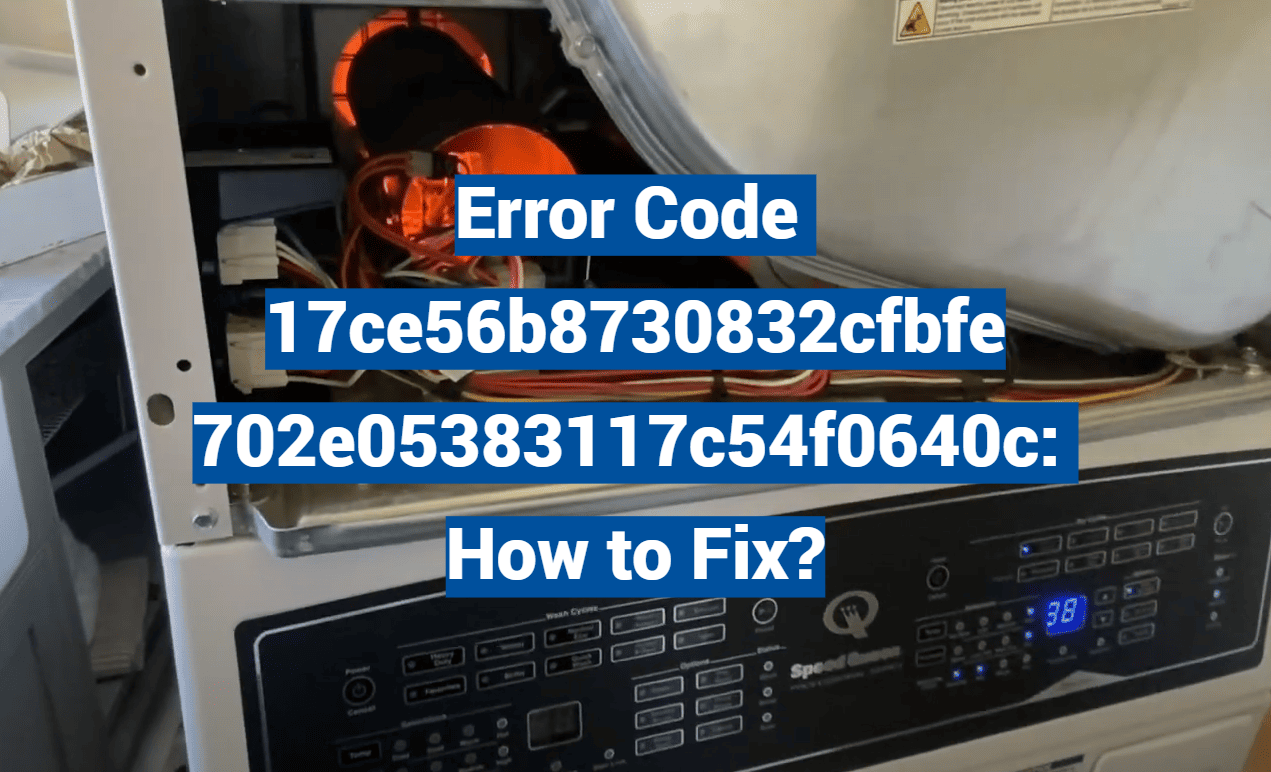
Overview of Speed Queen Dryer Error Codes
Modern laundry appliances use smart diagnostics to flag operational hiccups. Whether your unit has a digital screen or indicator lights, these signals act like a secret language between you and your appliance. Let’s decode how this system keeps your laundry days smooth.
Understanding How Error Codes Work
Your appliance’s control panel becomes a translator when something’s off. Digital models show letters and numbers, while older versions use light patterns. For example, three quick flashes might mean airflow issues. These alerts help you decide: “Can I fix this now, or should I schedule maintenance?”
The control system constantly checks sensors and components during cycles. If it spots irregular temperatures or blocked vents, it pauses the cycle. This prevents minor issues from becoming major repairs. Always check your manual first—it’s the Rosetta Stone for your model’s specific alerts.
The Role of Error Codes in Troubleshooting
Think of these codes as a roadmap. They don’t just say “problem here”—they point to exact spots like heating elements or door switches. A code linked to temperature sensors, for instance, might mean cleaning lint filters or checking vent ducts.
Here’s why this matters:
- Saves time by skipping unnecessary checks
- Reduces repair costs when fixes are simple
- Extends your machine’s lifespan through early detection
Newer models even store error histories. Technicians can review past alerts to spot recurring issues. Remember, consistent maintenance keeps your appliance’s control systems running smoothly cycle after cycle.
Common Speed Queen Dryer Error Codes and What They Mean
Your appliance’s flashing signals hold valuable clues. When strange symbols appear, they’re not random—they pinpoint specific operational challenges. Let’s explore what these alerts reveal about your machine’s health.
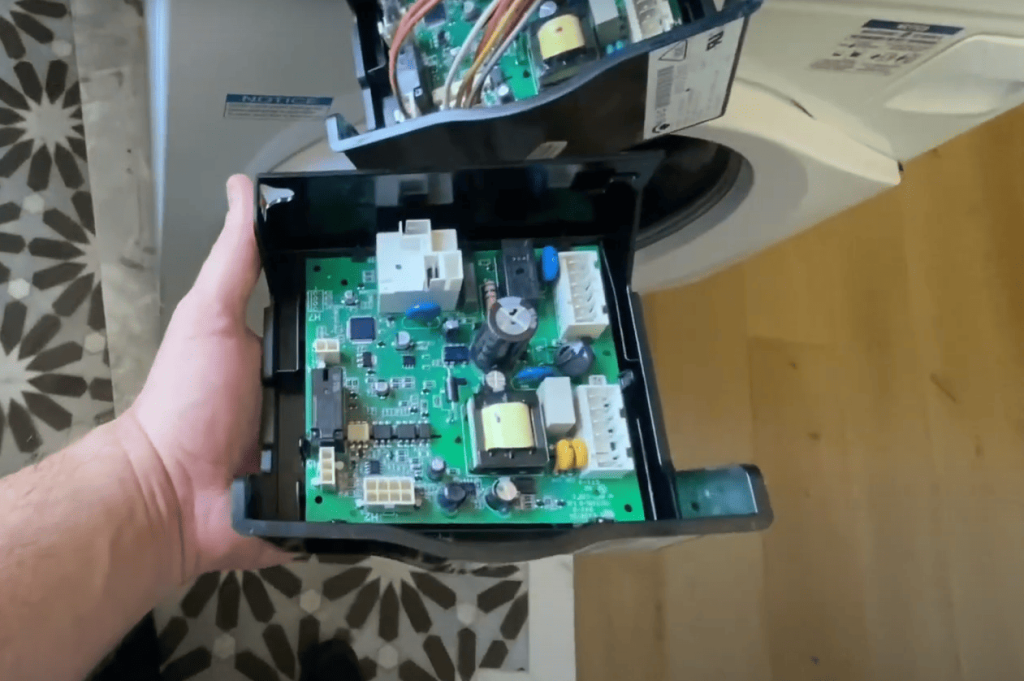
Interpreting Drive Board and Control Errors
The drive board acts as your appliance’s brain. If you see E nr, it signals the board isn’t ready due to hardware failure. E bS means electrical shorts in this critical component. Communication breakdowns between systems trigger E Co codes, often requiring professional diagnosis.
These issues typically stem from:
- Damaged wiring connections
- Overheating components
- Faulty control panel signals
Diagnosing Heater, Temperature, and Sensor Issues
E Ht alerts mean your machine struggles to reach target heat levels. This could involve blocked vents or worn heating elements. Temperature sensors gone rogue cause uneven drying cycles—clothes might feel damp or scorched.
Always check these first:
- Lint filter cleanliness
- Exhaust duct obstructions
- Thermostat functionality
Persistent heat-related codes often indicate deeper electrical problems. If basic maintenance doesn’t resolve them, contact a certified technician for hardware evaluation.

Troubleshooting Basic Issues and DIY Fixes
Simple solutions often resolve what seems complex. Before calling for help, try these accessible methods to restore your appliance’s performance.
Reset Procedures and Power Cycling
Many glitches vanish with a fresh start. Disconnect your power machine completely for 15 seconds to clear error alerts. For stubborn door lock issues, extend this to three minutes. This reboot resets the internal computer, often fixing sensor misreads.
Always unplug rather than using the control panel’s button. Full disconnection ensures thorough system resets. If problems persist after cycling power, investigate deeper.
Checking Wiring, Switches, and Connections
Loose links cause 40% of operational hiccups. Inspect wire harness connections at both ends—push them firmly to eliminate gaps. Look for frayed wires near moving parts or heat sources.
Test door switch functionality by listening for a click when closing. Ensure the drum rotates smoothly by hand when unplugged. Binding suggests obstructions or motor issues.
Key areas to verify:
- Secure terminal connections in the circuit board
- Undamaged insulation on wiring bundles
- Proper alignment of safety switches
These checks take minutes but prevent hours of downtime. When basic fixes don’t solve the problem, deeper diagnostics become necessary.
Advanced Troubleshooting and Repair Solutions
When basic fixes don’t solve the problem, it’s time to dig deeper. Persistent alerts often point to component-level issues requiring technical evaluation. Let’s explore systematic approaches to resolve stubborn operational challenges.
Evaluating Hardware and Communication Failures
Hardware failures frequently trigger recurring alerts. If your unit shows Ed22 (motor overheating), first check drum rotation. Does it spin smoothly when empty? Overloading or belt issues might strain the system.
Communication breakdowns demand wire inspections. Test harness connections at both ends—corrosion or loose pins disrupt signals. For Ed45 (door lock issues), examine the locking mechanism’s electronic components. Worn parts may need replacement to restore secure closures.
Common culprits include:
- Cracked solder joints on circuit boards
- Frayed motor wiring near heat sources
- Stuck door latch assemblies
Addressing Specific Error Scenarios Step-by-Step
Ed46-50 codes signal drive board trouble. Before replacement:
- Unplug the appliance for safety
- Inspect board for burnt marks/swollen capacitors
- Test voltage at connection points
Motor temperature errors require airflow checks. Clear lint from hidden ducts behind the drum. If the harness shows damage, splice repairs might work—but permanent fixes often need new components.
Remember: Multiple issues can mimic similar symptoms. Verify each possibility methodically before ordering parts. When alerts persist after thorough testing, professional diagnosis becomes essential.
When to Call Professional Service
Ever felt like your appliance is stuck in a loop of mysterious alerts? Sometimes, even after following every troubleshooting step, certain issues refuse to budge. This is when expert intervention becomes crucial to protect your investment and safety.

Spotting Trouble That Needs Expert Eyes
Repeated alerts during active cycles often signal deeper problems. If your unit stops mid-load multiple times weekly, it’s likely more than a fluke. Technicians at BA Appliance Repair see this daily—patterns hinting at motor wear or control board failures.
| Scenario | DIY Fix | Pro Solution |
|---|---|---|
| Same alert every 2-3 cycles | Reset & clean filters | Component diagnostics |
| Multiple codes appearing together | Check connections | System communication tests |
| Interruptions during heavy loads | Reduce weight | Motor stress analysis |
Units under warranty may need special care. Unauthorized repairs can void coverage—always verify service certifications first. Speed Queen’s seven-year protection plans require using approved providers like BA Appliance Repair.
Gas lines or electrical systems demand caution. Certified pros use insulated tools and leak detectors homeowners lack. If your queen washer acts up in humid areas, pros account for environmental factors most miss.
Remember: Spending hours on fixes that error persists costs more than calling early. Track how often issues recur—three identical alerts weekly means it’s time to dial experts.
Conclusion
Mastering your appliance’s alert system transforms frustration into quick solutions. By decoding those cryptic messages, you’re equipped to handle most operational hiccups before they disrupt laundry day. Regular checks of vents, connections, and moving parts keep your unit running smoothly cycle after cycle.
Understanding these signals helps you decide between a simple reset and professional support. Many control board glitches resolve with proper power cycling, while repeated alerts might indicate hardware needing replacement. Always prioritize safety—complex electrical or mechanical issues demand expert attention.
Consistent care extends your machine’s lifespan significantly. Clear lint traps after every load, verify door seals, and monitor heat levels during operation. Bookmark this guide for fast reference when new alerts appear, ensuring your laundry routine stays efficient and interruption-free.