

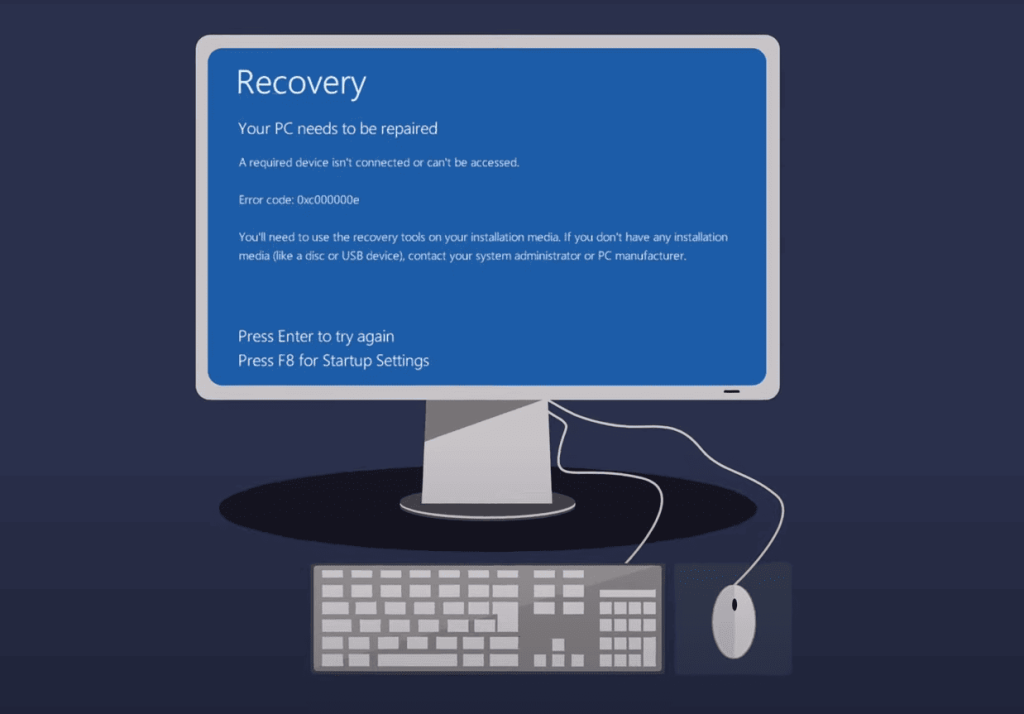
Did you know that 1 in 5 PC users encounter boot-related issues annually? When your screen flashes a black or blue alert with messages like “your PC needs to be repaired” or “a device isn’t connected,” it’s more than just a minor hiccup. This sudden roadblock locks you out of your files, workflows, and even critical updates—a nightmare for anyone relying on their computer daily.
Whether you’re on Windows 11 or Windows 10, this startup glitch often ties back to hardware detection failures or corrupted system files. The Boot Configuration Data (BCD) might be missing, or your drive isn’t communicating properly during boot. Without access to troubleshooting tools, the frustration skyrockets—especially when deadlines loom or personal data feels at risk.
But here’s the good news: this isn’t a death sentence for your machine. With the right steps, you can rebuild the BCD, repair damaged files, or reconnect storage devices safely. We’ll guide you through practical fixes—no technical jargon, just clear solutions to restore normalcy.
By the end of this guide, you’ll not only resolve the immediate issue but also gain insights to prevent future disruptions. Let’s dive in and reclaim control of your system.
Key Takeaways
- Boot failures often stem from hardware detection issues or corrupted system files.
- Windows 10 and 11 users face similar symptoms, like inaccessible startup screens.
- Repairing the BCD or reconnecting storage drives can resolve most cases.
- Data recovery is possible even if the system appears completely locked.
- Proactive backups reduce risks during troubleshooting.
Understanding error code 0xc00000e and Its Causes
When your computer greets you with a blue screen instead of your desktop, it’s often wrestling with two main challenges. Let’s break down why your system might struggle during boot-up and how to identify the root cause.
When Components Don’t Communicate
Your storage drive is like a librarian—it needs to hand Windows the right books (system files) at startup. If cables become loose or connections degrade, your hard drive might not “check in” properly. This happens frequently with aging SATA cables or improperly seated M.2 drives.
External drives left plugged in during startup can sometimes confuse your BIOS. You might notice this if your computer temporarily recognizes a USB stick as the primary boot device. Always double-check physical connections before diving into software fixes.
Missing Instructions for Startup
Imagine your Boot Configuration Data as a GPS route for Windows. Corrupted system files from abrupt power loss or malware can erase critical directions. When this happens, your PC becomes like a driver without a map—it knows where to go but not how to get there.
Three common culprits damage these configuration data files:
- Improper shutdowns interrupting write processes
- Outdated drivers conflicting with new updates
- Malware altering boot sequence priorities
Spotting the difference between hardware and software issues is key. If your BIOS detects drives but Windows won’t load, focus on system files repair. No drive detection? Start with physical inspections.
Rescuing Your Data Before Troubleshooting
Imagine losing years of family photos or critical work documents because your computer won’t start. Before fixing system issues, securing your files is like putting on a seatbelt—non-negotiable for safety. Let’s explore how to access locked data and create failsafes.
Why Backups Are Your First Defense
Startup failures can trap files in an inaccessible system. Professional tools like EaseUS Data Recovery Wizard act as digital locksmiths. This software retrieves data even when Windows freezes, turning panic into relief.
Building a Data Lifeline
Create a bootable recovery drive using any working computer:
| Step | Action | Tool Needed |
|---|---|---|
| 1 | Download recovery software | Internet access |
| 2 | Prepare empty USB (16GB+) | External drive |
| 3 | Launch software, select “Crashed PC” mode | EaseUS Wizard |
| 4 | Burn recovery files to USB | Software interface |
Plug this bootable device into your locked computer. Restart and press F2/F12/Del to enter BIOS. Set the USB as primary boot drive. Once loaded, scan your system drive and copy files to an external hard drive.
This process works for both HDD and SSD storage. Always test backups on another device to confirm file integrity. Pro tip: Keep recovery tools updated—older versions might miss newer file types.
Checking Hardware Connections and Disk Integrity
Ever pressed your computer’s power button only to face darkness? Many startup problems trace back to simple hardware hiccups. Before diving into complex fixes, let’s tackle the physical side of your system.
The Silent Language of Cables
Your hard drive communicates through cables—if they’re loose, your system can’t read boot files. Start by powering down completely. Unplug all external devices like USB drives or DVDs that might distract the boot process.
| Device Type | Checklist | Tool Needed |
|---|---|---|
| Internal Drives | SATA/power cables, motherboard connection | Phillips screwdriver |
| External Drives | USB port stability, cable integrity | Spare USB cable |
| Peripherals | Keyboard, mouse, non-essential hardware | None |
Open your computer case carefully. Gently press on each drive connection—you’ll often hear a click when SATA cables seat properly. For laptops, remove and reinsert the battery if accessible.
Still no luck? Disconnect all non-critical devices. Sometimes a faulty printer cable or external disk can hijack the boot sequence. Test each component individually to pinpoint conflicts.
If connections seem solid but the issue persists, your hardware isn’t the culprit. Time to explore software solutions in the next section.
Using Automatic Startup Repair and Command Prompt Tools
Your computer’s recovery tools work like a first-aid kit for system files and startup processes. Let’s explore how Windows’ built-in utilities can diagnose and fix problems automatically.
Initiating Windows Automatic Startup Repair
Follow these steps to activate the repair wizard:
- Insert your Windows installation USB and restart
- Press any key when “Press any key to boot” appears
- Select Repair your computer > Troubleshoot
- Choose Advanced options > Startup Repair
The tool scans for issues like missing drivers or registry errors. It often resolves problems within 15 minutes. If successful, your system reboots normally.
Running SFC and DISM to Fix Corrupted Files
When automatic repair falls short, these command prompt tools step in:
- System File Checker (SFC): Scans and replaces damaged files
- DISM: Fixes deeper system image corruption
Access the command prompt through Advanced Options. Type:
sfc /scannow
Let it complete—this might take 30+ minutes. If issues remain, run:
DISM /Online /Cleanup-Image /RestoreHealth
These repair commands work best when run sequentially. Always restart after each completes.
Rebuilding Boot Configuration Data (BCD) and Resetting BIOS
Think of your computer’s boot process as a relay race. The Boot Configuration Data acts as the baton—if it drops, the whole system stumbles. When this critical file gets damaged, your Windows startup sequence loses its roadmap.

Rebuilding the BCD File Through Command Prompt
Accessing the command prompt from recovery media lets you rewrite these instructions. Follow these steps:
- Boot from Windows installation USB
- Navigate to Troubleshoot → Advanced Options
- Run these commands in order:
bootrec /fixboot
bootrec /scanos
bootrec /fixmbr
bootrec /rebuildbcd
Each command tackles a different issue. /fixboot repairs startup files, while /rebuildbcd scans for installations. This sequence often revives systems that seem beyond rescue.
Restoring BIOS/UEFI Settings to Default
Your BIOS configuration controls hardware communication. Incorrect settings can block the boot process. Reset them in three steps:
- Restart and press F2, F12, or Delete during startup
- Locate Load Optimal Defaults (often under Exit menu)
- Confirm changes and reboot
This wipes recent changes that might conflict with your drives. After resetting, check if storage devices appear correctly in the boot order.
Advanced Troubleshooting Options for Windows Startup
When standard fixes fall short, deeper system checks become essential. Let’s explore professional-grade methods to resolve stubborn startup issues while protecting your data.
Diagnosing Hidden Drive Issues
The Check Disk utility acts like an X-ray for your storage. Run this command in Command Prompt:
“Regular disk checks prevent 80% of preventable startup failures.”
| Step | Action | Expected Result |
|---|---|---|
| 1 | Type chkdsk /f /r C: | Scans for file errors |
| 2 | Press Y to schedule | Runs on next reboot |
| 3 | Restart system | Repairs bad sectors |
If drives appear healthy, check your BIOS boot order. Access settings by pressing F2/Del during startup. Ensure your main Windows drive tops the list.
Older systems might suffer from CMOS battery failure. A weak battery resets BIOS configurations randomly. Replace the coin-shaped battery on your motherboard if boot issues recur after fixes.
For persistent problems, a clean Windows install becomes the final option. Back up data first—this nuclear solution wipes all programs and settings. Use Microsoft’s Media Creation Tool for a fresh start.

Conclusion
Startup issues can feel overwhelming, but this guide proves they’re solvable with a calm, structured approach. Whether your Windows system failed due to hardware hiccups or corrupted files, the solutions we’ve shared help you regain control without losing critical data.
Always start with backups. Tools like EaseUS Data Recovery Wizard act as a safety net, letting you rescue files before diving into repairs. Remember: protecting your data comes first—even when time feels tight.
Most startup problems respond well to systematic troubleshooting. Rebuilding the Boot Configuration Data or resetting BIOS settings often does the trick. If one method doesn’t work, move to the next—patience pays off here.
Understanding why these issues occur helps prevent future headaches. Regular disk checks, secure shutdowns, and updated recovery tools keep your system resilient. With these strategies, you’ll minimize downtime and keep your machine running smoothly.
You’ve got this. Every fix you apply strengthens your tech skills and safeguards your digital life. Now go restore that system—and breathe easier knowing you’re prepared for whatever comes next.