Did you know that over 60% of home theater system glitches can be resolved by restoring default configurations? Whether you’re troubleshooting audio hiccups or preparing for a fresh setup, understanding your device’s memory management is key to unlocking its full potential.
This guide simplifies the process of refreshing your entertainment hub. You’ll learn how to tackle common sound inconsistencies, connectivity snags, and control quirks through straightforward solutions. We’ll explore both full system restorations and targeted adjustments to preserve your favorite customizations.
Before diving in, remember: backing up your personalized audio profiles ensures you don’t lose those perfect bass levels or surround-sound tweaks. We’ve included preparation checklists and model-specific instructions to match your hardware generation. From modern menu-driven interfaces to classic button combinations, you’ll find the right approach here.
Key Takeaways
- Restoring default configurations often resolves audio distortion and connection problems
- Multiple restoration methods exist depending on your model year and needs
- Backing up personalized sound profiles prevents permanent data loss
- Simple preparation steps ensure smooth system refreshes
- Proper restoration techniques maintain device longevity and performance
Getting Started with Your Denon Receiver
Effective troubleshooting starts long before any technical adjustments. Learning your equipment’s layout and capabilities ensures smoother operations down the line. Let’s explore how to navigate your system’s core functions and gather essentials for upcoming changes.
Mastering the Basics
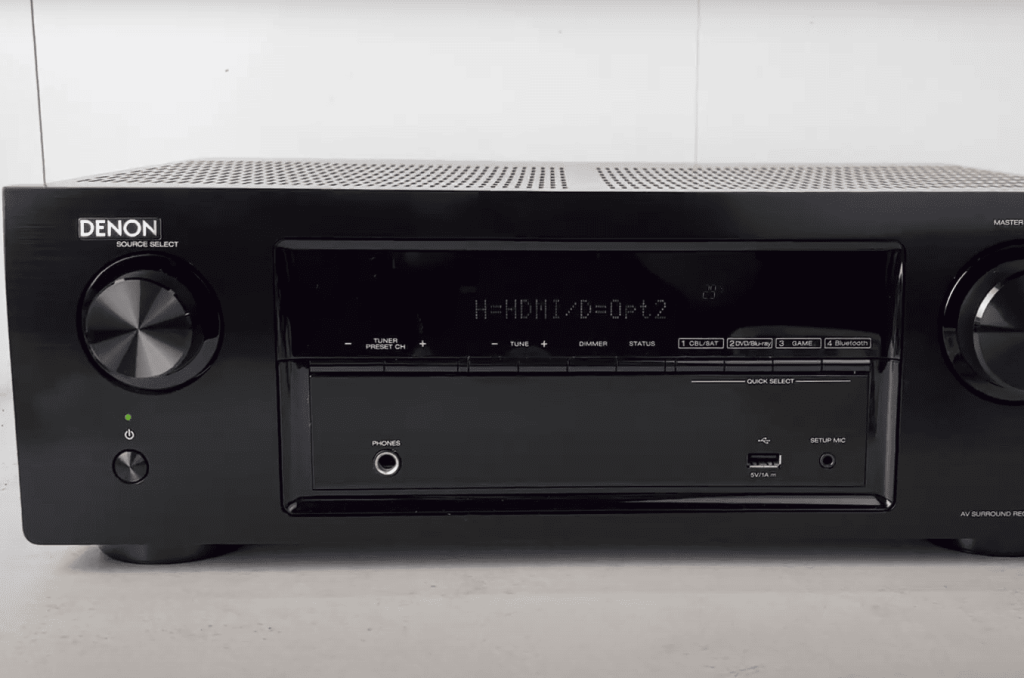
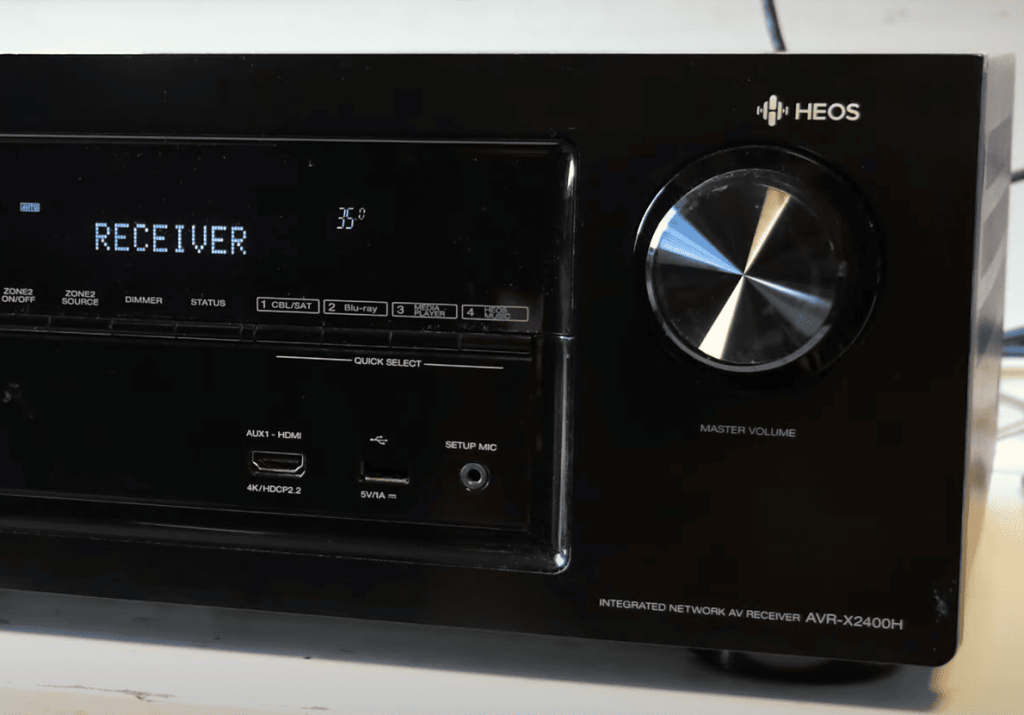
Start by examining the front panel display. This interface lets you access sound modes, input selections, and system information. Most models feature a USB port near the lower edge – crucial for saving configurations to a memory device.
“Preparation prevents frustration. Always verify your model’s requirements before modifying settings.”
| Model Year | USB Support | Reset Method |
|---|---|---|
| 2019-2023 | USB 3.0 | Menu-driven |
| 2015-2018 | USB 2.0 | Hybrid (buttons + menu) |
| Pre-2015 | Limited | Physical buttons |
Essential Pre-Checklist
Gather these items first:
- A blank USB drive (8GB minimum)
- Your model number from the back panel
- Current network passwords
Create a workspace with easy access to rear connections. Jot down custom audio profiles using the system information menu. Double-check power connections – unstable energy flow during operations can disrupt critical functions.
How to Reset Denon Receiver: Step-by-Step Instructions
Modern home theater systems offer incredible flexibility, but sometimes they need a clean slate to function optimally. Let’s walk through three reliable methods to refresh your setup while protecting your personalized preferences.
Menu-Driven Restoration Process
Newer models simplify the refresh process through intuitive menus. Access the General section in your system’s interface, then choose Factory Reset. You’ll see options to either wipe all configurations or only clear network data.
This approach works best for recent hardware generations. Always verify your USB port supports modern memory devices before starting. The menu clearly displays progress indicators during restoration.
Preserving Custom Configurations
Safeguard your audio profiles using removable storage. Insert a compatible USB memory device into the designated port before making changes. Navigate to Save/Load in the same menu where you found reset options.
“Your Audyssey calibration represents hours of perfect tuning – never risk losing it to an accidental wipe.”
The system exports all adjustments automatically. Label your storage clearly for future reference – multiple backups help when testing various settings.
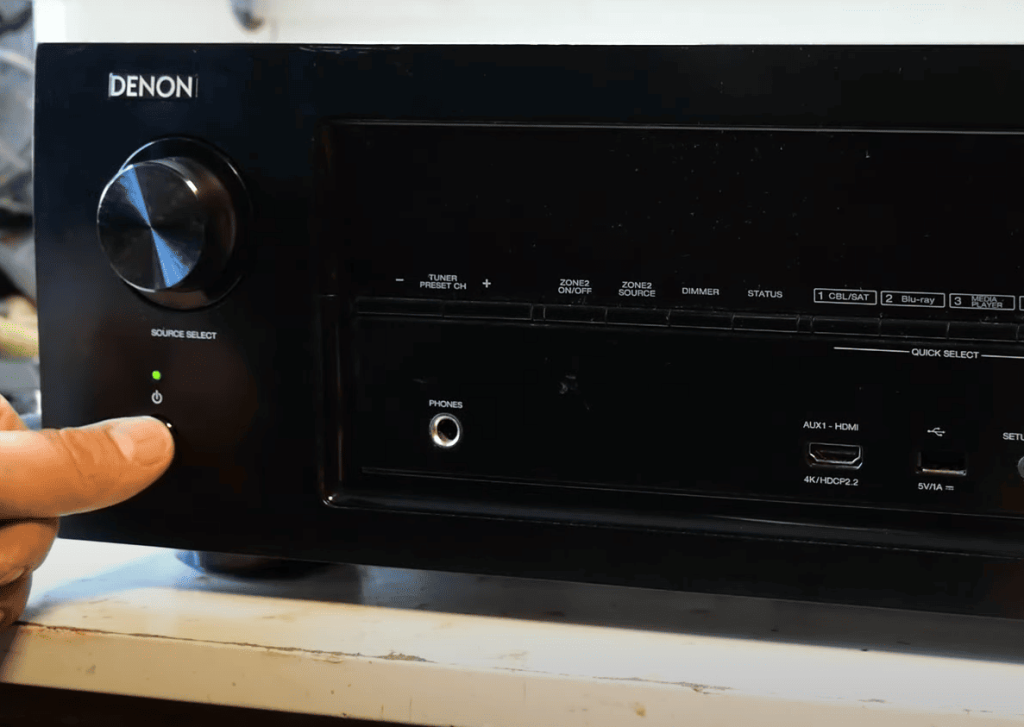
Physical Button Combinations
Older equipment often requires manual input sequences. Consult your manual’s microprocessor reset section for exact steps. Most involve holding specific buttons during power-up for 5-10 seconds.
Create a cheat sheet for unusual combinations. Some models need repeated attempts – stay patient and maintain precise timing. This method bypasses software menus completely.
| Method | Best For | Data Safety |
|---|---|---|
| Menu Reset | 2019+ Models | Requires Backup |
| USB Backup | All USB-Compatible | Full Protection |
| Button Sequence | Vintage Units | No Auto-Save |
Exploring Advanced Troubleshooting and Additional Settings
Advanced users can transform their listening experience through granular system customization. Beyond basic adjustments lie powerful tools that refine every aspect of your audio environment. Let’s uncover hidden features that elevate performance and simplify daily use.
Utilizing USB Ports & Memory Devices
Your system’s USB port does more than save settings. Insert compatible drives to play MP3, FLAC, or WAV files directly through your speakers. Most models support playlists when you organize tracks in numbered folders.
Manage file formats effortlessly using the music browser interface. Create backups while streaming by selecting the plus function during playback. This dual-purpose approach lets you enjoy content while safeguarding preferences.
“Treat your USB drive like a digital Swiss Army knife – storage, playback, and recovery all in one pocket-sized tool.”
Managing Network and Calibration Settings
Optimize wireless connections through the Bluetooth connectivity menu. Pair smartphones in seconds while maintaining HD audio quality. The system remembers your last function preferences for instant music resumption.
Adjust power-saving functions without sacrificing performance. Set auto-shutoff timers that align with your listening habits. Fine-tune AM/FM broadcasts using signal boosters in the antenna settings.
| Feature | Quick Access | Customization |
|---|---|---|
| Bluetooth Profiles | Device List | Priority Pairing |
| Power Modes | Standby Settings | Eco Timers |
| Radio Presets | Scan Shortcut | Signal Filters |
Create custom sound profiles for different activities. Assign specific playback settings to movie nights, gaming sessions, or background music. Your system adapts to your lifestyle with one-touch activation.
Conclusion
Maintaining peak sound quality requires consistent care and smart practices. You’ve now got the tools to keep your audio system performing at its best through proper maintenance and strategic troubleshooting.
Bookmark this guide alongside your owner’s manual for quick reference. Regular USB backups protect your custom tweaks, while occasional refreshes clear out digital clutter. Explore those advanced settings – they’re your ticket to personalized listening experiences.
Ran into stubborn glitches? Reach out to authorized customer support teams. They’ll help diagnose deeper issues without compromising your setup. With these habits, your equipment will deliver crisp, immersive audio for years.
Put that cleaned-up system to work! Cue up your favorite playlist or movie night selection. Those perfectly balanced surround channels and crystal-clear dialogue? That’s the reward for smart system stewardship.