
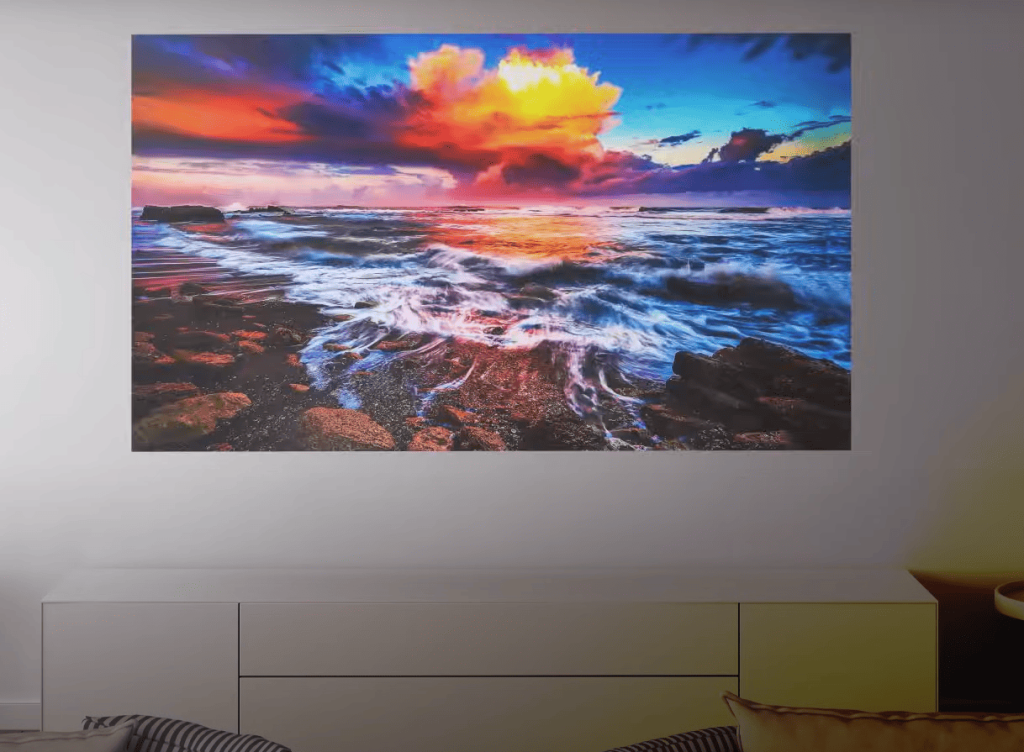
Getting crisp, edge-to-edge visuals shouldn’t feel like solving a puzzle. Yet nearly 4 out of 5 users report frustration when aligning their entertainment or presentation systems. Blurry edges, cropped content, or distorted images can turn movie nights into troubleshooting marathons.
Proper alignment transforms any space into a professional-grade viewing environment. Whether you’re hosting clients or binge-watching shows, precision matters. Modern devices offer intuitive tools to eliminate guesswork—if you know where to look.
This guide reveals exactly what separates mediocre setups from stunning displays. Discover industry-approved methods that work across room sizes and surface types. Learn to leverage hidden features in your equipment for flawless results every time.
Key Takeaways
- Master distance calculations for different room layouts
- Utilize built-in correction tools most owners never discover
- Avoid common mistakes that cause image distortion
- Customize settings for movies versus presentations
- Maintain optimal performance over time
Understanding Your Optoma Projector Setup
Mastering your projector’s components is the first step to a seamless display. Every element plays a role in image quality, from lens precision to airflow management. Let’s break down what makes your system tick.
Core Parts That Make It Work
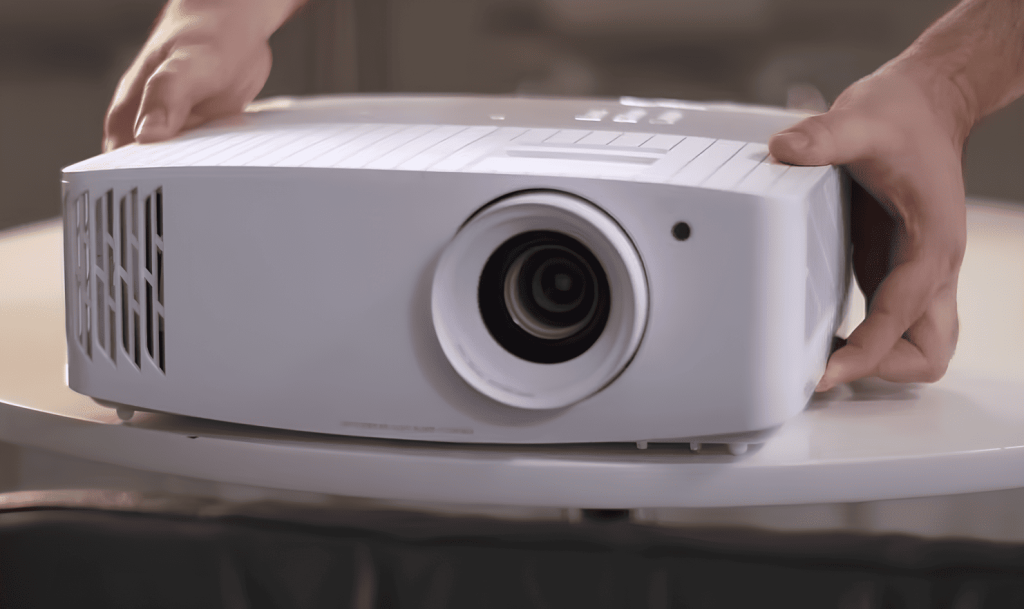
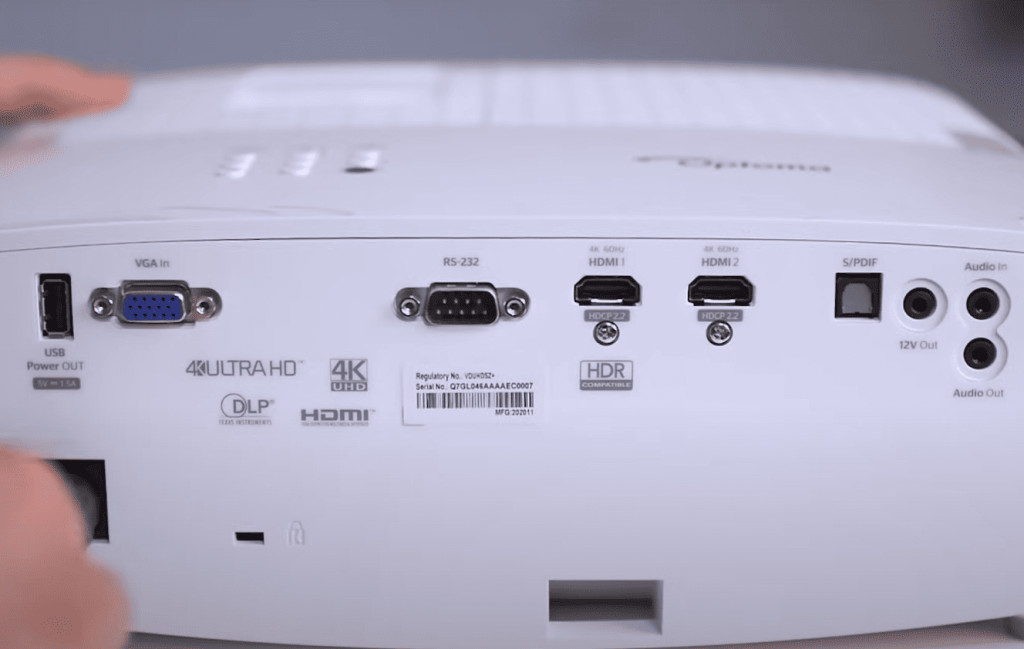
The lens assembly dictates image sharpness, while the processing unit handles color accuracy. Ventilation keeps internal temperatures stable during marathon streaming sessions. Adjustment wheels and digital menus let you fine-tune visuals without moving the device.
Short-throw models like the GT1080 demand special attention. These sit just feet from your surface, unlike standard models needing rear-wall placement. Misjudge this distance, and you’ll battle focus issues all night.
Fixing Frequent Frustrations
Three issues plague most setups:
- Images spilling beyond screen edges
- Small projections wasting usable surface
- Black bars from mismatched aspect ratios
Square screens intensify these problems. A 4:3 ratio leaves side gaps when watching widescreen movies. Switch to 16:9 content, and unused space shifts to top and bottom.
The solution? Match your projector’s native ratio to your screen’s shape before positioning. This simple step prevents 80% of common display problems according to AV specialists. Regular calibration maintains this balance as components age.
Key Considerations for Screen Size and Aspect Ratio
The magic of immersive viewing lies in three core elements working in harmony: screen size, aspect ratio, and resolution. These factors determine whether your content appears stretched, cropped, or perfectly framed. Ignoring their relationship is like wearing prescription glasses with the wrong lenses—everything feels slightly off.
Impact of Screen Resolution and Ratio
Your projector’s native resolution acts as its DNA. A 1920×1080 device naturally fills 16:9 screens, while 4:3 models excel with older content. Mismatched ratios create black bars—those empty bands stealing precious screen real estate. Square surfaces amplify this issue, often requiring custom resolutions to eliminate dead zones.
Resolution isn’t just about sharpness. Higher pixel counts let digital correction tools work smarter, preserving detail during adjustments. A 4K projector can mask minor alignment errors that would ruin a 720p image.
Choosing the Right Screen Type
Fixed-frame screens offer taut surfaces for razor-sharp images but limit size flexibility. Portable tripod models adapt to spaces but may ripple during adjustments. For mixed-use setups, consider ambient light-rejecting materials—they maintain contrast when room lighting can’t be controlled.
Material texture matters too. High-gain screens boost brightness for projectors positioned farther back, while matte finishes widen viewing angles. Match your screen’s gain rating to your room’s lighting conditions for consistent performance.
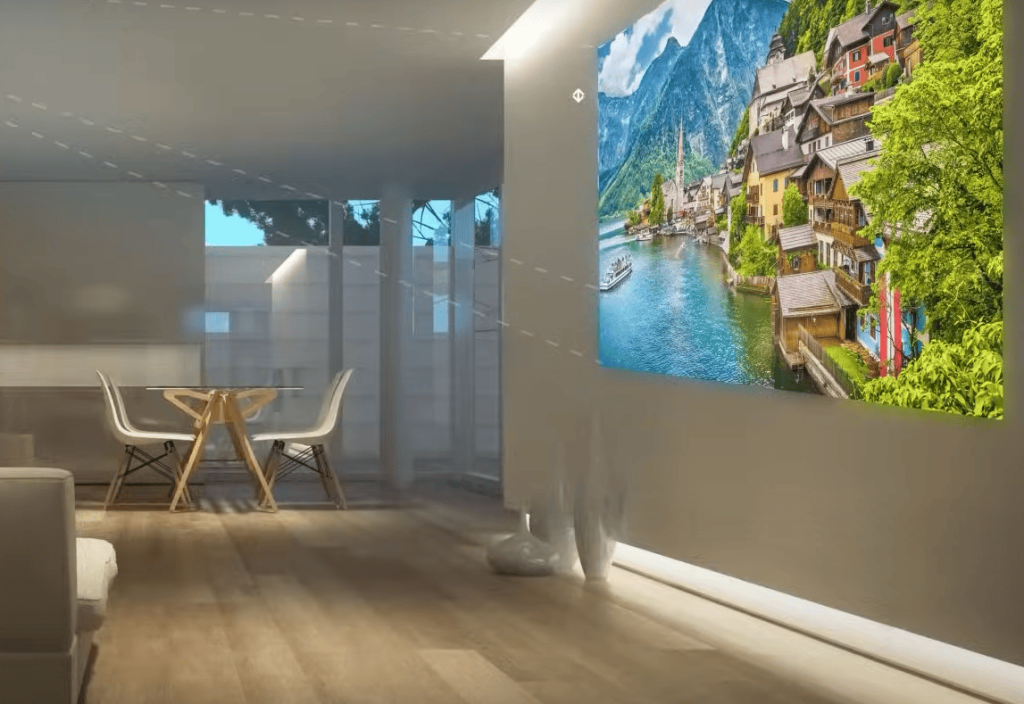
Using Projector Position to Adjust the Screen
Your room’s dimensions directly influence what you see on the wall. Moving your device even a foot can transform a cramped display into cinema-scale visuals. This physical approach works when digital tweaks can’t solve sizing issues.
Effects of Throw Distance on Image Size
Throw distance determines how light travels from lens to surface. Longer paths create larger images, while shorter gaps keep things compact. Portable models excel here—their lightweight design lets you test positions quickly.
| Throw Distance | Image Size (Diagonal) | Best Use Case |
|---|---|---|
| 5 feet | 60 inches | Small meeting rooms |
| 10 feet | 120 inches | Home theaters |
| 15 feet | 180 inches | Event venues |
Focus rings need attention after repositioning. A sharp center with blurry edges signals needed adjustments. Pro tip: Mark ideal floor positions with tape for repeat setups.
Three benefits make this method popular:
- Instant visual feedback during testing
- No menu diving or software confusion
- Works with any screen material
Remember—larger images demand darker rooms. Brightness spreads thinner over expanded surfaces. Balance throw distance with ambient light for vivid colors.
How to Adjust Optoma Projector to Fit Screen
Precision alignment transforms any viewing experience from frustrating to flawless. Your remote holds hidden powers to eliminate guesswork – let’s unlock them strategically.
Step-by-Step Adjustment Procedures
- Zoom for Perfect Proportions
Press the dedicated zoom button while facing your display. Watch edges snap to the screen borders in real time. This maintains pixel density better than physical repositioning. - Correct Angular Distortion
Engage the keystone button when walls slope or devices sit unevenly. Digital adjustments square up trapezoid-shaped images instantly. Keep corrections under ±15° for sharpest results. - Nudge into Position
Use directional controls for final micro-adjustments. Shift content vertically/horizontally until text appears crisp in all corners. This eliminates last-millimeter gaps between image and frame.
These settings work best when applied sequentially. Complete zoom first, then geometry fixes, followed by positional tweaks. Testing with grid patterns reveals minor alignment issues invisible during movie playback.
Remote-based steps save time compared to manual repositioning. Changes remain consistent across input sources once saved to your preferred profile. For temporary setups, create memory presets for different rooms or screen types.
Leveraging Zoom and Keystone Correction Features
Modern projection technology turns sizing challenges into simple button presses. Two powerful tools—zoom functions and geometry correction—help customize displays without moving your device. Let’s explore how these features work together for pixel-perfect results.
Digital Zoom vs. Optical Zoom
Digital zoom acts like photo-editing software for your projector. It crops and enlarges the image electronically using your remote. While convenient for quick fixes, this option can soften text details at maximum enlargement levels.
Optical zoom maintains crystal clarity by physically adjusting the lens. Rotate the zoom ring manually or through motorized controls for precise sizing. This method preserves every pixel’s integrity, making it ideal for detailed spreadsheets or 4K movies.
Combine both approaches for ultimate flexibility. Use optical adjustments for 90% of your screen size needs, then fine-tune with digital tweaks. This hybrid method balances quality and convenience.
Aligning the Image with Keystone Correction
Angled projections create trapezoid-shaped distortions that frustrate viewers. Keystone correction digitally straightens these skewed edges through menu settings. Vertical correction fixes up/down tilts, while horizontal adjustments address side angles.
Activate auto-correction for instant fixes, or manually adjust sliders for precision. Keep adjustments under 15 degrees to avoid stretching artifacts. Pair this with your zoom settings for rectangular images that fill the entire surface.
Remember: These tools work best when your device sits as level as possible. Use a bubble level during initial setup to minimize needed corrections. Your future self will thank you during impromptu movie nights.
Masking Techniques for a Perfect Fit
Transform your viewing space with simple yet effective border solutions. When digital adjustments fall short, physical masking creates crisp edges that command attention. This hands-on approach works wonders for both temporary setups and permanent installations.
Defining Boundaries With Precision
Black masking tape becomes your secret weapon against light bleed. Apply it directly to your screen edges to create sharp borders. This instantly focuses the image within your desired viewing area, cutting through distracting ambient glow.
Cloth panels offer flexible alternatives for uneven surfaces. Drape blackout fabric around your projector screen frame to absorb stray light. Pro tip: Velcro strips let you reposition panels as needed for different content formats.
Three key benefits make masking essential:
- Boosts contrast by 30%+ in lit rooms
- Eliminates peripheral distractions during movies
- Allows custom display shapes beyond standard rectangles
Remember: Masking reduces visible size but never expands it. Use this technique when your projected area exceeds screen dimensions. For permanent setups, consider professional-grade magnetic borders that snap into place.
Light-absorbing materials work best for clean edges. Avoid glossy tapes that reflect light back onto the image. Test different widths – 2-inch strips often provide optimal coverage without overwhelming smaller screens.
Exploring Portable Screen Options
Transform any space into a premium viewing arena without drilling holes or rearranging furniture. Portable projection surfaces unlock creative setups that adapt to your needs, not the other way around.
Flexibility Where You Need It Most
Collapsible screens shine in dynamic environments. Host movie nights in the backyard one evening, then present sales charts in a conference room the next morning. These lightweight solutions handle quick changes effortlessly.
| Screen Type | Setup Time | Best For | Portability Score |
|---|---|---|---|
| Tripod-mounted | 90 seconds | Indoor/outdoor events | 9/10 |
| Motorized roll-up | 30 seconds | Home theaters | 7/10 |
| Inflatable frame | 15 minutes | Large outdoor gatherings | 6/10 |
Golf enthusiasts appreciate portable screens during tournament viewings. Set up near the 9th hole for live leaderboard updates while maintaining clear sightlines. The screen size adapts to crowd numbers without permanent installations.
Three advantages make these solutions stand out:
- Instant adaptation to room dimensions
- Multiple aspect ratio compatibility
- Professional-grade tension systems
Quick-release mechanisms simplify transportation. Most models fold into carry bags smaller than golf club cases. Pair with your existing projector for impromptu presentations or family movie marathons.
Material choices matter for outdoor use. Weather-resistant fabrics withstand sudden rain showers during patio screenings. Indoor models prioritize acoustic transparency for hidden speaker placements behind the screen.
Conclusion
Achieving picture-perfect projections requires balancing technical know-how with creative problem-solving. Your Optoma device becomes a versatile powerhouse when paired with the right techniques. From manual positioning to digital refinements, each method contributes to immersive viewing.
Mastering resolution settings and aspect ratios ensures content appears precisely as creators intended. Users gain confidence through hands-on experimentation—tweaking zoom levels here, correcting angles there. These adjustments transform ordinary spaces into dynamic viewing environments.
Portable screens and masking options offer flexibility for diverse needs. Business presenters benefit from crisp text alignment, while movie enthusiasts enjoy borderless cinematic scale. Simple button controls put professional results at your fingertips without complex menus.
Remember: Regular calibration maintains peak performance. Pair your growing expertise with the device’s built-in tools to overcome any spatial challenge. The effort invested today pays dividends through years of stunning visuals and hassle-free operation.