
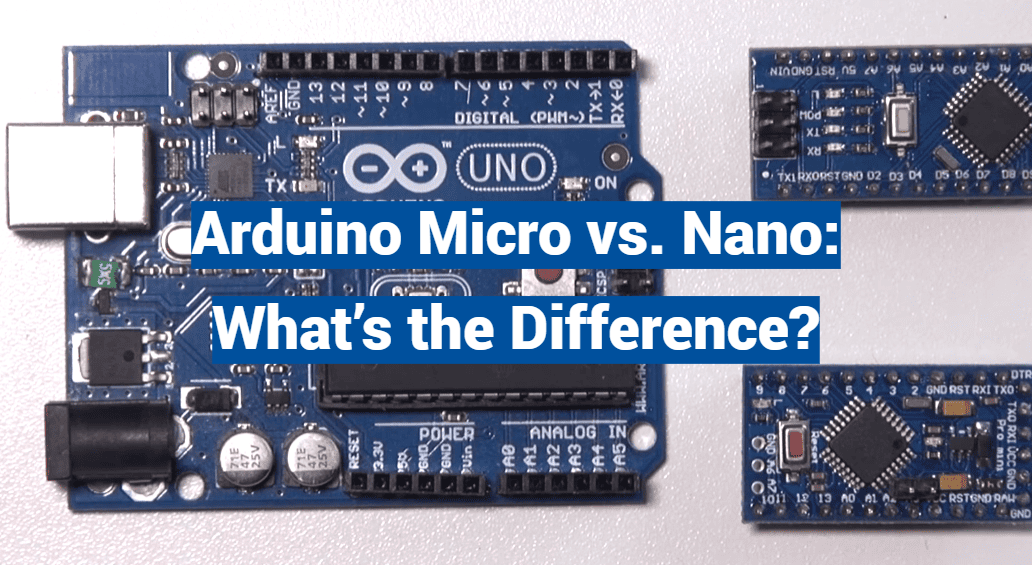
Over 30 million active makers worldwide rely on compact electronics platforms for their projects. This massive community needs small, powerful boards that fit tight spaces. The choice between two popular options can make or break a design.
This guide explores the key distinctions between these compact development boards. We’ll examine everything from processing power to physical size and connection options. Both belong to the same open-source family, making them accessible to beginners and experts alike.
Understanding the difference is crucial for space-constrained electronics work. Whether building a first prototype or final product, knowing each board’s strengths saves time and resources. We’ll compare processing capabilities, input/output configuration, USB support, and real-world applications.
These miniature powerhouses pack impressive features into tiny packages. Choosing the right one depends on your specific project requirements and constraints.
Key Takeaways
- Both boards offer compact, breadboard-friendly designs for electronics projects
- They share the same open-source philosophy and programming environment
- Physical dimensions vary significantly between the two options
- Microcontroller capabilities differ in processing power and memory
- Connectivity options and pin configurations are key differentiators
- Each board excels in specific application scenarios
- Your project’s space constraints and feature needs determine the best choice
Introduction
In today’s maker community, selecting the appropriate miniature controller can determine the success or failure of an innovative project. The open-source electronics platform has revolutionized how both hobbyists and professionals approach their work.
Setting the Stage for Arduino Comparisons
Among the many versatile development platforms available, two compact options stand out for space-limited applications. These miniature powerhouses share core similarities but serve different needs.
Both operate at 5V with 16 MHz clock speeds, making them accessible to beginners. However, their distinct features make each better suited for specific types of work.
| Feature | Compact Board A | Compact Board B | Key Difference |
|---|---|---|---|
| Physical Size | 18.5mm x 43mm | 18mm x 48mm | Width and length variations |
| Digital I/O Pins | 14 | 20 | Additional connectivity options |
| Analog Inputs | 8 | 12 | Sensor reading capacity |
| USB Support | Basic connection | Native device emulation | Communication capabilities |
Why Choosing the Right Board Matters
Making the correct selection at your project’s start significantly impacts development time and final performance. The right choice ensures optimal functionality from the beginning.
Considerations like USB support requirements, available analog inputs, and physical space constraints guide your decision. Whether building robotics, IoT nodes, or wearable devices, careful evaluation prevents costly redesigns.
Detailed Look at the Arduino Nano
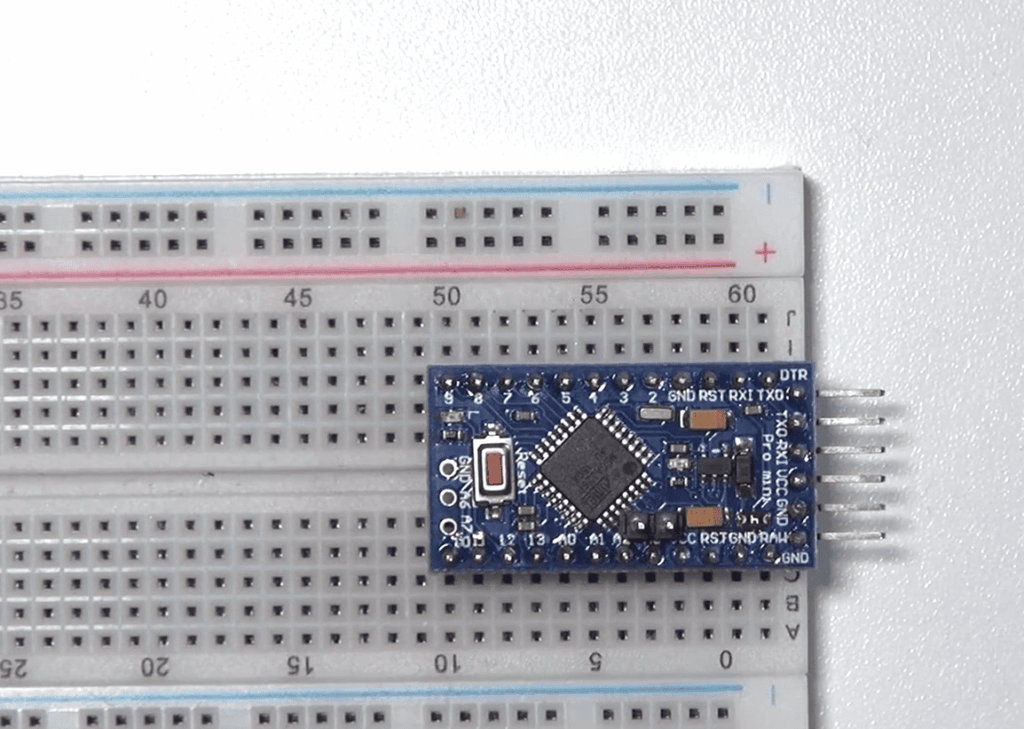
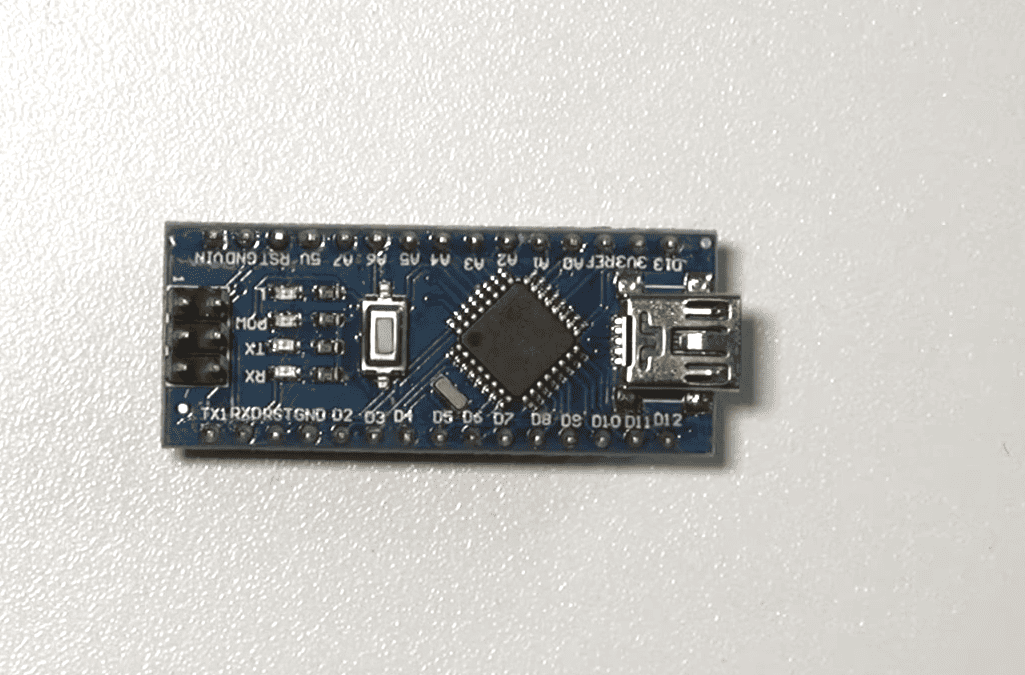
For projects requiring maximum functionality in minimal space, the 18x45mm development board provides remarkable capabilities. This compact solution delivers full-featured performance while fitting perfectly on standard breadboards.
Essential Specifications and Features
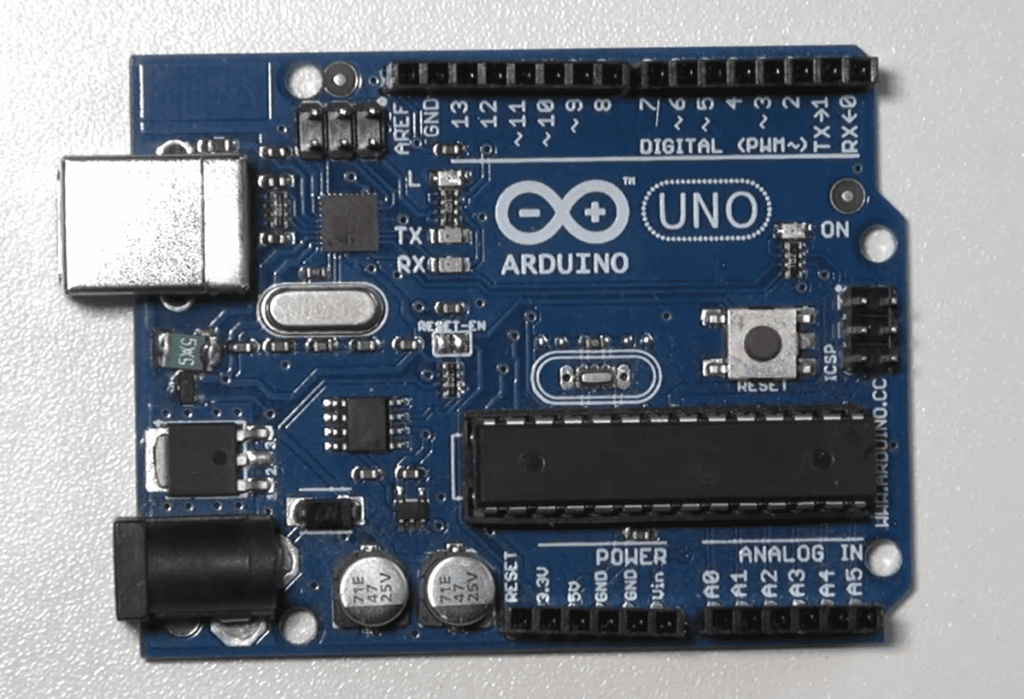
The Nano’s ATmega328P microcontroller ensures reliable operation across diverse applications. With 32 KB of flash memory, it handles complex programs efficiently. The 16 MHz clock speed delivers responsive performance for most projects.
| Feature | Specification | Benefit | Application Impact |
|---|---|---|---|
| Digital I/O Pins | 22 total (6 PWM) | Flexible device control | Motor and LED projects |
| Analog Inputs | 8 channels | Multiple sensor reading | Data collection systems |
| Operating Voltage | 5V standard | Stable performance | Consistent operation |
| Power Options | USB or external 5-12V | Deployment flexibility | Portable applications |
Advantages and Practical Use Cases
The compact form factor makes this board ideal for space-constrained designs. Its Uno-compatible pin layout simplifies project migration. You can power it through Mini-B USB or external sources.
Practical applications include robotics controllers and home automation systems. The ample input pins support complex sensor networks. Educational platforms benefit from its straightforward USB connectivity.
This development board excels where physical size matters most. It maintains full functionality while occupying minimal space. The combination of features makes it versatile for countless projects.
Detailed Look at the Arduino Micro
Projects requiring permanent installation in tight enclosures often benefit from the Micro’s specialized design approach. This board delivers exceptional performance while occupying minimal physical space.
Core Features and Enhanced Capabilities
The Arduino Micro runs on the advanced ATmega32U4 processor. This chip provides built-in USB communication support, a significant upgrade over previous models.
With 20 digital I/O pins and 12 analog inputs, the board handles complex sensor arrays efficiently. The 32 KB flash memory ensures ample space for sophisticated programs. Enhanced SRAM capacity supports data-intensive operations effectively.
Built-in USB Communication and Compact Design
The integrated USB connector eliminates external conversion hardware. This built-in USB capability allows the board to emulate keyboards and mice directly.
Measuring just 18 x 33 mm, the compact form factor includes mounting holes for secure installations. The stamped design creates a rugged package resistant to mechanical stress. These features make the Micro ideal for HID implementations and space-critical applications.
Key Hardware Differences between Nano and Micro
Hardware architecture forms the foundation of performance differences between these popular compact boards. Understanding these technical distinctions helps makers select the right platform for specific applications.
Microcontroller and Memory Comparisons
The fundamental hardware difference lies in their processors. One board uses the ATmega328P controller, while the other employs the more advanced ATmega32U4 chip.
This distinction provides native USB communication capability in the enhanced model. Both development platforms share identical 32 KB flash memory for program storage.
SRAM capacity shows a slight advantage in one board with 2.5 KB versus 2 KB. They operate at the same 16 MHz clock speed, ensuring similar processing performance.
Physical Form Factor and Mounting Considerations
Physical size represents another key hardware difference. One measures 18 x 33 mm compared to 18 x 45 mm, creating a 27% smaller footprint.
Form factor considerations include mounting options and board design. The compact version features stamped assembly with integrated mounting holes for secure installation.
Both boards accept the same power input range of 5-12V. This ensures compatibility with common sensors and peripheral components across projects.
I/O Capabilities and Connectivity
Connectivity options separate basic prototyping boards from those capable of handling complex, real-world applications. The right combination of pins and communication ports can transform a simple project into something truly remarkable.
Digital and Analog Input/Output Pin Configurations
Pin availability directly impacts your project’s scope. One board offers 22 digital input/output pins, while the other provides 20. This slight difference affects how many components you can connect simultaneously.
The analog input capability shows a more significant distinction. With 12 analog inputs versus 8, one platform clearly excels for sensor-heavy applications. This 50% increase means you can monitor more environmental factors without extra hardware.
| Feature | Board A | Board B | Advantage |
|---|---|---|---|
| Digital I/O Pins | 22 | 20 | More digital connections |
| Analog Inputs | 8 | 12 | Better for sensors |
| PWM Channels | 6 | 7 | Enhanced motor control |
| USB Type | Mini-B | Micro-B | Modern standard |
USB and Power Options Explained
USB connectivity represents the most dramatic difference between these platforms. One uses UART serial communication limited to 2 Mbps. The other features native USB 2.0 support with 480 Mbps transfer speeds.
This 240x speed advantage enables real-time applications where latency matters. The faster board can emulate keyboards, mice, and other USB devices directly without conversion chips.
“The right connectivity choices prevent bottlenecks before they happen, ensuring smooth project execution from start to finish.”
Power options remain flexible across both choices. Each accepts USB or external 5-12V power sources. This consistency simplifies power planning regardless of your selection.
Performance, Cost, and Practical Considerations
Real-world application success often hinges on understanding the nuanced performance differences between similar development boards. While both platforms share identical 16 MHz clock speeds, their peripheral implementations create meaningful distinctions.
Speed, Data Throughput, and Software Compatibility
The ATmega32U4 microcontroller offers more efficient analog and PWM operations. This provides slightly faster I/O performance for sensor-heavy applications.
Data communication represents the most dramatic difference. The native USB 2.0 support delivers 480 Mbps throughput versus 2 Mbps UART-based communication. This massive speed advantage enables real-time data streaming.
Software compatibility requires attention to core differences. The Leonardo core provides enhanced USB communication libraries and better memory management. Most shields and libraries work with both platforms.
Cost considerations show minimal variation between these boards. Genuine versions fall within the $20-$25 range, with third-party clones available for under $10. This makes price a negligible factor in selection.
Practical project decisions should focus on USB communication needs and analog input requirements. The enhanced capabilities justify selection for advanced applications, while the simpler platform suits straightforward control projects perfectly.
arduino micro vs nano: Making the Right Choice for Your Project
The final decision between these two compact controllers hinges on balancing performance requirements against practical implementation factors.
Evaluating Use Cases and Project Requirements
For educational applications and basic learning projects, the Nano platform offers straightforward operation with excellent documentation. It works well for robotics that operate independently without PC connectivity.
The Micro excels when your project needs direct USB communication with computers. Its native USB support enables real-time data acquisition and device emulation capabilities.
| Application Type | Recommended Board | Key Advantage | Ideal Use Case |
|---|---|---|---|
| Educational/Learning | Nano | Simple setup | Classroom environments |
| USB Device Projects | Micro | Native HID support | Custom keyboards, controllers |
| Space-Constrained | Micro | Smaller footprint | Wearable devices |
| Sensor Networks | Micro | 12 analog inputs | Environmental monitoring |
Balancing Size, Features, and Connectivity Needs
Physical space constraints often dictate the right board selection. The Micro’s compact design fits tight enclosures while maintaining full functionality.
Connectivity requirements represent the most significant differentiator. Projects needing high-speed data transfer benefit from the Micro’s advanced USB capabilities.
“The best choice emerges when you match technical specifications with real-world application demands.”
Both platforms handle common tasks like LED control and basic sensor reading effectively. Your specific project goals should guide the final selection.
Conclusion
Your electronics project’s success depends on selecting the board that perfectly matches your technical requirements and physical constraints. Both the Arduino Nano and Arduino Micro offer excellent compact solutions with their own distinct advantages.
The most significant difference lies in USB implementation. The Micro’s native USB support enables direct computer communication, while the Nano uses simpler serial conversion. This distinction impacts projects requiring device emulation or high-speed data transfer.
Form factor considerations also guide your choice. The Micro’s smaller size and mounting options suit space-constrained installations. The Nano’s traditional layout works well for breadboard prototyping and learning environments.
Your final selection should prioritize connectivity needs and spatial requirements. For basic projects without USB demands, the Nano provides straightforward functionality. When you need integrated USB capabilities or extreme compactness, the Micro’s features shine.
Understanding these key differences ensures you’ll choose the right platform for your specific application. Both boards deliver reliable performance within the versatile Arduino ecosystem.