Are you ready to take your photography game to the next level? Look no further, because this step-by-step guide is going to show you exactly how to connect your trusty Canon Rebel T6 to your iPhone. Gone are the days of transferring your stunning shots from your camera to your computer before sharing them with the world. With just a few simple steps, you’ll be able to seamlessly transfer photos and videos directly to your iPhone, ready to be edited and shared with family, friends, and followers. So, grab your camera, whip out your iPhone, and dive into the world of effortless connectivity and endless creative possibilities.
What is a Canon Rebel T6 camera?
The Canon Rebel T6 is a highly recommended entry-level digital SLR camera that is designed with beginners in mind. It boasts an impressive 18MP APS-C CMOS sensor, ensuring stunning image quality and excellent low-light performance. With its 9-point autofocus system, capturing sharp and precise shots is a breeze. Additionally, the camera supports full HD 1080p video recording, allowing you to create high-quality videos with ease.
In burst mode, the Canon Rebel T6 can shoot up to 3 frames per second, ensuring that you never miss a moment. One of the standout features of this camera is its Scene Intelligent Auto mode, which intelligently adjusts settings based on the scene, making it easier than ever to capture the perfect shot in any situation. Whether you’re a beginner looking to explore the world of photography or a seasoned enthusiast in need of a reliable backup camera, the Canon Rebel T6 is a fantastic choice.
The Rebel T6 also offers a range of creative filters for more experienced photographers who want to experiment with their photos. It is compatible with Canon’s EF/EF-S lenses, so you can buy additional lenses to further customize your photography experience. Overall, the Canon Rebel T6 is an excellent choice for beginner and enthusiast photographers alike, offering great features at an affordable price. It’s a great way to get started on your photography journey or to upgrade from a more basic model. With its intuitive controls and wide range of creative options, the Rebel T6 is sure to provide you with endless hours of photographic fun.
Connecting Canon Rebel T6 to iPhone: Step-by-step guide
Step 1: Connect Your Camera
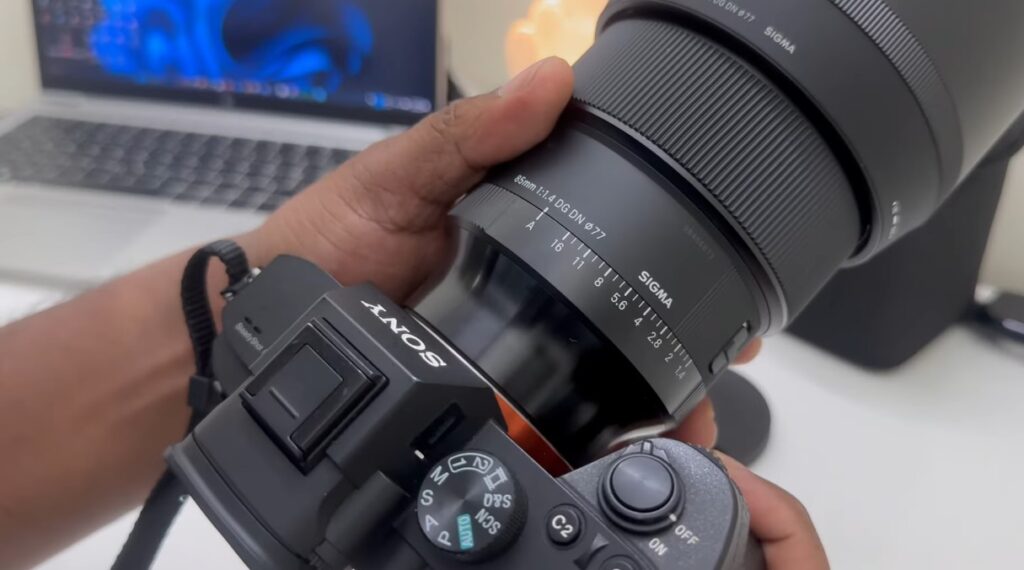
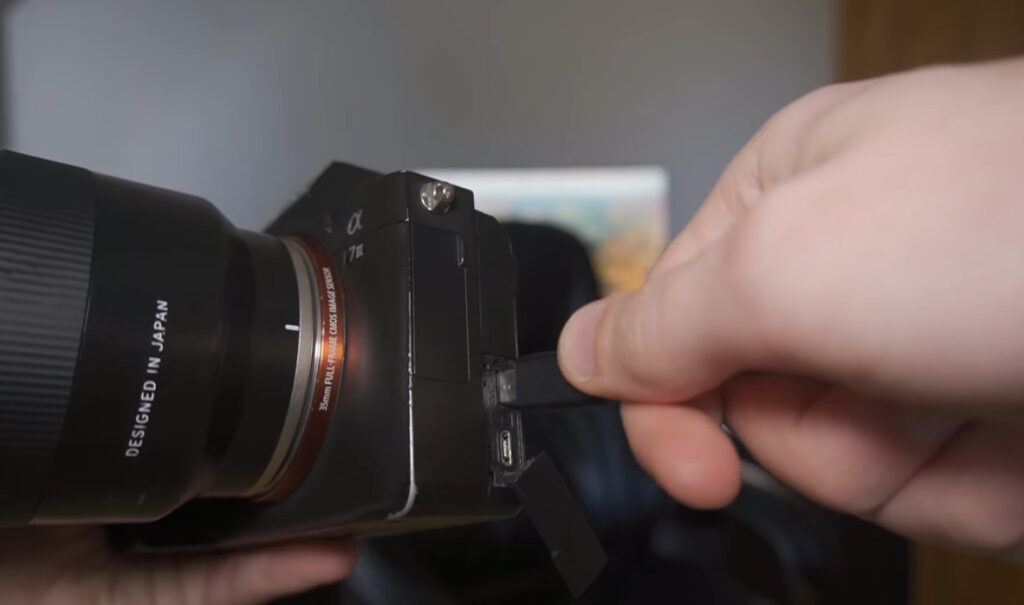
To connect your Canon Rebel T6 to your iPhone, you need to follow a few simple steps. First, locate the USB cable provided with the camera. Then, carefully insert one end of the USB cable into the designated port on your camera and the other end into the charging port of your iPhone. After making sure the connections are secure, turn on your camera by pressing the power button located on the top of the camera body. Now you’re ready to explore the world of photography with your Canon Rebel T6 and iPhone!
Step 2: Download The Canon Camera Connect App
The second step in setting up your Canon camera is to download the Canon Camera Connect app from the Apple Store. Simply search for “Canon Camera Connect” in the App Store and click on the download button. Once the app is successfully downloaded and installed on your device, open it and follow the step-by-step instructions provided within the app to establish a connection between your camera and your smartphone or tablet. Rest assured, the process is designed to be user-friendly and intuitive, ensuring a seamless connection experience for you.
Step 3: Use Settings To Adjust Your Camera
Once your Canon Rebel T6 is successfully connected to your smartphone or tablet through the dedicated app, you will unlock a whole new level of control over your camera. With the app’s intuitive interface, you can effortlessly adjust various settings to fine-tune your shots to perfection.
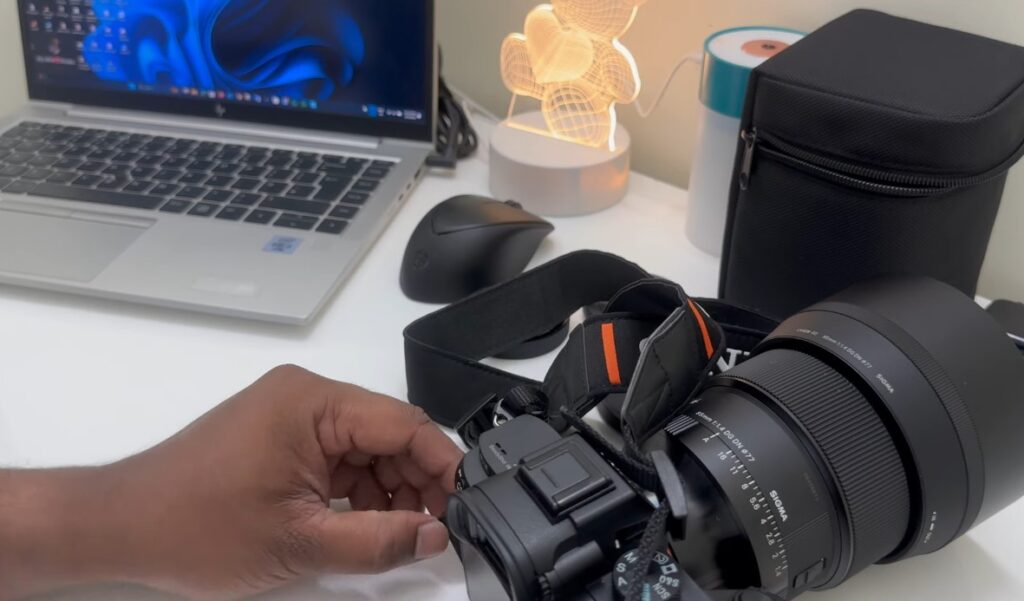
For instance, you can set up a timer for long exposure shots, giving you the flexibility to capture stunning light trails or mesmerizing starry skies. Moreover, the app allows you to have direct control over essential camera parameters like shutter speed and aperture, enabling you to experiment with different creative effects and achieve the desired look with ease. With these convenient features at your fingertips, you can unleash your artistic vision and elevate your photography game to new heights.
How to Transfer Photos from Canon to iPhone?
Step 1. Via OTG USB camera adapter
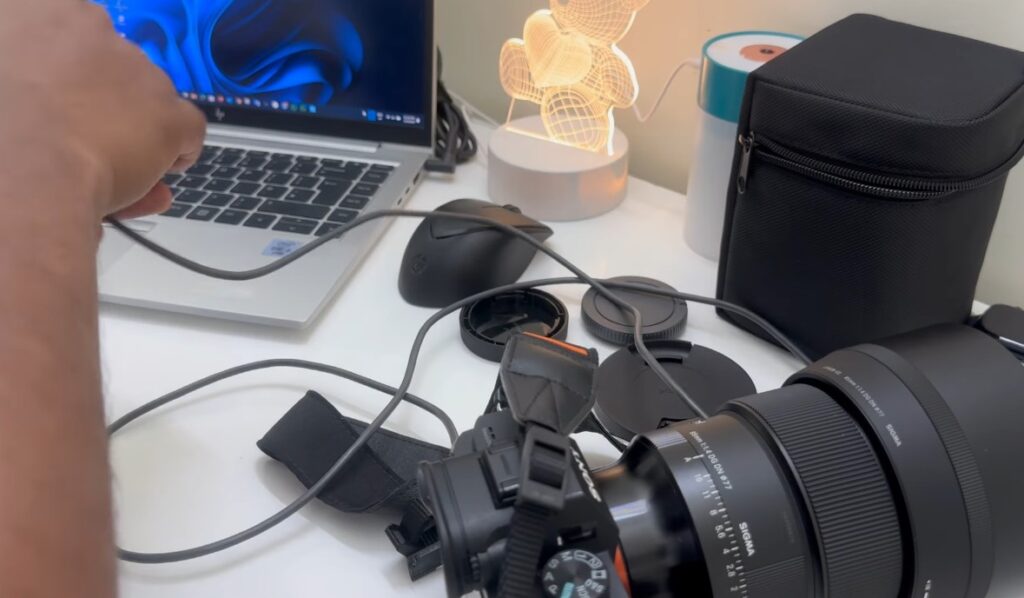
The first and most convenient way to transfer photos from a Canon camera to an iPhone is by using an OTG USB camera adapter. The OTG adapter connects the Canon camera directly to the iPhone, enabling users to easily transfer photos from the Canon camera to their phone. To use this method, simply plug one end of the OTG cable into your Canon camera’s USB port and the other end into your iPhone’s Lightning port. Then, open the Files app on your iPhone and select the “Camera” option to access the photos from your Canon camera.
Step 2. Plug both the camera and the iPhone with a single USB cable
Another simple method to transfer photos from a Canon camera to an iPhone is by connecting the two devices with a single USB cable. This method requires both the iPhone and the Canon camera to be connected using separate USB cables, with one end of each cable connected to the respective device. Then, simply plug the other end of both cables into your computer’s USB port. The computer will recognize both the iPhone and the Canon camera, allowing you to easily transfer photos from one device to the other.
Step 3. Turn on your iPhone’s Wi-Fi
If you want to transfer photos from your Canon camera to your iPhone without the use of cables, then turning on your iPhone’s Wi-Fi is a great option. To do this, simply open the Settings app and navigate to the “Wi-Fi” section. Turn on the Wi-Fi switch and choose the network that your Canon camera is connected to. Once your iPhone connects to the network, you can use the Camera Connect app (available for free from the App Store) to transfer photos from your Canon camera to your phone.
Step 4. Look for the import option on your iPhone
If you want to transfer photos from your Canon camera directly to your iPhone without the use of cables or Wi-Fi, then you can look for the import option on your phone. Many modern iPhones come with a built-in import feature that allows users to easily transfer photos and videos from their digital cameras to their phones. To access this feature, simply open the Photos app on your iPhone and look for the “Import” option. Select this option to initiate a photo transfer from your Canon camera to your phone.
Step 5. Wait while the app detects and reads the photos
Once you have initiated the photo transfer, the import app will seamlessly begin to detect and read photos from your Canon camera, utilizing advanced algorithms to ensure accurate and efficient processing. This meticulous process may take a few minutes, depending on the number of captivating moments being transferred, as the app meticulously organizes and optimizes each photo for optimal viewing and sharing. Once the transfer is complete, you will be delighted to find that you can effortlessly access and cherish all of your precious memories on your iPhone, ready to be shared and cherished with friends and family.
Step 6. Transfer photos from Canon Rebel t7i to iPhone. The end of the process
Using the methods outlined above, you can easily transfer photos from a Canon camera to an iPhone. Whether you use an OTG USB adapter, a single USB cable, Wi-Fi connection or the built-in import feature on your phone, transferring photos from your Canon Rebel t7i camera to your iPhone is relatively quick and easy. To ensure that all of your photos are transferred properly, be sure to use a reliable USB cable and follow the instructions outlined in each of the steps above. With a few simple steps, you will have all of your photos transferred from your Canon camera to your iPhone in no time.
Simple Steps to Connect Canon T6 Camera to Computer using Wi-Fi
The Canon T6 is a popular DSLR camera that has Wi-Fi capabilities for quick connection to a computer. To connect the Canon T6 via Wi-Fi, you will need to have an existing wireless network and a compatible device such as your PC or Mac.
Step 1: Prepare Your Camera
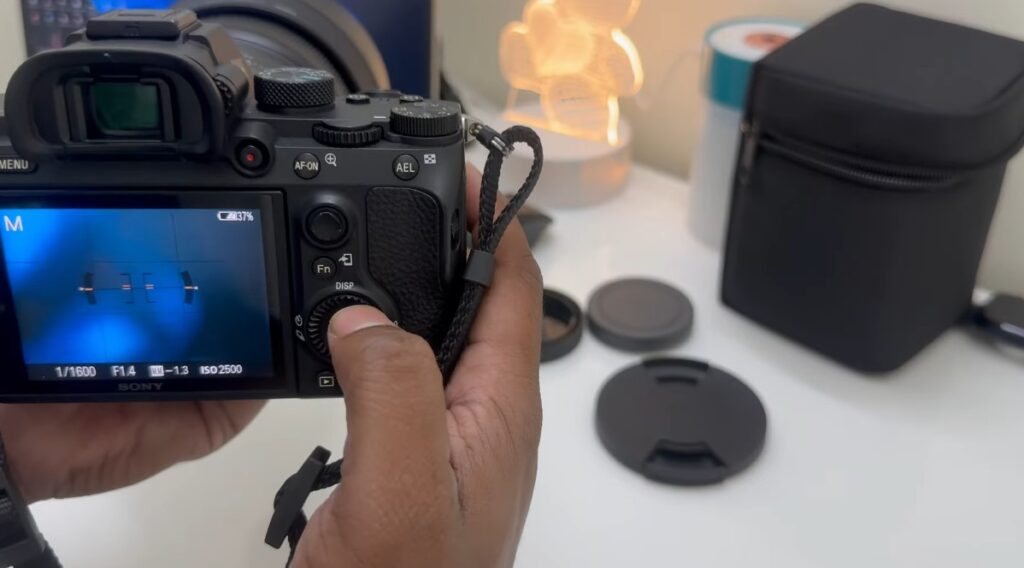
Before connecting your Canon T6 camera to your computer, it’s important to properly prepare the camera. To do this, begin by turning on the Wi-Fi function of your Canon T6 and setting it to “Search for Access Points” mode. This specific mode allows your camera to actively scan and detect any available wireless networks within its range, ensuring a seamless connection between your Canon T6 and your computer. By following these steps, you can establish a reliable and efficient connection between your camera and computer, enabling you to effortlessly transfer and manage your photos and videos.
Step 2: Connect Your Device
Once you have prepared your Canon T6 by turning on the Wi-Fi function, you can now connect it to your device. To do this, go to your device’s settings and select “Wireless Networks” or “Wi-Fi Networks.” From the list of available networks, select the network you want to connect to. In most cases, this would be your home Wi-Fi network. Once you have selected the network, you may be prompted to enter the required password. Enter the password accurately to establish a secure connection between your Canon T6 and your device. By following these steps, you will be able to connect your Canon T6 to your device and enjoy the benefits of wireless functionality.
Step 3: Connect Your Camera
After you have successfully connected your device to the network, you can now connect your Canon T6. Go to the Wi-Fi settings in your camera and select the same wireless network as the one used by your device. Enter the password again to complete the connection process between your Canon T6 and computer.
Once you have established a successful connection, you should be able to access and transfer files from your camera to your computer or vice versa. You can also upload pictures directly to social media platforms such as Facebook, Twitter and Instagram without needing a separate cable connection.
Step 4: Disconnect Your Camera
Once you are done transferring files between your Canon T6 and computer, it is important to disconnect the camera’s Wi-Fi connection. To do this, go to your device’s settings and select “Wireless Networks” or “Wi-Fi Networks.” Find the network you used and select “Disconnect.” This will ensure that your connection is properly disconnected from both devices.
By following these simple steps, you can easily connect your Canon T6 camera to your computer using Wi-Fi. This, in turn, will make transferring photos easy and allow you to share them with friends and family quickly and conveniently.
FAQ
How do I connect my Canon camera to my iPhone?
Connecting your Canon camera to your iPhone is easy. First, make sure that the latest version of iOS is installed on your device. Then, go to the App Store and download the Canon Camera Connect app. After launching the app, you will need to connect your camera to your phone via USB or Wi-Fi. Follow the instructions within the application, and you should be ready to start transferring images and videos from your camera to your phone. Additionally, the Camera Connect app can also allow you to control certain settings on the camera remotely.
What types of memory cards are compatible with Canon cameras?
Canon cameras are well-known for their versatility in supporting a wide range of memory cards. You can rely on their compatibility with popular formats like SD, SDHC, and SDXC. However, it is important to double-check the specific memory card format that your particular Canon model supports to ensure seamless usage.
Additionally, it’s worth highlighting that certain Canon cameras go beyond the standard formats and offer compatibility with additional memory options like CompactFlash and XQD. This added flexibility allows users to capture and store their precious moments with even more convenience and choice. With Canon, you can trust that your camera will accommodate various memory card formats, providing you with the freedom to explore and expand your photography capabilities.
How do I connect my Canon Rebel T6 to a new WiFi?
Connecting your Canon Rebel T6 to a new WiFi network is simple. First, make sure that you have the latest version of the Canon EOS Utility installed on your computer. Then, use the included USB cable to connect your camera to your computer. Once connected, launch the EOS Utility software and click on “Wi-Fi Function” from the main menu. Select the “Set up” option and follow the on-screen instructions to connect your camera to a new WiFi network. Once completed, you should be able to access and transfer images and videos wirelessly from your camera.
Does Canon offer cloud storage solutions?
Yes, Canon does offer several reliable and convenient cloud storage options for its users. One of these options is Canon Image Gateway, which is the company’s flagship cloud storage solution. With Canon Image Gateway, users get the benefit of up to 20GB of free storage, and if needed, they can easily upgrade for additional space.
In addition to Canon Image Gateway, Canon also provides the option of using Canon Irista and irista cloud services for storing photos in the cloud. These services not only offer ample storage options but also come equipped with powerful editing tools and sharing capabilities. With Canon Irista and irista cloud services, users have the flexibility to store their precious memories securely while having the convenience of editing and sharing them effortlessly.
What are some tips on how to take better photos with a Canon camera?
Taking great photos with your Canon camera requires some practice and patience. Here are a few tips to help you get started:
- Pay attention to the lighting: Look for natural light that is not too harsh or bright. Sunsets and sunrises are often good times to shoot.
- Use the right settings: Many Canon cameras offer advanced features and settings that can help you get the best shot. Play around with shutter speed, ISO, aperture, white balance, and other controls to get better results.
- Get creative: Experiment with different angles and perspectives to capture unique photos. Don’t be afraid to try out new techniques like long exposures or panoramas.
- Utilize accessories: Take advantage of the range of accessories that your camera offers. Lens filters, tripods, and external flashes can all help you take more creative photos.
- Edit your photos: Post-processing tools like Adobe Lightroom or Photoshop Express can help you bring out the best in your photos. Once you have mastered the basics, don’t be afraid to experiment with different editing techniques.
These tips should help you take better photos with your Canon camera, although practice and experimentation are always the keys to success!
How do I set up my Canon Rebel T6?
Setting up your Canon Rebel T6 is easy. First, make sure that the camera is fully charged and all necessary cables are connected. Then, attach the lens to the camera body and turn on the power switch. Once powered on, press the MENU button on the back of your camera to access its settings. Here, you can customize various options like shutter speed, ISO, white balance, and more. Once the camera is set up according to your preferences, you are ready to start taking amazing photos with your Canon Rebel T6.
Can I use my Canon Rebel T6 for video recording?
Yes, the Canon Rebel T6 can be used for both still photography and video recording. To access its video mode, simply turn the dial located on the top of your camera to ‘Video’. Then, press the Live View button to start recording. The Rebel T6 can record up to 1080p Full HD video with stereo sound and can also capture 4K time-lapse movies for added creativity. With its versatile capabilities, you can be sure that your Canon Rebel T6 will provide you with high-quality video recordings.
What is the best way to transfer photos from my Canon camera to my computer?
The best way to transfer photos from your Canon camera to your computer is by using the included USB cable or connecting wirelessly via Wi-Fi. With the USB cable, you can quickly and easily connect your camera directly to your PC or Mac and then transfer the images using Canon’s EOS Utility software. Alternatively, if your camera supports Wi-Fi connectivity, you will be able to upload photos wirelessly by either using a home network or a mobile hotspot. Whichever method you choose, transferring your photos from your Canon camera to your computer should be a breeze.
Are lens filters necessary for Canon cameras?
Lens filters can be very beneficial when taking photos with your Canon camera. Several different types of lens filters can help you achieve better results, such as UV filters which reduce glare and haze in outdoor scenes, polarizing filters to enhance color saturation, ND (neutral density) filters to extend exposure times, and more. Ultimately, whether or not you need to use lens filters will depend on the type of photography you are doing and the effects that you want to achieve. However, having a selection of different lens filters at your disposal can give you more creative control when taking photos with your Canon camera.
Why is it important to keep my Canon camera updated?
Keeping your Canon camera updated with the latest firmware and software is essential for ensuring that you are using all of its features to the fullest. Not only will this allow you to take advantage of new functions, but updates can also help improve the overall performance of your camera. With regular updates, your Canon camera should be able to handle the latest trends in photography and keep up with all of your photographic needs. Additionally, updates can help protect your camera from potential security risks, so it is important to make sure that you always have the most recent version installed.
Conclusion
So, if you need to connect the Canon Rebel T6 to iPhone for photo transfer, you can do so using the Canon Camera Connect app. Additionally, you can also use a USB cable and/or an SD card adapter to complete the transfer process. Furthermore, keep in mind that your device needs to be running iOS version 8 or later for the Camera Connect app to work correctly. Ultimately, with these simple steps, you’ll be able to transfer photos from your Canon Rebel T6 to your iPhone without any issues.