
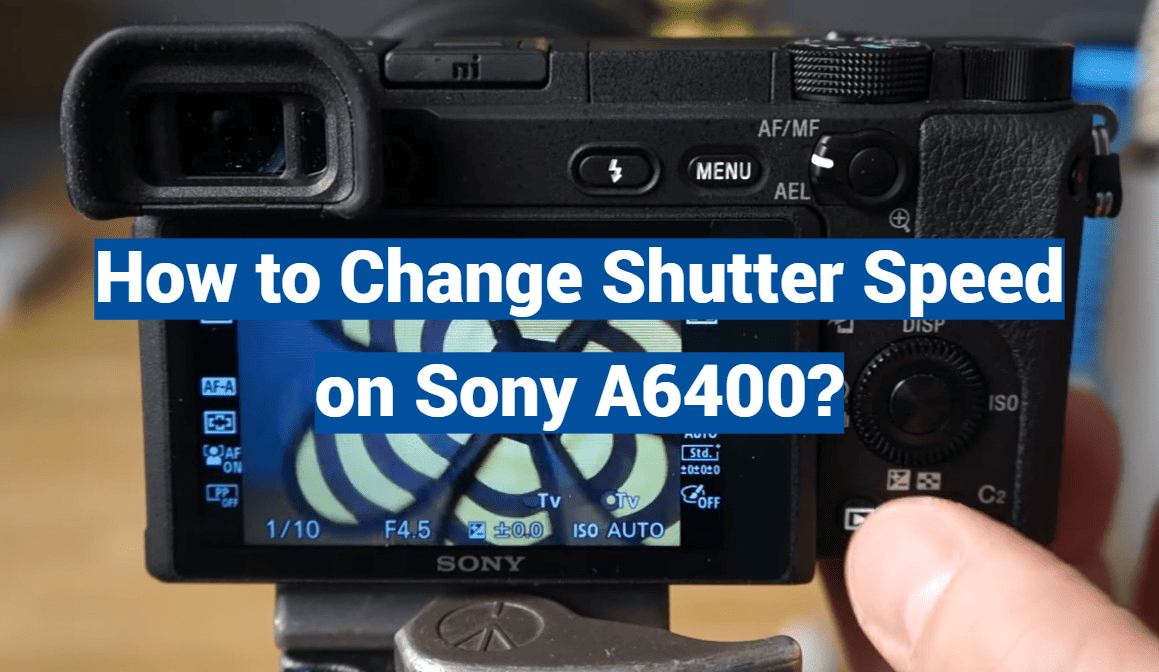
Have you ever found yourself captivated by the incredible moments frozen in time by photography? The secret behind those stunning images lies in the photographer’s ability to control one crucial element: shutter speed. If you own a Sony A6400 and want to unlock the power of capturing moments with the perfect exposure, you’ve come to the right place! This comprehensive guide will unveil the secrets of changing the shutter speed on your Sony A6400, allowing you to transcend ordinary snapshots and elevate your photography to a whole new level of artistry. Get ready to delve into the world of shutter speed manipulation and take control of your camera like never before.
What is a Shutter Speed?
Shutter speed is the amount of time that a camera’s shutter remains open when taking a picture. It is one of the three main variables in photography, along with aperture and ISO. Different shutter speeds can create different effects, such as freezing action or blurring movement. A slower shutter speed allows for more light to reach the image sensor, while a faster shutter speed freezes motion and reduces the amount of light entering the camera.
Shutter speed is measured in fractions of a second, typically ranging from 1/2000th of a second to 30 seconds or more. When shooting in bright sunlight, you would generally use a faster shutter speed to freeze moving objects and avoid overexposure. In low-light situations, you would need to slow down the shutter speed to let more light into the camera.
In addition to controlling how much light is entering the camera, shutter speed also affects how motion appears in an image. At slow shutter speeds, moving objects appear blurred and can create a sense of movement in the photograph. Fast shutter speeds will capture movement as it happens, freezing it in place and showing the exact moment the photo was taken.
Shutter speed is an important tool for photographers to control how their images turn out, and it can be used to create many different kinds of photos. For instance, a slower shutter speed can be used to capture a nightscape or star trails in the sky. A fast shutter speed can freeze motion in sports photography or stop water droplets in midair for a unique effect. Additionally, shutter speed can be used to create motion blur when photographing cars, trains and other moving objects. Experimenting with different shutter speeds will help you discover the best technique for creating the look you desire.
Types of Shutter Speeds
Shutter speeds are categorized into two main categories: fast shutter speeds and slow shutter speeds. Fast shutter speeds typically range from 1/4000th of a second to 1-second, while slow shutter speeds can be as long as several minutes. Depending on the amount of time each shutter speed allows for light to penetrate the lens, different effects can be achieved.
Fast shutter speeds are great for capturing action shots such as sports or any other type of moving object. The faster shutter speed stops the motion in its tracks, allowing you to freeze the moment and capture all of the details. It also reduces the amount of light entering the lens, resulting in a darker image with less noise.
Slow shutter speeds allow more light to enter the lens, resulting in brighter and more detailed images. They are great for capturing long exposures of night skies or moving water. By using a tripod and setting the shutter speed to several seconds, you can capture amazing shots with beautiful trails of light from stars or streaks of white in flowing waters.
Another popular type of shutter speed is called Bulb mode, which allows the shutter to remain open for as long as the photographer holds down the shutter button. This is great for capturing light-painted images or taking multiple-exposure photos. It takes a little bit of practice to get the right amount of time for each shot, but when done correctly it can yield amazing results.
Shutter speeds are an important part of photography and understanding how to use them can help you take better pictures. With the right combination of shutter speed and ISO, you can capture stunning images in any lighting condition. Experiment with different speeds and see what kind of results you get! With a little bit of practice, you’ll be able to master the art of photography in no time.
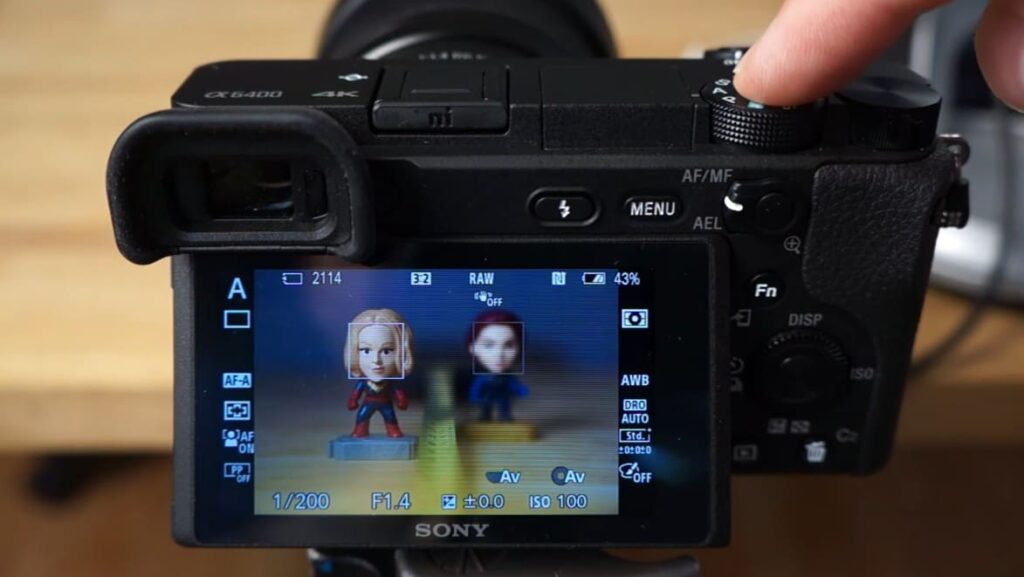
How to change the shutter speed on Sony A6400 video? – Ultimate Guide
Step 1: Change to Manual Mode
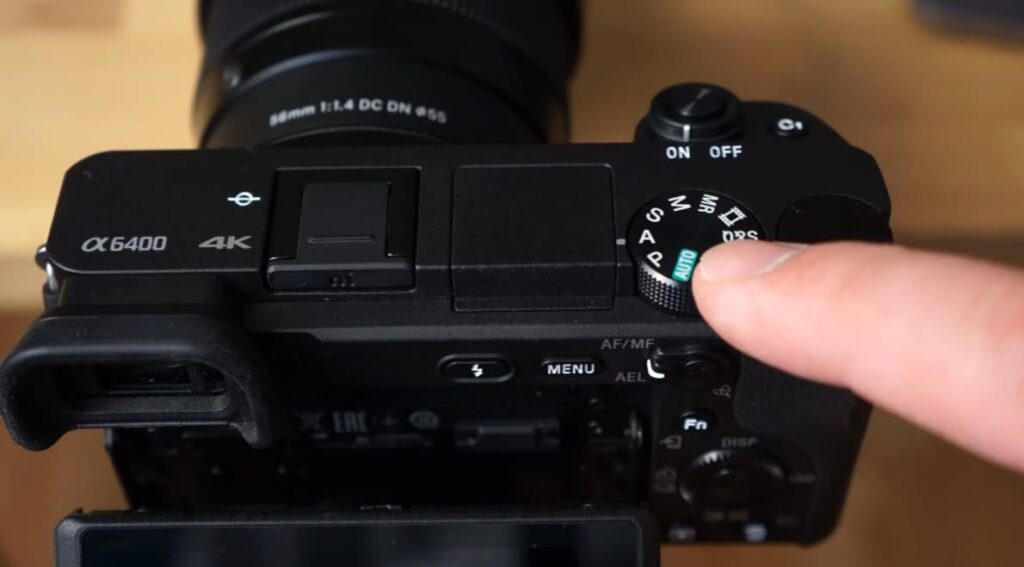
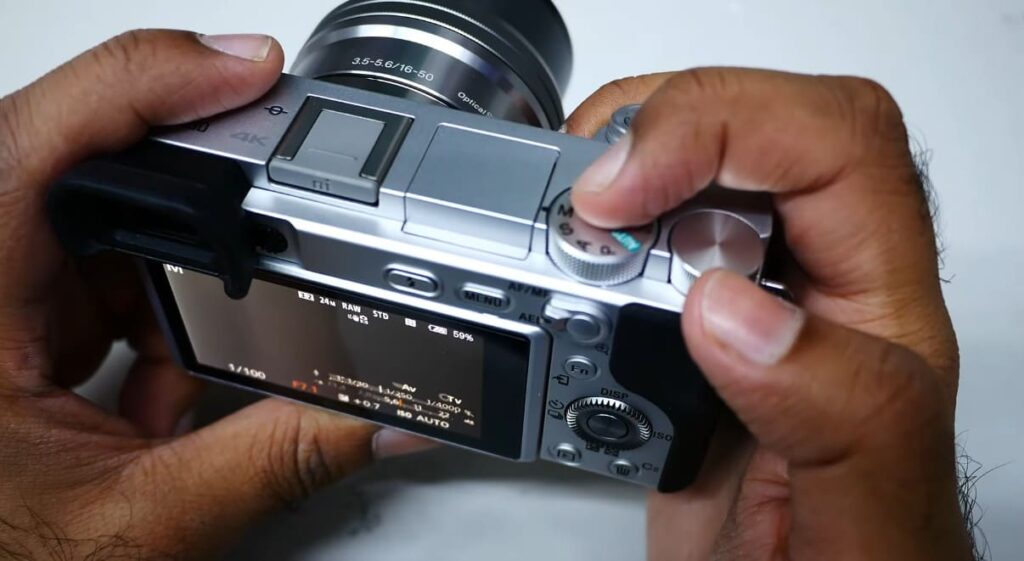
On the Sony A6400, a versatile and user-friendly camera, you can effortlessly switch to manual mode by simply rotating the Mode Dial located conveniently on the top panel. Once you have entered this mode, you will gain complete control over your photography experience, allowing you to manually adjust the shutter speed according to your specific requirements. This level of customization empowers photographers to capture their desired shots with precision and creativity, making the Sony A6400 an ideal choice for both amateurs and professionals alike.
Step 2: Adjust Shutter Speed
Once you have switched to Manual Mode, press down on the Shutter button located at the top of your camera. Then, use the wheel located beneath the LCD screen to adjust the corresponding shutter speed. By adjusting this setting, you can precisely control how long your camera keeps its shutter open when capturing a shot. This flexibility allows you to effortlessly capture subjects in motion, whether they are moving quickly or slowly. Whether you want to freeze the action or create a beautiful motion blur effect, mastering your camera’s shutter speed is the key to unlocking your creative potential. So, experiment with different shutter speeds and unleash your artistic vision!
Step 3: Test the Shutter Speed
Now that you have carefully adjusted the shutter speed, it’s time to put it to the test! Take several shots in various lighting environments, ranging from bright and sunny to dimly lit settings. Experiment with different subjects, capturing both still objects and moving subjects, to truly grasp how the shutter speed affects your images. Pay attention to the details and nuances in each shot, observing how the varying settings produce distinct results. By thoroughly testing out all of the available options, you will gain a deeper understanding of which specific shutter speed works best for your unique photography needs. Remember, practice makes perfect, so keep exploring and refining your skills to capture those picture-perfect moments!
Step 4: Record Your Video
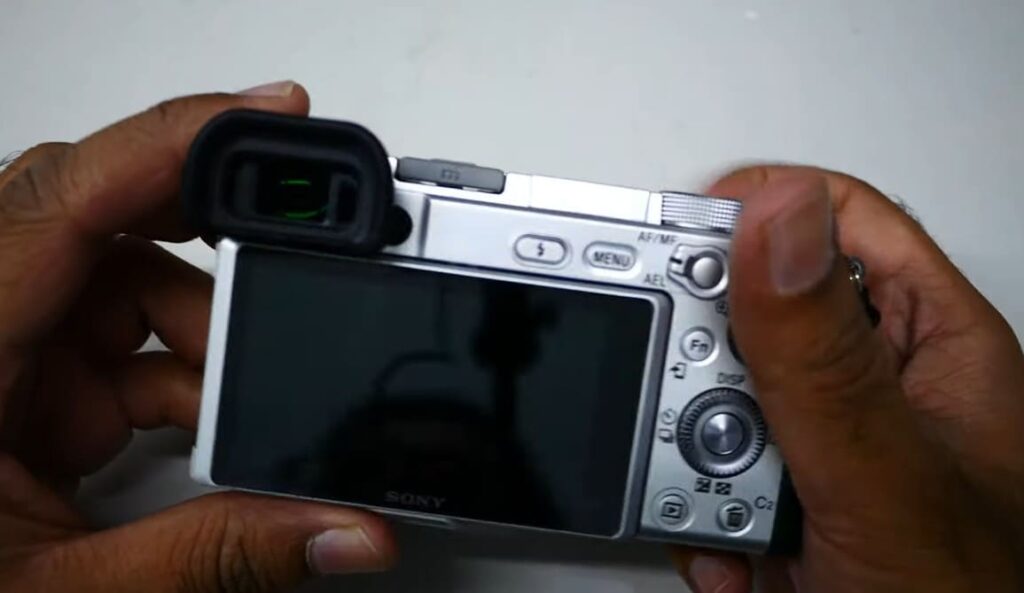
Finally, the moment has arrived to record your highly anticipated video! With the remarkable Sony A6400, you can effortlessly capture breathtaking footage in stunning 4K resolution. Thanks to its state-of-the-art image sensor and advanced autofocus capability, your videos will showcase exceptional clarity and detail. Moreover, this exceptional camera offers manual control over shutter speed, allowing you to unleash your creativity by creating captivating slow-motion videos or freezing frames of fast-moving objects. The possibilities are endless, enabling you to achieve a truly unique and mesmerizing effect in your videos. Get ready to embark on a journey of visual storytelling like never before!
Benefits and downsides of Sony A6400
The Sony A6400 is a great camera for those looking to get into photography or videography. It has excellent features like 4K video, fast and accurate autofocus, and an adjustable viewfinder that makes composition easier. It also has built-in image stabilization which can be helpful in low-light situations. However, there are some downsides to the Sony A6400. For example, it has limited battery life and the menu system can be confusing for beginners.
Additionally, the camera body is not weather-sealed so care should be taken when shooting in outdoor conditions. Overall, the Sony A6400 is a great choice for those looking to get into photography or videography at an affordable price point. With its excellent features and good value, it can be a great choice for those just starting out or wanting to upgrade from their current setup. It’s also a great option for those looking for an affordable 4K camera with excellent autofocus capabilities.
In conclusion, the Sony A6400 is an excellent camera at a reasonable price point that provides features suitable for beginners and experienced photographers alike. It has excellent low-light performance and video capabilities, fast autofocus, and a great viewfinder that makes composition easier. However, its lack of weather sealing may be an issue for some users and the battery life is limited. Despite these downsides, the A6400 is an excellent choice for those starting out or looking to upgrade from their current setup. With its features and value, it is one of the best cameras available in this price range.
Overall, the Sony A6400 is an excellent camera for those looking to get into photography or videography. It has great features at a reasonable price point and makes shooting enjoyable and easy. With its fast autofocus, excellent low-light performance, and adjustable viewfinder, it is a great option for those just starting out or looking to upgrade. Just keep in mind the lack of weather sealing and limited battery life when making your decision. With its excellent features and good value, the Sony A6400 is an excellent choice for those wanting to get into photography or videography at an affordable price point.
How to use Sony A6400 for great photos?
Taking great photos with the Sony A6400 is easy. With its 24.2 megapixel Exmor CMOS sensor, a 180-degree tiltable LCD touch screen, and a fast autofocus system, the camera can capture stunning images and videos with ease.
The Sony A6400 offers a variety of shooting modes that can help you get the most out of your photos. The Intelligent Auto mode chooses the best settings for a given scene, while Scene Selection lets you select from 15 different presets to make sure your shot looks its best.
The camera is equipped with an improved Fast Hybrid Autofocus system which can track moving subjects more accurately and quickly than ever before. It also features Eye AF, which automatically detects and focuses on the eyes of your subjects for a more natural-looking portrait.
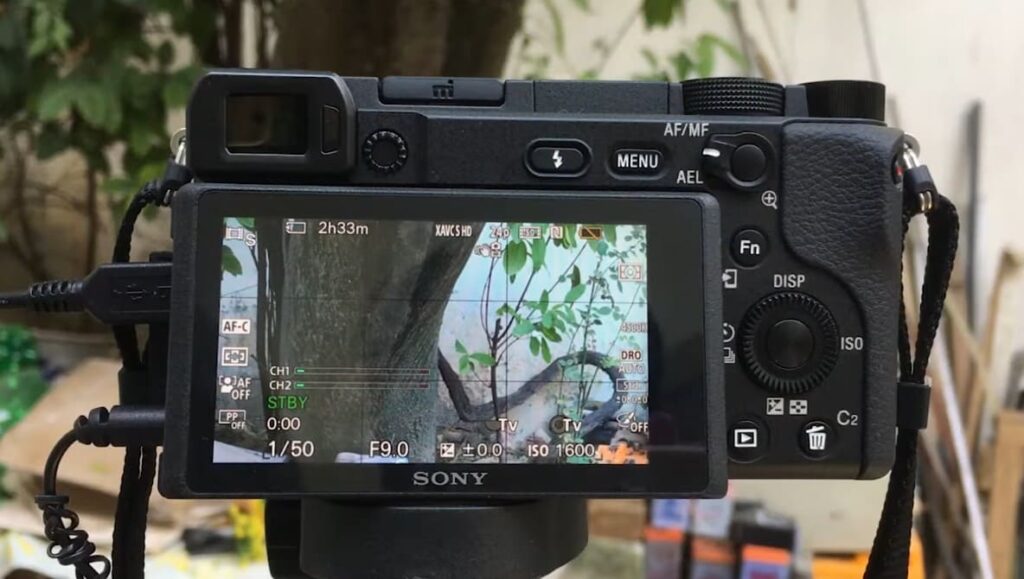
The Sony A6400 also has a variety of built-in creative effects, such as Background Defocus and Picture Effects, that allow you to easily add some flair to your photos. With its 4K video recording capabilities, you can capture beautiful movies with ease too.
For even more creative control, you can use the camera’s manual mode to set your own shutter speed, aperture, and ISO settings. You can also use the camera’s built-in interval timer for time-lapse photography or HDR shooting.
The Sony A6400 is a great tool for taking high-quality photos and videos with ease. With its versatile range of features, you can capture stunning shots in any situation with confidence. With a little practice and experimentation, you’ll soon be taking amazing photos with your Sony A6400.
If you’re looking to get even more out of your camera, there are plenty of accessories available for the Sony A6400 that can help take your photography to the next level. An external flash, a macro lens, or a remote shutter release are all great options that can help you get even more creative with your shots.
Additionally, there are many editing programs available for post-processing photos taken with the Sony A6400. Programs like Adobe Lightroom and Photoshop allow you to fine-tune the look of your photos and videos further, giving you the freedom to create truly unique images.
No matter what type of photos you’re taking, the Sony A6400 is a great camera that can help you capture stunning images and videos with confidence. With its range of features and accessories, it’s easy to see why this camera is so popular among photographers. Whether you’re an experienced professional or just starting out, the Sony A6400 is a great choice.
FAQ
How do I change the shutter speed on my Sony camera?
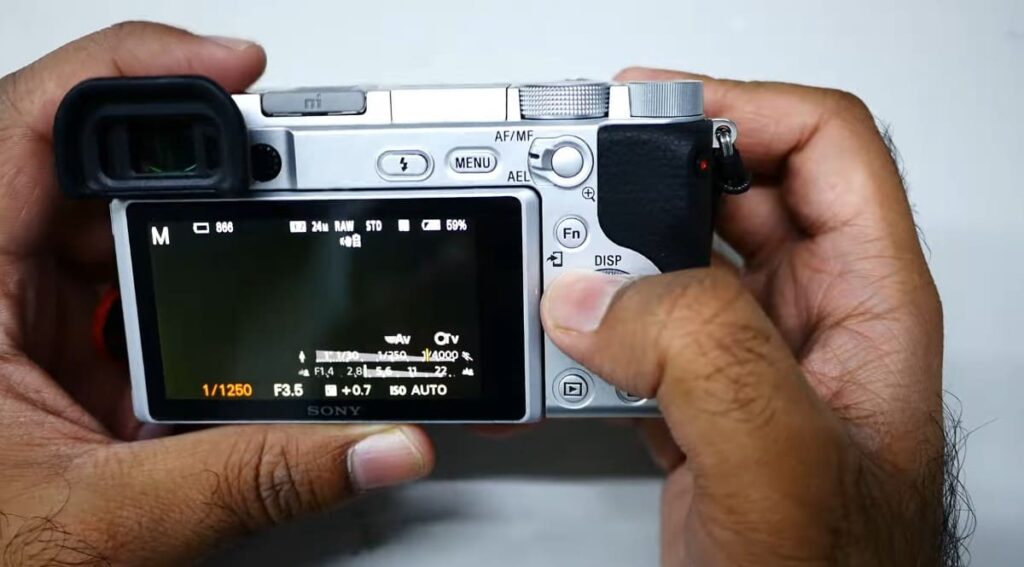
Changing the shutter speed on a Sony camera is a fairly easy process. First, you’ll need to turn the mode dial to ‘M’ for manual shooting mode. This mode allows you to have full control over your camera settings, giving you the flexibility to capture your desired shots. Next, locate the shutter speed selector, which is usually a dial or a button on the top or side of the camera body. Rotate it clockwise or counterclockwise to adjust the speed according to your preferences.
The shutter speed determines the amount of time the camera’s sensor is exposed to light. A faster shutter speed freezes motion, making it ideal for capturing fast-moving subjects like sports or wildlife. On the other hand, a slower shutter speed creates motion blur, which can be used creatively for long-exposure photography or capturing the flow of water in a river or waterfall.
Once you’ve set the desired shutter speed, press the shutter release button to take your photo. Keep in mind that the camera needs to be stable to avoid any unwanted camera shake. If you’re shooting in low-light conditions and using a slower shutter speed, using a tripod or stabilizing the camera in some way can help improve the sharpness of your images.
What lens should I use for low-light photography?
When shooting in low light conditions, it’s best to use a fast prime lens with a large aperture. This type of lens allows more light to enter the camera, which helps to minimize noise and blur. A popular choice for low-light photography is a 50mm f/1.8 lens, as it offers excellent image quality at an affordable price.
If you need even more light, you can opt for a fast zoom lens with an aperture of f/2.8 or wider. These lenses tend to be more expensive but offer greater flexibility, allowing you to shoot at a wider variety of focal lengths. You should also look for lenses with image stabilization, as this helps to reduce camera shake and makes handheld shooting easier in low-light situations.
Finally, remember that the choice of lens is only one factor when it comes to low-light photography. You’ll also need to adjust your camera settings appropriately, such as increasing the ISO and using a slower shutter speed. With the right combination of gear and technique, you can capture amazing photos even in challenging lighting conditions.
What are some tips for shooting in RAW?
Shooting in RAW is one of the best ways to capture and store digital images. RAW files contain a wealth of information that can be used to make adjustments during the post-processing stage, allowing you to create stunning photos with ease.
The first step is to set your camera to record in RAW format. In most cameras, this can be done by changing the image quality setting from JPEG to RAW. Once you’re shooting in RAW, always shoot in manual mode and take multiple shots of the same scene for better results.
When adjusting your camera settings, remember to keep an eye on the histogram to ensure that all tones are evenly balanced and that highlights and shadows are properly exposed. If you’re shooting in low light, increasing the ISO will help to bring out more detail in the shadows. Finally, shoot with a tripod whenever possible to ensure sharp, blur-free images.
When editing your RAW files, you have a lot of flexibility when it comes to adjusting the color temperature, contrast and other image parameters. Pay attention to any issues such as over-saturation or blown highlights that can be addressed during post-processing. With the right techniques and some practice, you’ll soon be able to produce stunning images with ease.
What tips can I use for shooting landscapes with Sony A6400?
Shooting landscapes with the Sony A6400 can be a great way to capture stunning images. Start by choosing an appropriate shooting mode, such as aperture priority or manual mode. This will give you more control over your camera settings so that you can get the desired results.
When setting up for your shot, use a tripod if possible to achieve sharper images and reduce camera shake. You’ll also want to make sure that your white balance and ISO settings are appropriate for the scene you’re shooting.
Try using a wide-angle lens to capture more of the scene in your frame, or opt for a telephoto lens if you want to capture distant details. Another great tip is to use a polarizing filter on your lens, as this can help reduce reflections from water surfaces and make skies appear more vivid.
Finally, use the A6400’s live view LCD screen to check for composition and lighting as you take your shots. With a bit of practice, you’ll soon be able to capture stunning landscapes with ease.
What is the shutter speed limit on the Sony a6400?
The maximum shutter speed on the Sony a6400 is 1/4000 sec. This allows you to capture fast-moving subjects with ease, as well as freeze motion for creative effects. It’s also possible to shoot at slower speeds of up to 30 seconds in manual mode, allowing you to capture long exposure photographs such as light trails and star trails.
When shooting at slow shutter speeds, it’s important to use a tripod or other stable platform to avoid any unwanted camera shake. Additionally, using a remote shutter release cable can help ensure that your shots are sharp and blur-free.
Finally, keep in mind that the maximum shutter speed will be lower when shooting in movie mode. The Sony a6400 is capable of recording up to 120fps in Full HD, but the maximum shutter speed drops to 1/60 sec in this mode.
What kind of filters can I use for landscape photography with Sony a6400?
When shooting landscapes with the Sony a6400, there are a range of filters that can help you achieve the desired results. For example, a circular polarizing filter can reduce reflections from water surfaces and make skies appear more vivid. A graduated neutral density filter can also be used to balance exposure between bright and dark areas of your scene, while an ultraviolet or haze filter helps to reduce atmospheric haze and make colors appear more vivid.
A graduated color filter can be used to add a creative tint to your images, while a neutral density filter is great for capturing long-exposure photographs such as light trails or starscapes. Finally, using an infrared filter allows you to capture infrared landscapes in black and white.
Final Thoughts
So, if you want to change the shutter speed on the Sony A6400, you have a few options. You can use Manual Mode and adjust the shutter speed directly from the dial or using the Quick Menu. Alternatively, you can make use of Shutter Priority Mode to set an approximate shutter speed and let the camera decide on the rest. Finally, if you feel like experimenting with creative effects, try out Bulb Mode which allows for long-exposure photography. Hopefully, this article has given you the information necessary to explore these different shutter speed modes on your Sony A6400 and have a great time taking photos!