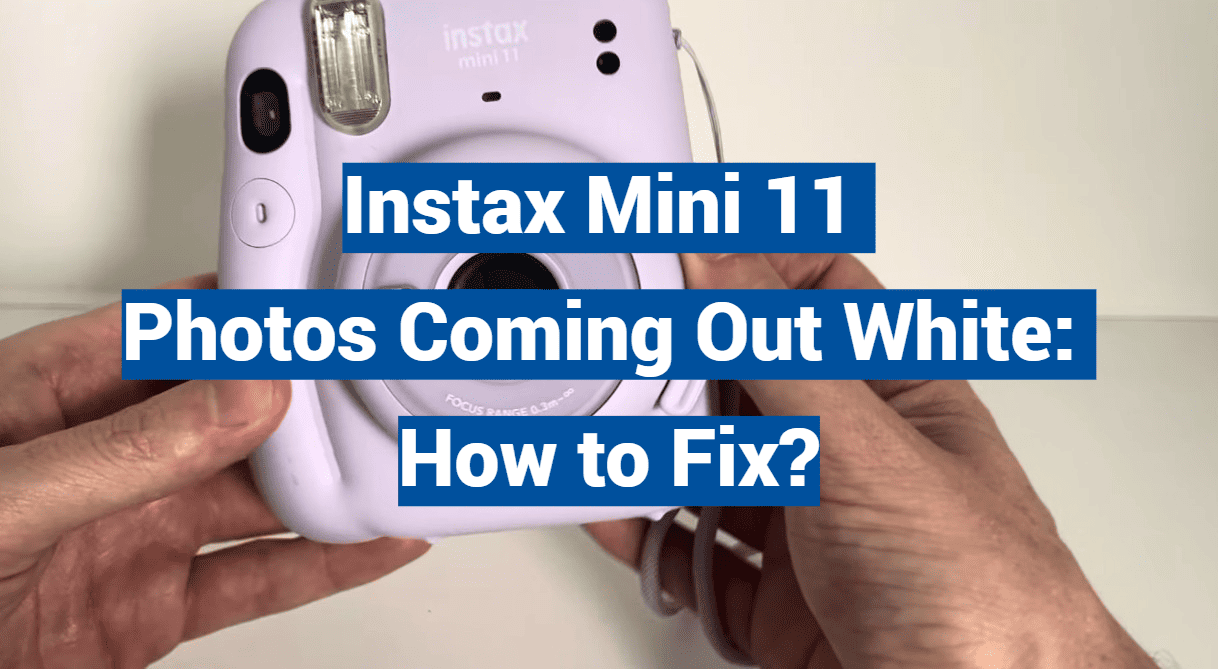
Tired of the eternal struggle of capturing precious memories on your Instax Mini 11, only to be left with a stack of disappointingly white photos? Well, fret no more, shutterbugs! This ultimate guide to troubleshooting your Instax Mini 11 will delve into the depths of photographic sorcery to banish those ghostly white images for good. Prepare to unlock the secrets behind this perplexing phenomenon and emerge victorious with vibrant, crystal-clear instant prints that pop off the page. Say goodbye to white photos and hello to a whole new world of picture-perfect possibilities!
Why Are Instax Mini 11 Photos Coming Out White?
The Instax Film Was Exposed To Light
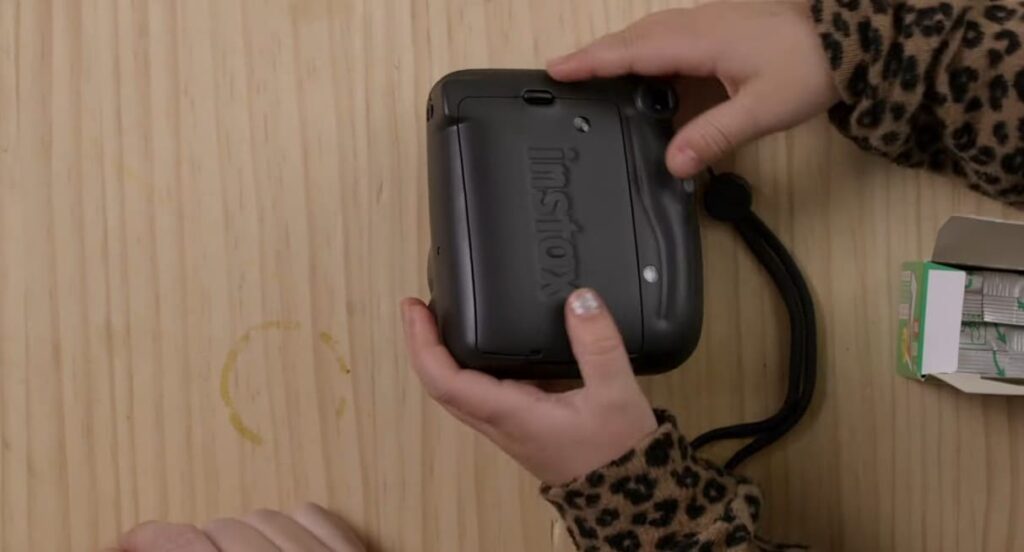
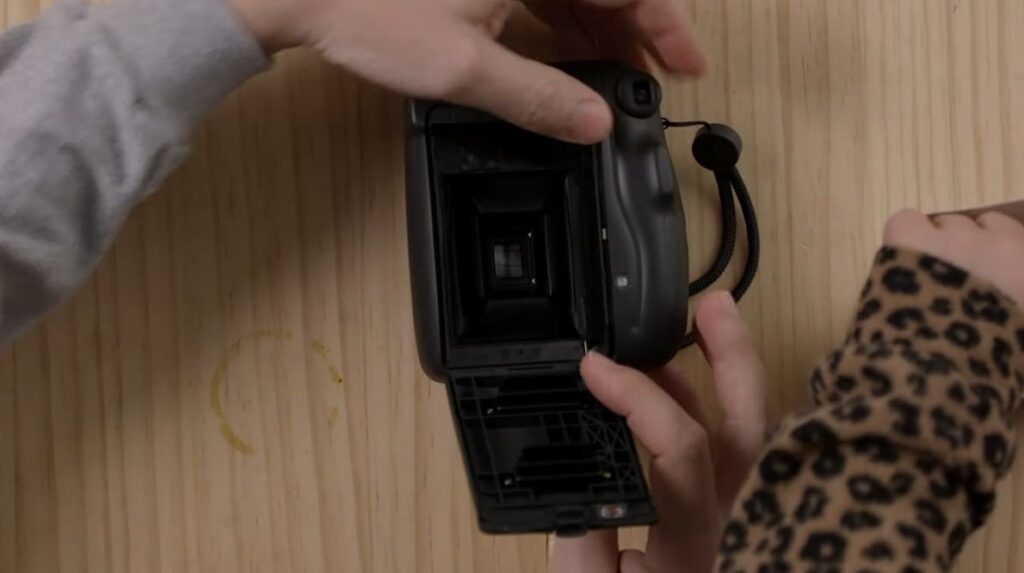
One of the most common reasons for Instax Mini 11 photos coming out white is that the Instax film has been accidentally exposed to light. This could happen during the loading or unloading of film into the camera when you open the back of your Instax camera to insert a new pack of film, or if the flash was accidentally activated. If this is the case, the film will be overexposed and the photos will come out looking white.
The Camera Was Not Loaded Or Used Properly
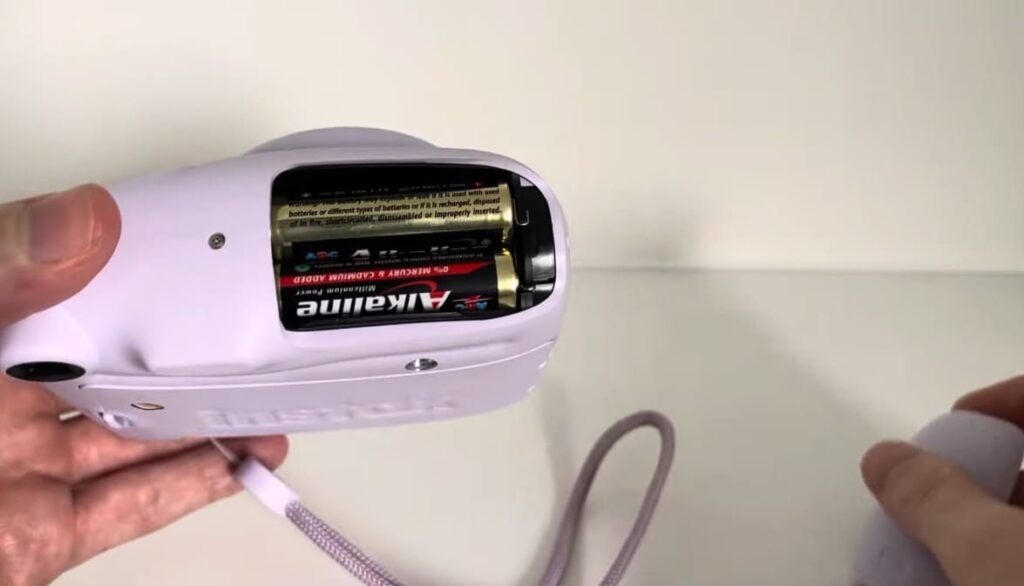
Another common reason why Instax Mini 11 photos may come out white is that the camera was not loaded or used properly. This can occur when users do not follow all of the instructions on loading the film or when they use a damaged or expired film cartridge. To ensure that your photos turn out correctly, it is important to always read and follow the instructions that come with the Instax Mini 11 camera. Additionally, using new and undamaged film cartridges is crucial for optimal photo quality. By taking these precautions, you can enjoy vibrant and well-exposed instant prints with your Instax Mini 11.
The Camera’s Settings Are Not Set Properly
If your Instax Mini 11 photos are turning out white, it could be due to incorrect camera settings. This may include using a flash setting that is too strong or selecting the wrong ISO setting. To prevent overexposure and ensure optimal photo quality, it is crucial to use the appropriate settings for your specific shooting conditions. By adjusting these settings accurately, you can capture vibrant and well-exposed photos with your Instax Mini 11.
You Are Covering the Light and Flash Sensors
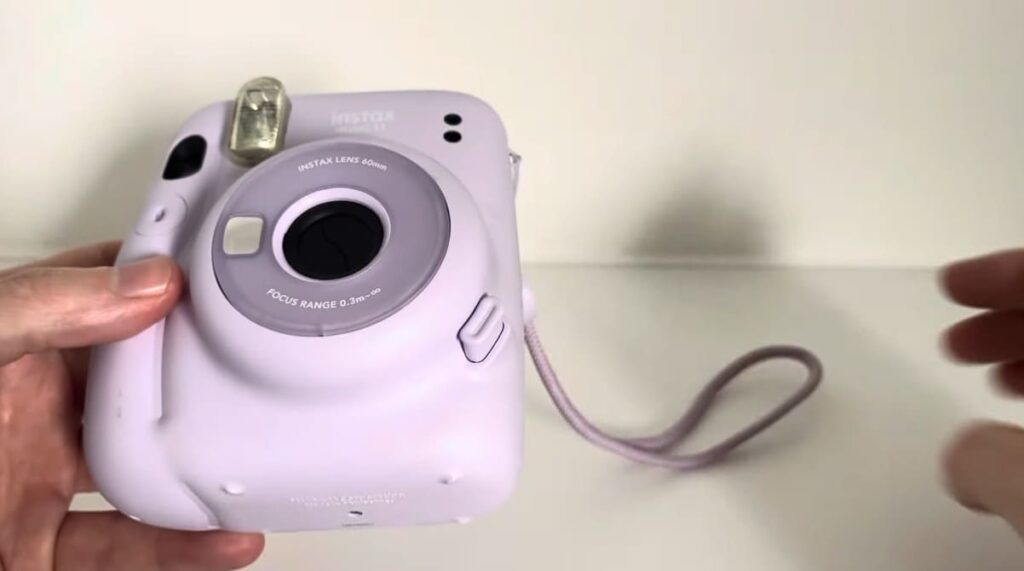
Another potential cause of Instax Mini 11 photos coming out white is that you are inadvertently covering the light and flash sensors. This could occur if you are using a protective case or lens hood on your camera, or if you accidentally have your fingers obstructing the lens when capturing a photo. To ensure optimal results, it is crucial to always double-check that there are no obstructions blocking the light and flash sensors, thus allowing your photos to turn out accurately and maintaining the desired quality.
The Camera Was Not Maintained Properly
The last common reason why Instax Mini 11 photos may be coming out white is that the camera was not maintained properly. This could include using expired film cartridges, not cleaning the lens regularly or forgetting to check and replace the batteries when necessary. It is important to always follow the maintenance instructions provided with your Instax Mini 11 camera for it to function correctly and produce clear, quality photos.
Your Subject Was Too Bright
One potential reason why Instax Mini 11 photos may be coming out white is if your subject is too bright. This can occur when capturing highly reflective objects or shooting in direct sunlight. In such cases, it is advisable to find a shadier spot to minimize the intense brightness. Additionally, you can experiment with the flash setting on your camera or adjust the ISO setting to ensure that your photos turn out correctly and capture the desired details. Taking these steps will enhance your overall photography experience with the Instax Mini 11.
How Do You Stop Your Instax Mini 11 from Overexposure: 5 More Hacks
Shielding the Lens
One effective method to prevent overexposure in your photographs is to shield the lens of your Instax Mini 11 when capturing shots in bright light. This can be easily achieved by using a piece of cardboard or any other suitable material that can effectively block a portion of the light from reaching the camera. Another effective approach is to apply an ND filter onto your lens, which effectively reduces the amount of light that reaches the camera’s sensor. By combining these two techniques, you can significantly enhance the quality of your photos by preventing them from appearing washed out or overexposed, ensuring that every detail is captured with precision and clarity.
Using Manual Mode
Another way to reduce the chances of getting an overexposed photo is to switch to manual mode on your Instax Mini 11. In this mode, you can adjust the shutter speed and aperture settings to get just the right amount of light for your shot. You also have the option to adjust the ISO sensitivity setting, which allows you to fine-tune the level of brightness in your photos, ensuring that each one is perfectly exposed. Additionally, when shooting in manual mode, you can experiment with different combinations of shutter speed and aperture settings to get creative with your shots and add a unique touch to them.
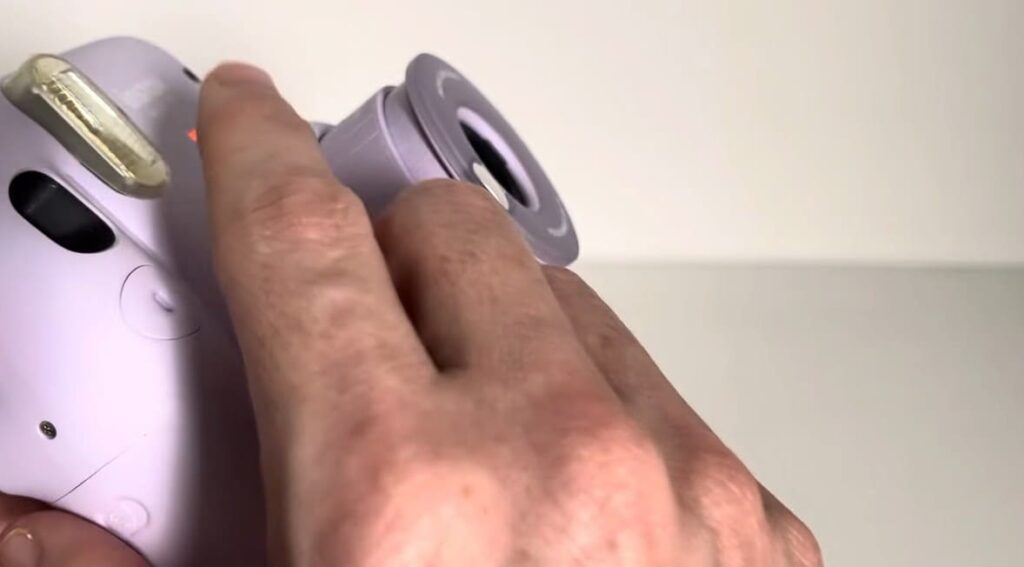
Put Sunglasses on the Camera Lenses
An often overlooked but highly effective way to prevent overexposure in your photographs is to simply put sunglasses on the camera lenses. By doing this simple trick, you can effortlessly reduce the amount of light entering the camera without the need to adjust any settings. This technique is especially handy when shooting in bright conditions and you don’t have access to cardboard or ND filters. With the aid of sunglasses, you can easily control and limit the amount of light that reaches the lens, ensuring that each photo is perfectly exposed and avoiding any unwanted overexposure. Give it a try and witness the difference it can make in your photography!
Using a lens filter
Using a lens filter is another great way to adjust the exposure of your Instax Mini 11 photos. A lens filter can be used to reduce the brightness of the environment without changing any settings on the camera. This allows you to capture perfectly exposed shots without having to manually adjust the aperture or shutter speed. Different types of lens filters are available, and depending on your needs, you can choose the one that best suits your photography style. Additionally, some lens filters are made specifically for bright environments, so be sure to keep an eye out for those if you’re shooting outdoors in direct sunlight.
Verifying Exposure
When using the Instax Mini 11, it is crucial to verify the exposure of your photos after capturing them. This step allows you to assess whether the photo is overexposed and make adjustments to the settings if necessary. By doing so, you can ensure that each shot looks its absolute best and captures all the intricate details with utmost precision.
Moreover, it’s worth noting that some cameras are equipped with an LCD screen, which enables you to preview your photos before taking them. This feature proves particularly useful when shooting in challenging lighting conditions, as it allows you to make any necessary changes to the composition or settings before capturing the image. Make the most of this convenient feature to enhance your photography results even further.
How Do You Understand Your Photos Aren’t Overexposed?
Overexposure occurs when too much light hits the film or digital sensor, resulting in an image that is too bright. Since digital cameras have a more dynamic range than film cameras, they can often capture overexposed scenes without burning out the highlights. However, it’s still important to be aware of the exposure so you don’t miss out on potential detail and color in the photograph.
One way to tell if your photo is overexposed is by checking the histogram. A histogram is an image composed of several vertical bars representing different tones present in a digital image. When you view the histogram, pay attention to how far to the right or left the data goes; if it’s too far to the right, it’s likely overexposed.
Another way to tell if your photo is overexposed is to look at the highlights in the image and compare them to what you were expecting. If they appear too bright or “blown out”, then your photo may be overexposed. You can also use the camera’s exposure compensation feature to adjust the exposure manually. This allows you to increase or decrease the amount of light hitting the sensor, thereby controlling the brightness and contrast of your photos.
Finally, if you are shooting in manual mode, you can use a light meter to measure the light in a scene and adjust your settings accordingly. A handheld light meter is an invaluable tool for getting precise exposures, as it takes into account both the highlights and shadows in a scene. With some practice, you’ll be able to become an expert at getting the perfect exposure for every shot.
No matter what method you use to determine if your photos are overexposed or not, you must take time to evaluate each image before moving on to the next. By taking a few extra moments to check your photos, you’ll be able to ensure that each one is exposed correctly and looks as good as it can. This will help you get the most out of every photo session!
How to Take Clear Pictures With Instax Mini 11 in Low Light?
Taking pictures with the Instax Mini 11 in low light can be tricky, as you are limited by the camera’s flash and lack of night/low-light settings. However, there are some tricks that you can use to get better results:
- Increase shutter speed – Increasing your shutter speed will help freeze the motion in your photo so you can get clear photos even in the dark.
- Adjust brightness – You can manually adjust your camera’s brightness settings to get a better picture in low light conditions. Just make sure not to overexpose your photo!
- Use flash – The built-in flash of the Instax Mini 11 may be limited, but it still helps to light up your subject. Just make sure you don’t use it too close to the subject or else you’ll get a washed-out look.
- Use a tripod – Using a tripod can help minimize camera shake and blur, which are common when taking pictures in low light conditions. A steady hand is important for clear photos!
- Use a backdrop – Placing an interesting backdrop behind your subject can help set the mood of the photo and give you more control over the colors and tones. You can also use LED lights to further light up your background.
- Experiment – Don’t be afraid to play around with different settings and techniques! Try long exposure shots, adjusting the white balance, or shooting in RAW format for the best results.
The Instax Mini 11 can be a great camera for taking pictures in low light conditions, as long as you know how to make the most of its features. With some practice and experimentation, you’ll soon be taking stunning photos no matter what time of day it is!
FAQ
Why is my Instax taking white pictures?
In most cases, this issue is caused by improper lighting or incorrect camera settings. It is important to ensure that you are using the appropriate ISO setting for the lighting conditions and that your subject is well-illuminated. Additionally, you can experiment with adjusting the flash levels to achieve the desired outcome. If none of these troubleshooting steps resolve the problem, it is recommended to reach out to Fujifilm customer service for further assistance. Their expert team will be able to provide more detailed guidance tailored to your specific situation.
How do I fix my overexposed Instax Mini 11?
If your Instax Mini 11 is producing overexposed pictures, the most likely cause is incorrect exposure settings. Make sure you are using the right ISO, which determines the sensitivity of the film to light, and ensure that your flash level is set appropriately to avoid overpowering the scene. Additionally, you can try covering the lens with a filter or hood to reduce glare from bright lights, which can contribute to overexposure. If necessary, you can also adjust the shutter speed and aperture settings to control the amount of light entering the camera. If you’ve exhausted all troubleshooting options and are still facing issues, don’t hesitate to reach out to Fujifilm customer service for further assistance and guidance. They will be more than happy to help you resolve any concerns or questions you may have.
What type of film does an Instax Mini 9 use?
The Instax Mini 9 is a popular instant camera that utilizes the Fuji FP-100C instant color film. This film is known for its exceptional quality, capturing vivid and vibrant colors that bring your photos to life. Not only is the Instax Mini 9 compatible with this film, but it also works seamlessly with other Fujifilm Instant cameras like the Instax Wide 300 and the Polaroid Snap. With its easy-to-use features and compatibility with a variety of instant film options, the Instax Mini 9 is a fantastic choice for capturing and preserving your favorite moments in stunning detail.
How do I maintain my Instax camera?
To ensure your Instax camera remains in good condition, it’s important to follow the manufacturer’s instructions for maintenance and storage. After each use, make sure to clean the lens with a soft cloth and store the camera in a cool, dry place. Additionally, avoid exposing your camera to extreme temperatures or harsh chemicals, as this can damage the internal components. To keep your camera running at its best, it’s also a good idea to check for any software updates regularly to ensure you have the latest features available. Additionally, keeping spare batteries on hand is a great way to avoid any unexpected delays when capturing important memories. With proper care and maintenance, your Instax camera will be sure to provide years of enjoyment.
Can I add filters to my Instax Mini 9?
Yes, you can! The Instax Mini 9 is compatible with a variety of different filters that can be used to create unique effects in your photos. From colored gels and starburst filters to vintage-style lens attachments, there are countless ways to customize your shots and add an extra layer of creativity. Be sure to check out the Fujifilm website for more information about compatible filters and accessories, as well as tutorials on how to get started. With a few simple tweaks, you can take your Instax photos to the next level!
Why are my Instax Mini 11 photos appearing too dark?
The most common reason for dark photos is incorrect lighting settings. If your environment is dimly lit, it’s important to increase the ISO setting on your camera and adjust the flash level accordingly. Additionally, you can try using a tripod or stabilizing device to keep your shots steady and reduce blurriness. Lastly, if you find that your pictures are still coming out too dark, it may be necessary to adjust the shutter speed and aperture settings to allow more light into the camera. If you have any questions or concerns, Fujifilm customer service is available to provide further assistance. With their expertise and guidance, you will be sure to achieve beautiful results with every Instax Mini 11 photo!
Can my Instax Mini 11 photos fade?
Yes, Instax Mini 11 photos can fade over time. To preserve the colors and details in your images as long as possible, always store them in a cool, dark place away from direct sunlight. Additionally, consider using archival-quality paper if you plan on displaying your photos for an extended period. If you want to make sure that your images remain vibrant and beautiful, it’s best to keep them away from moisture and humidity. With these simple precautions, your Instax Mini 11 photos will be sure to last a lifetime!
Can my Instax Mini 11 capture clear photos at night?
Yes, it is possible to capture clear photos with the Instax Mini 11 at night. To achieve the best results, be sure to use a tripod or stabilizing device to minimize camera shake and blurriness. Additionally, take some test shots in advance to adjust the light levels and flash settings so that your images will come out as bright and clear as possible. Lastly, if you are still having trouble capturing quality photos at night, you may want to try using a specialized auxiliary flash attachment for extra lighting. With these tips and tricks in mind, you should be able to achieve beautiful and clear nighttime shots with your Instax Mini 11!
What to do if your Instax mini 11 is not taking pictures?
If your Instax mini 11 is not taking pictures, you should first check the camera’s battery level and make sure it is charged. If the battery level is fine, then it could be that there is a connection issue or a problem with the memory card. To resolve this issue, try resetting the camera by removing the batteries and memory card. Once those have been removed, re-insert the batteries and memory card and try taking a few test shots. If the issue persists, then it may be time to contact Fujifilm customer service for further assistance. With their help, they will be able to diagnose and troubleshoot any issues with your Instax Mini 11 camera.
Does the Instax Mini 11 come with a selfie lens?
No, unfortunately, the Instax Mini 11 does not come with a selfie lens. However, you can purchase an auxiliary self-portrait mirror and lens attachment from Fujifilm to take better selfies. This attachment easily screws into the front of your camera and provides an enhanced view for taking group or self-portrait shots. With its easy-to-use design, you can quickly and easily take amazing selfies with your Instax Mini 11. For more information about compatible accessories and tutorials on how to get started, be sure to check out the Fujifilm website.
Conclusion Paragraph
So, Instax Mini 11 photos can come out white and blurry. This is usually the result of using incorrect settings for light balance, shutter speed or flash settings. It’s important to make sure that all these elements are set correctly before taking a photo with the Instax Mini 11 camera. The best way to do this is by experimenting with the different options available on the camera until you get the desired results. With enough practice, you’ll soon be able to get beautiful photos with the Instax Mini 11 camera.