
Did you know that over 60% of classic video games are considered commercially inaccessible? They exist only on aging hardware or in legal gray areas. This creates a massive opportunity for modern technology to preserve our digital heritage.
This guide is your friendly roadmap to building a powerful retro gaming machine. We will show you how to unlock decades of classic entertainment. The process is more straightforward than you might think.
We cover everything from understanding the core software to getting your favorite games running smoothly. You’ll learn about the plug-and-play nature of a popular open-source distribution. It’s designed to be user-friendly for both beginners and experienced tinkerers.
Our steps break down technical concepts into easy-to-follow instructions. By the end, you’ll have a fully functional system capable of playing titles from numerous classic consoles. We’ll also discuss hardware needs and performance tips for different models.
Whether your goal is simple 8-bit games or more demanding 3D systems, this guide has you covered. Let’s start the journey to creating your ultimate all-in-one classic gaming hub.
Key Takeaways
- This guide provides a complete walkthrough for creating a retro gaming system.
- The process is designed to be accessible for users of all skill levels.
- You will learn how to run games from multiple classic consoles on one device.
- We cover hardware requirements and performance for different models.
- The software emphasized is known for its user-friendly, plug-and-play setup.
- Optimization tips will be shared to enhance your gaming experience.
- The final result is a centralized hub for a vast library of classic games.
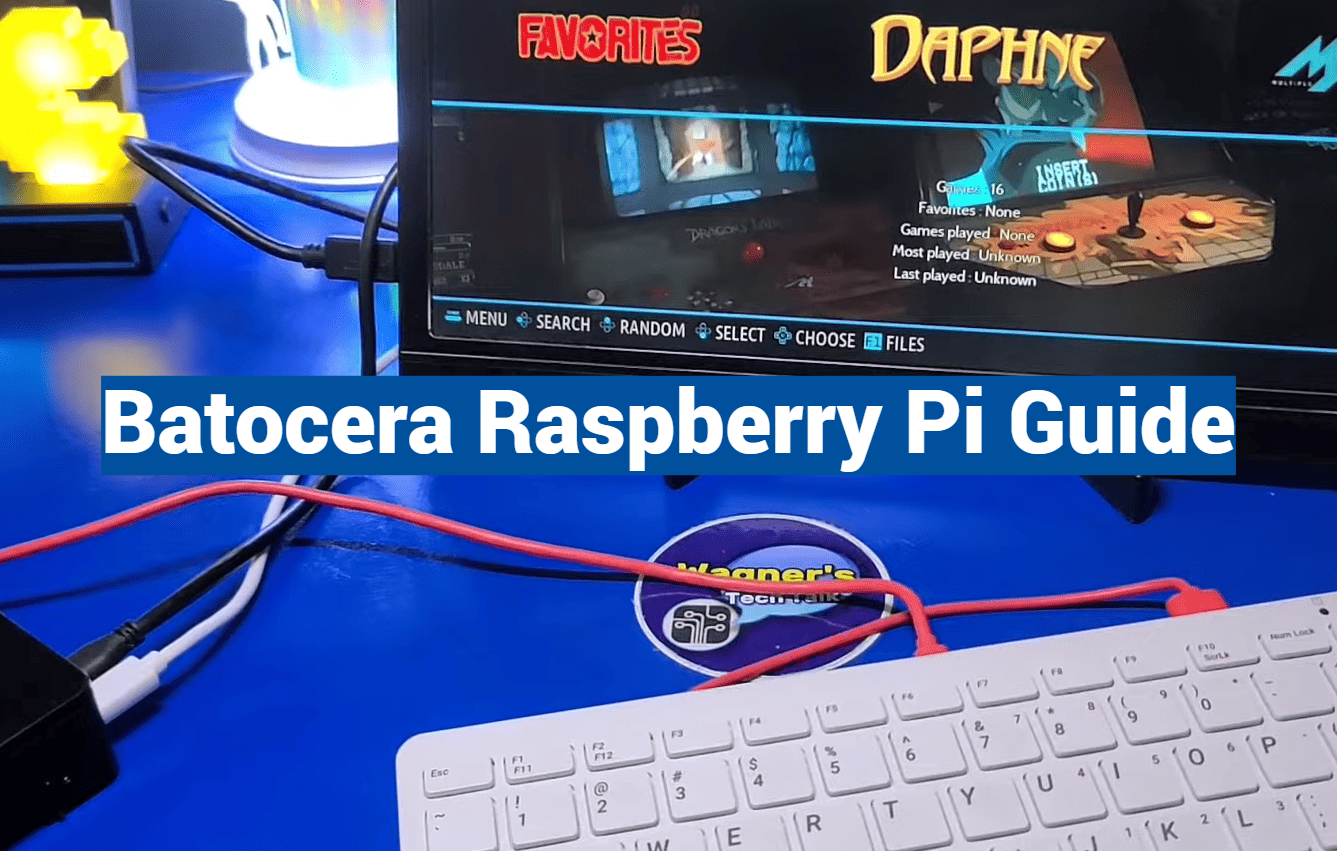
Introduction to Batocera and Retro Gaming on Raspberry Pi
Creating your own gaming hub doesn’t require technical expertise thanks to specialized software designed for simplicity. This approach brings together decades of entertainment in one accessible package.
What is Batocera?
Batocera serves as a specialized Linux-based operating system that transforms compatible devices into complete retro gaming systems. Unlike standard computer software, it focuses entirely on emulation.
The system bundles dozens of different emulators under one cohesive package. This allows you to play games from multiple console generations without separate installations.
What makes this solution stand out is its plug-and-play design. Most popular controllers work immediately without complicated configuration steps.
Overview of Retro Gaming on Raspberry Pi
The compact computer has become the preferred platform for gaming enthusiasts. It offers impressive capabilities in an affordable, small form factor.
Depending on your model choice, you can emulate everything from classic 8-bit systems to 32-bit consoles. Some versions even handle more demanding 128-bit games.
Active development keeps the system current with performance improvements. Regular updates incorporate newer emulator releases for better gaming experiences.
Understanding Batocera: Features and Benefits
One of the most appealing aspects of this software is its ability to deliver a powerful gaming experience with minimal effort. It combines a vast library of supported consoles with a design philosophy centered on user-friendliness.
This approach makes it an excellent choice for anyone wanting to dive into retro gaming.
Key Advantages Over Other Emulation Systems
The standout feature is the truly plug-and-play nature. You can get from a blank memory card to playing games in just a few minutes. This eliminates the complex setup often required by other solutions.
Integrated support for RetroAchievements adds a modern twist to classic games. You can earn badges and goals, adding new challenges to your favorite titles.
Performance is another key benefit. The development team consistently integrates the latest emulator releases. This ensures you get the best possible experience with your games.
A clear compatibility list is provided by the team. It helps you know which game systems will run smoothly on your specific hardware, like a raspberry pi, before you start.
User-friendly Interface and Plug-and-Play Design
The interface is clean, intuitive, and highly customizable. You can choose from numerous themes to personalize the look and feel of your gaming hub.
It’s a simple fact that popular controllers from major brands work immediately. This saves you from tedious manual configuration.
Beyond gaming, the software includes the Kodi media center. This transforms your device into a complete entertainment system for movies and music.
Preparing Your Raspberry Pi for Batocera Installation
Before diving into the software setup, you’ll want to assemble all the necessary physical components. Having the right equipment on hand makes the installation process straightforward and enjoyable.
Required Equipment and Accessories
Start by gathering the essential hardware for your project. You’ll need a quality microSD card with at least 16GB of storage. A 32GB or larger card gives you room for more games.
Don’t forget the power supply matched to your specific board. You’ll also need an HDMI cable to connect to your display. For controllers, most USB gamepads work immediately without extra setup.
A protective case is highly recommended for your device. It keeps your board safe from dust and physical damage. Consider your complete shopping list before beginning.
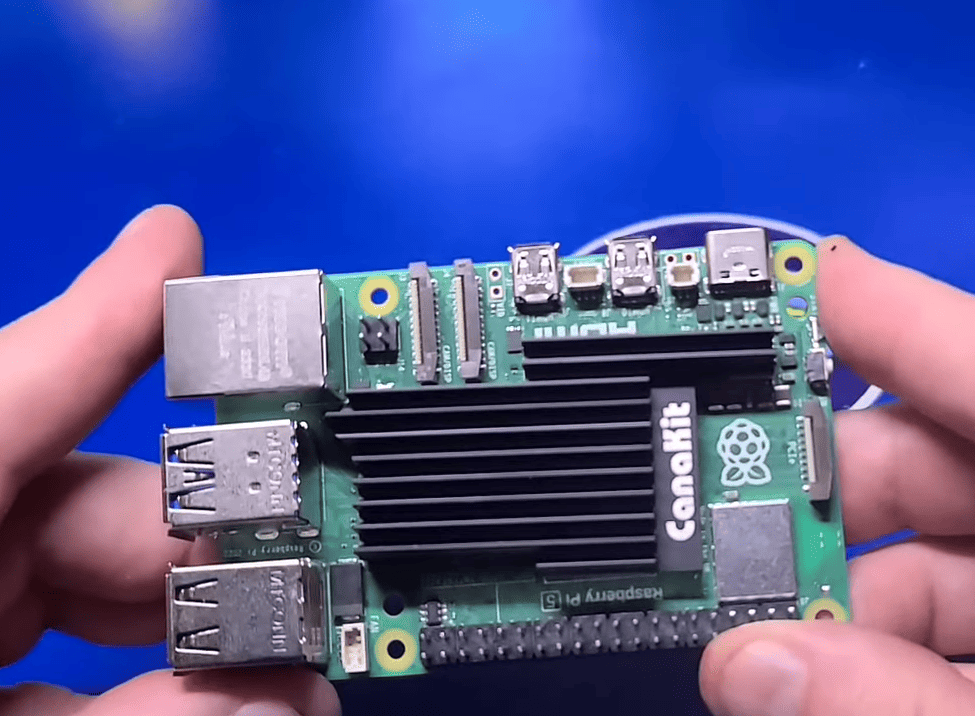
Selecting the Right Raspberry Pi Model
Choose your board based on the games you want to play. Newer models handle demanding systems like Nintendo 64 perfectly. Older consoles work well on more affordable options.
The latest boards offer the best performance for modern emulation. If you only plan to play classic 8-bit games, older devices work beautifully. Portable gaming fans can create handheld systems with compact boards.
For extended gaming sessions, consider cooling solutions. Some models may need small fans to prevent overheating. This ensures smooth performance during long play times.
Downloading and Flashing the Batocera Image
The installation process begins with downloading the core operating system for your gaming device. This crucial step prepares your storage card to become the heart of your retro gaming system.
Locating the Correct Image on the Official Website
Head to the official download page where you’ll find versions for different hardware. Use the filter option to display only compatible builds for your specific model.
The correct file selection ensures smooth operation from the start. Look for your device model in the file names before clicking download.
| Tool | Best For | Setup Time | Verification |
|---|---|---|---|
| Raspberry Pi Imager | Beginners | 5-7 minutes | Automatic |
| Balena Etcher | Cross-platform | 6-8 minutes | Manual option |
| DD Command | Advanced users | 3-5 minutes | Manual required |
Using Raspberry Pi Imager to Flash the Image
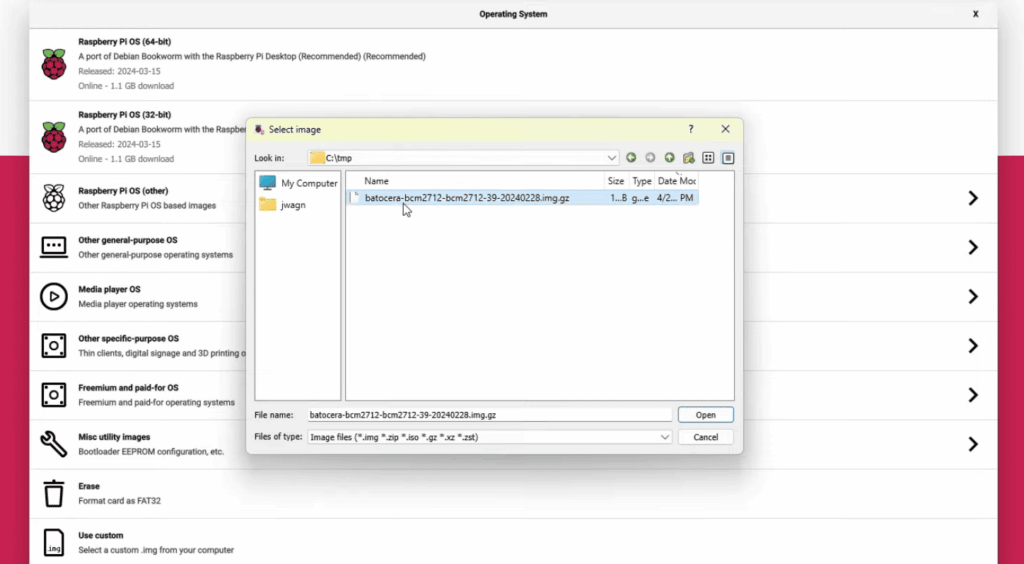
After extracting the compressed file, you’ll have the final image ready for writing. The Raspberry Pi Imager handles formatting and data transfer automatically.
Select “Use custom” from the menu and browse to your extracted file. Choose your microSD card as the target storage device.
Critical reminder: When prompted about OS customization, always select “NO.” This ensures proper booting of your custom system.
The writing process typically takes 5-10 minutes. Wait for the verification confirmation before ejecting your card safely.
Setting Up and Configuring Batocera on Your Device
The moment of truth arrives when you power on your new retro gaming system for the first time. This phase gets your device ready for action, focusing on controller setup and getting online.
Initial Boot-Up and Interface Walkthrough
After a brief boot sequence, you’ll see the main screen. This clean interface lists available game systems. If this is your first time, the system will instantly detect any gamepad you plug in.
A prompt will appear, asking if you want to configure the input device. Just hold any button to start. The configuration screen guides you through mapping each control.
You must assign the START and HOTKEY buttons. The hotkey is vital for exiting games and accessing menus.
| Input Prompt | Action Required | Importance |
|---|---|---|
| START | Press any desired button | Opens main menu |
| HOTKEY | Press a modifier button (e.g., Select) | Used for combo commands (exit game) |
| Directional Pad | Press each direction | Basic navigation |
| A / B Buttons | Map to confirm/cancel | Core game interaction |
Configuring Network and Wi-Fi Settings
Getting your system on the internet unlocks updates and artwork. Press START on your controller or a key on your keyboard to open the main menu.
Navigate to the NETWORK SETTINGS page. Here, you will find the key settings for connectivity. Toggle the ENABLE WIFI option to on.
Next, select the WiFi SSID option to pick your network. Finally, enter your password in the WIFI KEY field. Your system will then connect, completing this essential first time setup step.
Optimizing Gaming Performance on Your Raspberry Pi
Getting the most out of your retro gaming setup requires understanding how different hardware handles various classic systems. Each board model has unique capabilities that determine which console generations will run smoothly.
Hardware Performance Tips and Overclocking
Your choice of board directly impacts gaming performance. Older models work well with 8-bit and 16-bit systems, while newer versions handle more demanding 3D games.
The right hardware makes a significant difference in sustained performance over time. Consider these capabilities when planning your game library:
| Board Model | Optimal Systems | Challenging Systems | Cooling Needs |
|---|---|---|---|
| Older Models | 3rd-4th Generation | 5th Generation | Basic Heatsink |
| Pi 3 | Up to 5th Generation | Demanding 5th Gen | Active Cooling Recommended |
| Pi 4 | 5th Generation + Some 6th | PSP, Dreamcast | Enhanced Cooling |
Managing Thermal Throttling with Active Cooling
Thermal management is crucial for consistent performance. Without proper cooling, your board may throttle speeds during extended play sessions.
Active cooling solutions prevent slowdowns and audio issues. Small fans or quality heatsinks maintain optimal temperatures for smooth video playback.
Some software versions may require additional configuration for audio stability. Adjusting latency settings can resolve cutting-out problems in specific emulators.
Using batocera raspberry pi: A Step-by-Step Installation Guide
With your storage card prepared, the final installation steps transform your hardware into a gaming powerhouse. The entire procedure from start to finish typically takes 30-45 minutes, making it an achievable weekend project.
Installing and Running the Image on Your Device
Once you’ve flashed the Batocera image onto your microSD card using the recommended tool, carefully insert the storage device into your powered-off unit. Connect your HDMI cable to the display, plug in your controller, and finally apply power to initiate the first boot.
You’ll see the distinctive logo appear on your screen within moments. The system automatically detects your display resolution and configures audio output without any manual intervention. This plug-and-play design handles most technical setup tasks behind the scenes.
The beauty of this installation method is that you don’t need to install Batocera in the traditional sense. The entire operating system runs directly from your storage card. This makes it easy to swap between different configurations or create backups of your setup.
For larger game collections, configure the system to use an external USB drive instead of relying solely on your microSD card. Navigate to Start > System Settings > Storage Device and select your preferred USB drive option. External storage offers more capacity and easier transfer between different devices.
The system includes several pre-loaded games that let you immediately test your setup. Verify that your controller works correctly before transferring your personal game library. Explore the interface and familiarize yourself with the menu system to ensure everything functions properly.
Transferring and Organizing Your Game Library
Building your game collection is where your retro gaming setup truly comes to life. This process transforms your device from an empty shell into a personalized entertainment hub filled with your favorite classics.
Using SAMBA to Copy Your ROMs and BIOS Files
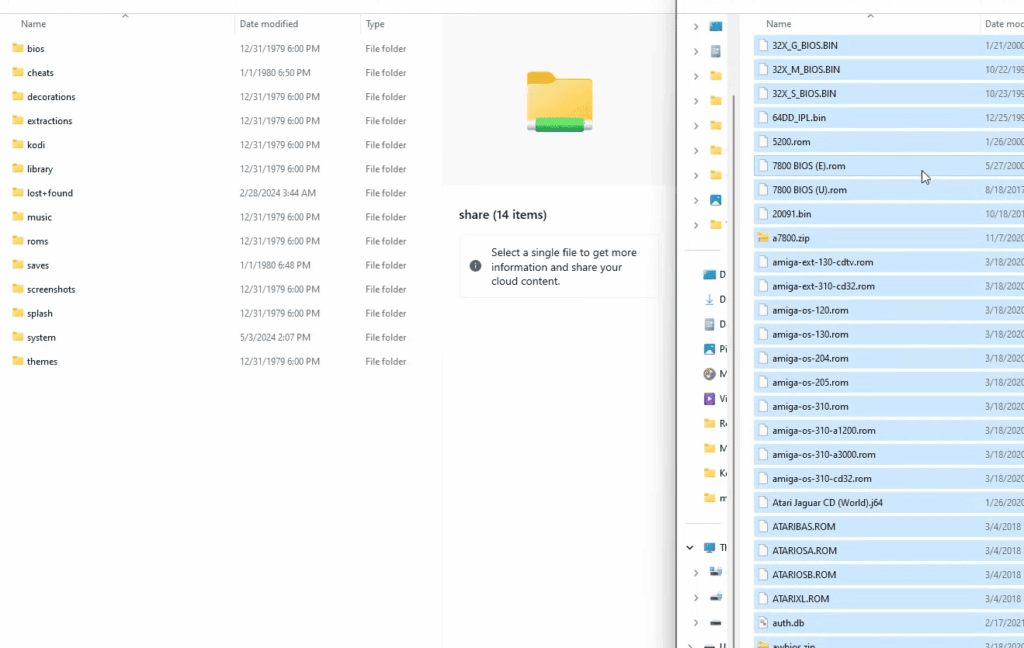
The easiest method to transfer your games uses the built-in network sharing feature. On a Windows computer, open File Explorer and look for the network device named after your system.
Connect using the default credentials to access the shared folders. You’ll find separate directories for BIOS files and your game collection. Copy your ROMs into the appropriate system folders to keep everything organized.
Some gaming systems require specific BIOS files to function properly. Place these in the designated BIOS folder for compatibility. Using an external USB drive offers expanded storage for larger collections.
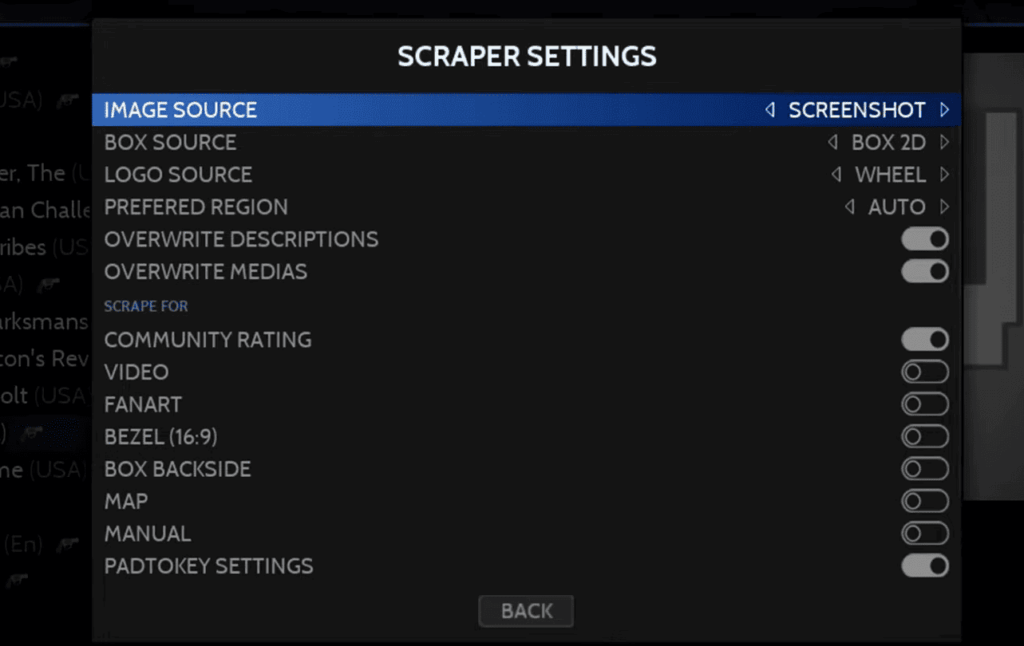
Updating Game Metadata and Scraping Tools
After transferring your games, refresh the system’s game list through the settings menu. This makes your newly added titles appear in the interface.
The built-in scraper tool automatically downloads cover art and game information. You can choose between different online databases for metadata collection.
Some services require free accounts while others work without registration. After scraping completes, update your gamelists once more to display the beautiful new artwork and descriptions.
Additional Customizations and Controller Setup
Personalizing your gaming experience is where the real fun begins, allowing you to tailor every aspect to your preferences. The system offers extensive customization options that transform your setup from standard to spectacular.
Mapping and Reconfiguring Controllers
Need to adjust your controller settings after initial setup? Press the START button or ESC key on your keyboard to access the main menu. Navigate to the “CONTROLLER & BLUETOOTH SETTINGS” option on the settings page.
Select “CONTROLLER MAPPING” to completely remap any connected device. The system guides you through each button assignment process. You can configure special hotkey combinations for advanced functions.
- Pair Bluetooth controllers through the same settings screen
- Customize each button for different game requirements
- Save and load states without exiting your current game
Adjusting Settings for Personalized Experience
The customization options extend far beyond controller configuration. Explore numerous visual themes that dramatically change your interface’s appearance.
From the main screen, access various system settings to fine-tune your experience. Adjust audio output, change display resolution, and enable performance enhancements.
Game-specific settings allow you to optimize individual titles. Highlight any game and press the designated button to access advanced options.

Conclusion
Your journey into classic gaming is now complete with a fully functional system. This guide has walked you through selecting hardware, installing software, and optimizing performance. You now possess a versatile entertainment hub.
Your setup will continue to evolve as you add more games and explore different emulators. Regular updates will improve compatibility and add new features. The active community provides excellent support for any questions.
Remember that different devices offer varying performance levels. Proper storage management ensures your collection remains organized. The combination of affordable hardware and powerful software creates an ethical way to preserve gaming history.
The real adventure begins as you discover classic titles and share them with others. Your Batocera machine represents both nostalgia and innovation. Enjoy countless hours of entertainment with your personalized gaming system.