
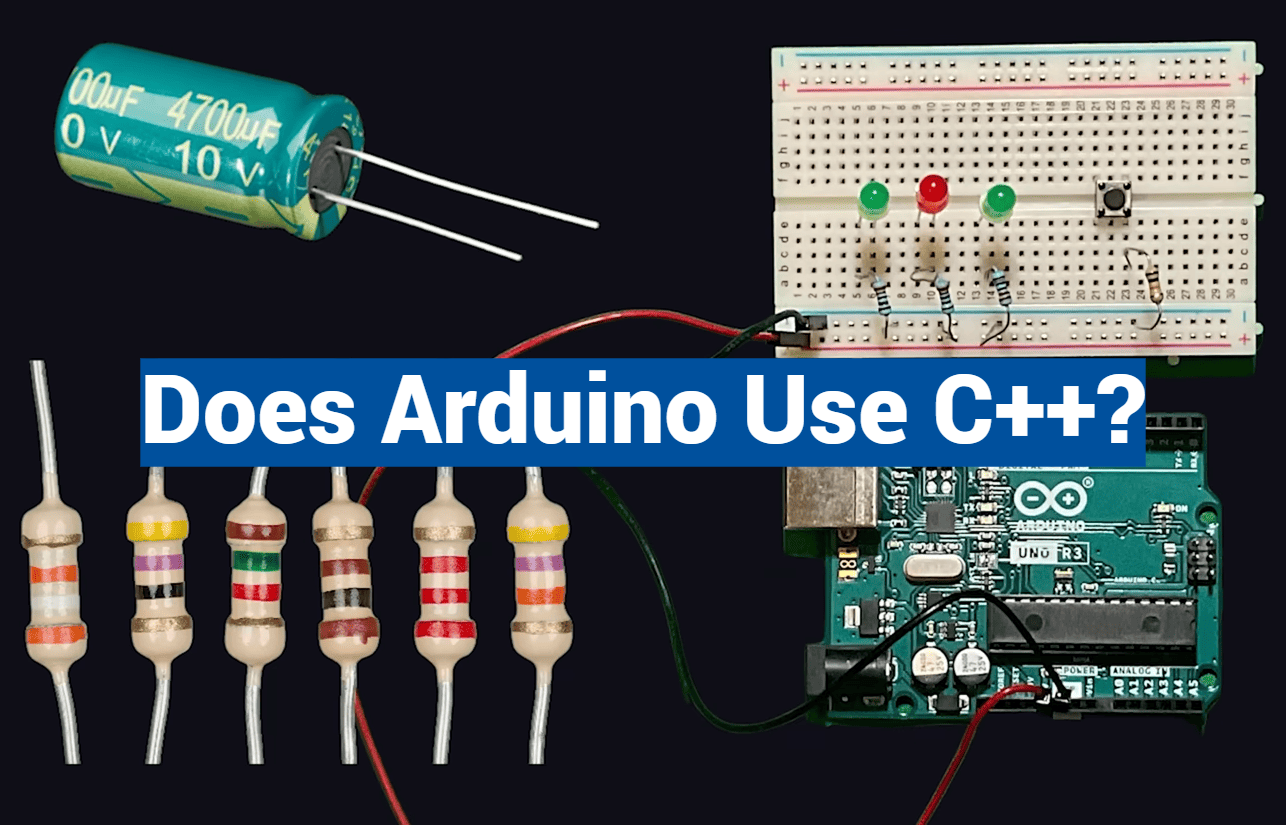
Over 30 million Arduino boards have found their way into the hands of creators worldwide. This incredible number shows how much people love building interactive electronics.
What makes this platform so popular? Its power comes from a familiar foundation. The system runs on a programming language built upon C++.
This approach makes complex coding much simpler. The platform acts as a helpful guide, wrapping technical details in an easy-to-understand format. You write clear instructions, and the tools handle the heavy lifting.
Your projects, called sketches, get a quick polish before compilation. This process includes generating necessary headers automatically. Then, everything translates directly into efficient machine instructions.
This elegant system opens the door for everyone. Beginners can start bringing their ideas to life without prior expertise. At the same time, the core connection to a robust language like C++ allows for incredible growth.
Key Takeaways
- The platform’s programming foundation is based on C++.
- It simplifies the coding process for newcomers to electronics.
- Sketches you write are processed by a C++ compiler.
- This method has helped millions start with microcontroller projects.
- Understanding this relationship helps you advance to more complex programming.
Introduction to Arduino and Its Programming Environment
For many enthusiasts, the first step into physical computing begins with a popular open-source platform. This ecosystem is built around microcontroller boards and a simplified coding workflow. It turns complex electronic concepts into manageable tasks.
What is Arduino?
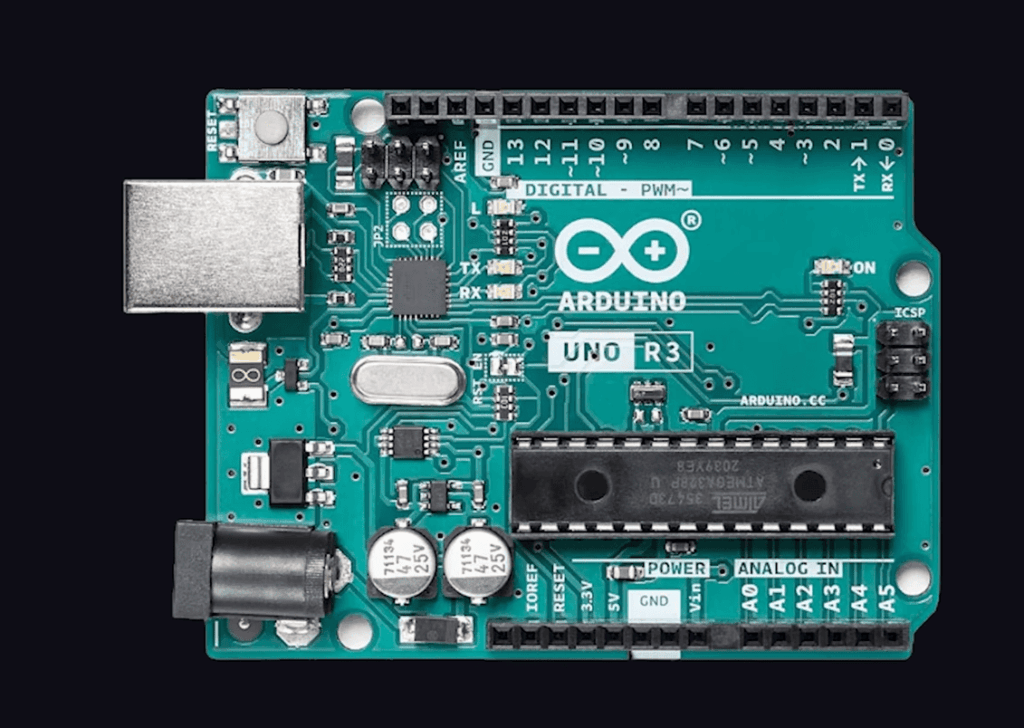
The hardware consists of affordable microcontroller boards. These boards can read inputs from sensors or buttons. They then control outputs like lights, motors, or speakers.
This capability allows you to bring interactive projects to life. You can build anything from a simple light display to a home automation system. The physical components are designed for easy connection.
Why Arduino is Popular for Beginners and Professionals
Newcomers find the programming language very approachable. The initial learning curve is gentle. This allows beginners to see results quickly, which builds confidence.
At the same time, the platform’s power is not limited. Professionals value it for rapid prototyping. They can test ideas before moving to more complex systems.
The open source nature is a huge benefit. A global community shares code, designs, and knowledge. This collaborative spirit drives constant improvement for everyone.
| User Type | Primary Attraction | Common Applications |
|---|---|---|
| Beginners | Gentle learning curve, low cost | LED blinkers, basic sensors |
| Hobbyists | Versatility for creative projects | Home automation, robotics |
| Professionals | Speed for prototyping | Proof-of-concept models, IoT devices |
Exploring: does arduino use c++ in Its Core Functionality?
The connection between hardware and software begins with the coding language that powers innovation. This foundation determines how easily creators can translate ideas into working projects.
The Relationship Between Arduino and C++
The platform’s programming language builds directly upon standard C++. This relationship means you’re learning real industry-standard syntax from day one.
All standard C++ constructs supported by the avr-g++ compiler work seamlessly. The system implements a simplified subset of C++ functions. This approach makes microcontroller programming accessible without sacrificing power.
Your skills transfer directly to other C++ programming contexts. Understanding this connection helps you grow beyond beginner projects.
How the Arduino IDE Processes C++ Code
The integrated development environment handles complex compilation tasks behind the scenes. When you write code, it undergoes automatic processing before compilation.
Function prototypes generate automatically. Your human-readable instructions then pass directly to the C++ compiler. This translation creates efficient machine language for the microcontroller.
The system hides intimidating technical details initially. This allows beginners to focus on logic and creativity. As you advance, you can explore the full power of standard C++.
Key Features of the Arduino Programming Language
What truly empowers millions of makers worldwide are the thoughtfully designed programming features. These characteristics create an environment where beginners feel supported while experts can push boundaries.
Open Source and Cross-Platform Compatibility
The open source nature of the platform stands as a fundamental advantage. Both the hardware designs and software are freely available for modification.
This accessibility means you can examine the source code and adapt it to specific project needs. The development environment runs smoothly across Windows, macOS, and Linux systems.
Simple Syntax and a Rich Library Ecosystem
Newcomers appreciate the clean, straightforward syntax of the programming language. Even without prior experience, the logical structure feels intuitive.
A vast collection of pre-written library functions accelerates development. These libraries handle complex tasks like sensor reading and motor control.
Built-in support for serial communication and PWM gives you powerful capabilities. The combination of simple syntax and extensive library support creates an ideal learning path.
These features work together to make complex code accessible. You start with basic functions and gradually explore advanced language capabilities.
Advantages and Limitations of Using C++ with Arduino
Choosing the right platform for your electronics project involves weighing its benefits against its constraints. This balanced view ensures your development efforts align with the project’s goals.
Major Benefits for New Developers
The learning curve for this programming environment is remarkably gentle. Its simple syntax, based on C++, makes it accessible even for total beginners.
This approach helps build confidence quickly through successful programs. The versatility of Arduino programming is another huge plus. You can explore many project types, from basic LEDs to advanced IoT systems.
A massive, active community provides endless support. You find countless tutorials and code examples. The cost-effective hardware also lowers the barrier to entry for new creators.
Constraints and Performance Considerations
However, it is crucial to understand the limitations. The boards have limited memory and processing power. This constraint requires you to write efficient code for complex projects.
Performance can be a factor for applications needing microsecond timing. Support for some advanced communication protocols is also limited. These features might require more powerful hardware.
Security is another consideration for networked applications. Understanding when to use C++ with this platform versus other options is key for advanced development. Smart Arduino programming works within these memory and performance bounds.
Practical Examples: From LED Blinking to Advanced Projects
The journey from simple blinking lights to complex interactive systems begins with core programming concepts. Understanding these fundamental building blocks transforms your project ideas into working hardware.
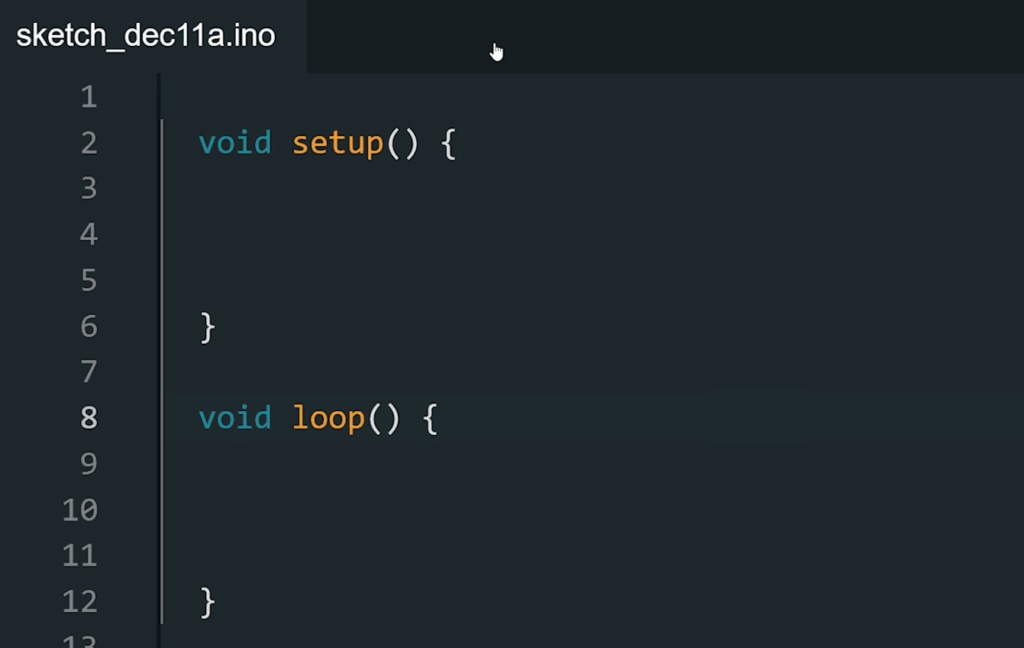
Understanding the Setup() and Loop() Functions
Every program relies on two essential functions. The setup() function runs once during initialization, perfect for configuring hardware settings.
The loop() function executes continuously after setup completes. This creates the real-time behavior needed for interactive projects.
A classic LED blinking example demonstrates these concepts beautifully. The setup function defines pin 13 as an output, while the loop function alternates between HIGH and LOW states.
Object-Oriented Programming Features
The platform fully supports c++ features like classes and objects. This allows for organized, professional code structure.
You can create custom classes with methods like on() and off(). These functions encapsulate related operations into reusable components.
This arduino c++ approach makes complex projects manageable. Your code becomes modular and easier to maintain as projects grow.
| Approach | Structure | Best For | Complexity Level |
|---|---|---|---|
| Basic Functions | setup() and loop() only | Simple projects like LED control | Beginner |
| Custom Functions | User-defined functions | Medium complexity tasks | Intermediate |
| Object-Oriented | Classes and objects | Advanced systems with multiple components | Expert |
This progression shows how fundamental concepts support advanced development. Each example builds upon the previous one, creating a clear learning path.
Harnessing the Arduino IDE and Alternative C++ Tools
Modern software development offers multiple pathways for writing and uploading code to microcontroller boards. The official Arduino IDE provides a specialized environment designed specifically for this platform. However, experienced programmers may prefer alternative tools with advanced features.
Overview of Arduino IDE Versions
The stable 1.x.x release remains popular for its simplicity and reliability. This version handles compilation and uploading seamlessly. It creates an accessible starting point for newcomers.
The newer 2.x.x release candidate introduces professional-grade capabilities. Features like autocompletion and live debugging enhance productivity. This upgrade represents significant progress in the development environment.
Using Other C++ Editors like Eclipse CDT and Visual Studio Code
Eclipse CDT brings industrial-strength editing tools to microcontroller programming. Its sophisticated code assistance supports complex project development. Professionals appreciate the refactoring capabilities and syntax highlighting.
Visual Studio Code with Arduino extensions combines modern editing with microcontroller support. The extensive plugin ecosystem allows deep customization. Integrated Git support and superior navigation streamline workflow.
| Tool | Best For | Key Features | Learning Curve |
|---|---|---|---|
| Arduino IDE 1.x.x | Beginners, simple projects | Stable, straightforward interface | Gentle |
| Arduino IDE 2.x.x | Intermediate users | Autocompletion, debugger | Moderate |
| Eclipse CDT | Advanced development | Professional refactoring tools | Steep |
| Visual Studio Code | Custom workflows | Extensive plugins, Git integration | Moderate to steep |
Your choice depends on experience level and project complexity. Beginners benefit from the official software’s simplicity. Advanced developers may prefer professional editors for complex programs.
Steps to Get Started with Arduino Projects
Ready to bring your ideas to life? The path begins with setting up your development environment. This process is straightforward and opens the door to a world of creative projects.
Installing and Setting Up the Arduino IDE
Your first task is downloading the free software from the official website. Choose the version for your operating system. The installation includes a manager for adding support for your specific board.
This setup installs core libraries and the toolchain needed to compile your program. It prepares everything for your first upload.
Building Your First Sketch
Start with the classic LED blink example. This simple sketch teaches the essential structure of Arduino programming. You will learn the vital setup() and loop() functions.
Modifying this basic code builds confidence in the Arduino language. Experimentation is key to learning.
Accessing the Active Arduino Community and Resources
You are not alone on this journey. A massive, global community offers incredible support.
- Official Forums: Find answers to specific questions.
- Project Tutorials: Follow step-by-step guides for complex projects.
- Code Libraries: Access pre-written code for sensors and displays.
This collective knowledge helps you solve challenges and advance your Arduino programming skills quickly.
Conclusion
At the heart of accessible electronics development lies a programming environment that transforms complex concepts into achievable tasks. The platform’s foundation in standard C++ provides a genuine industry-standard starting point for newcomers.
This relationship creates a powerful learning pathway. Beginners can quickly create working projects while building skills that transfer to broader programming contexts. The simplified structure with setup() and loop() functions makes microcontroller work approachable.
Your journey with this remarkable language opens endless creative possibilities. The active global community and extensive libraries support every step from first blink to advanced systems. This balanced approach makes innovation accessible to all skill levels.