
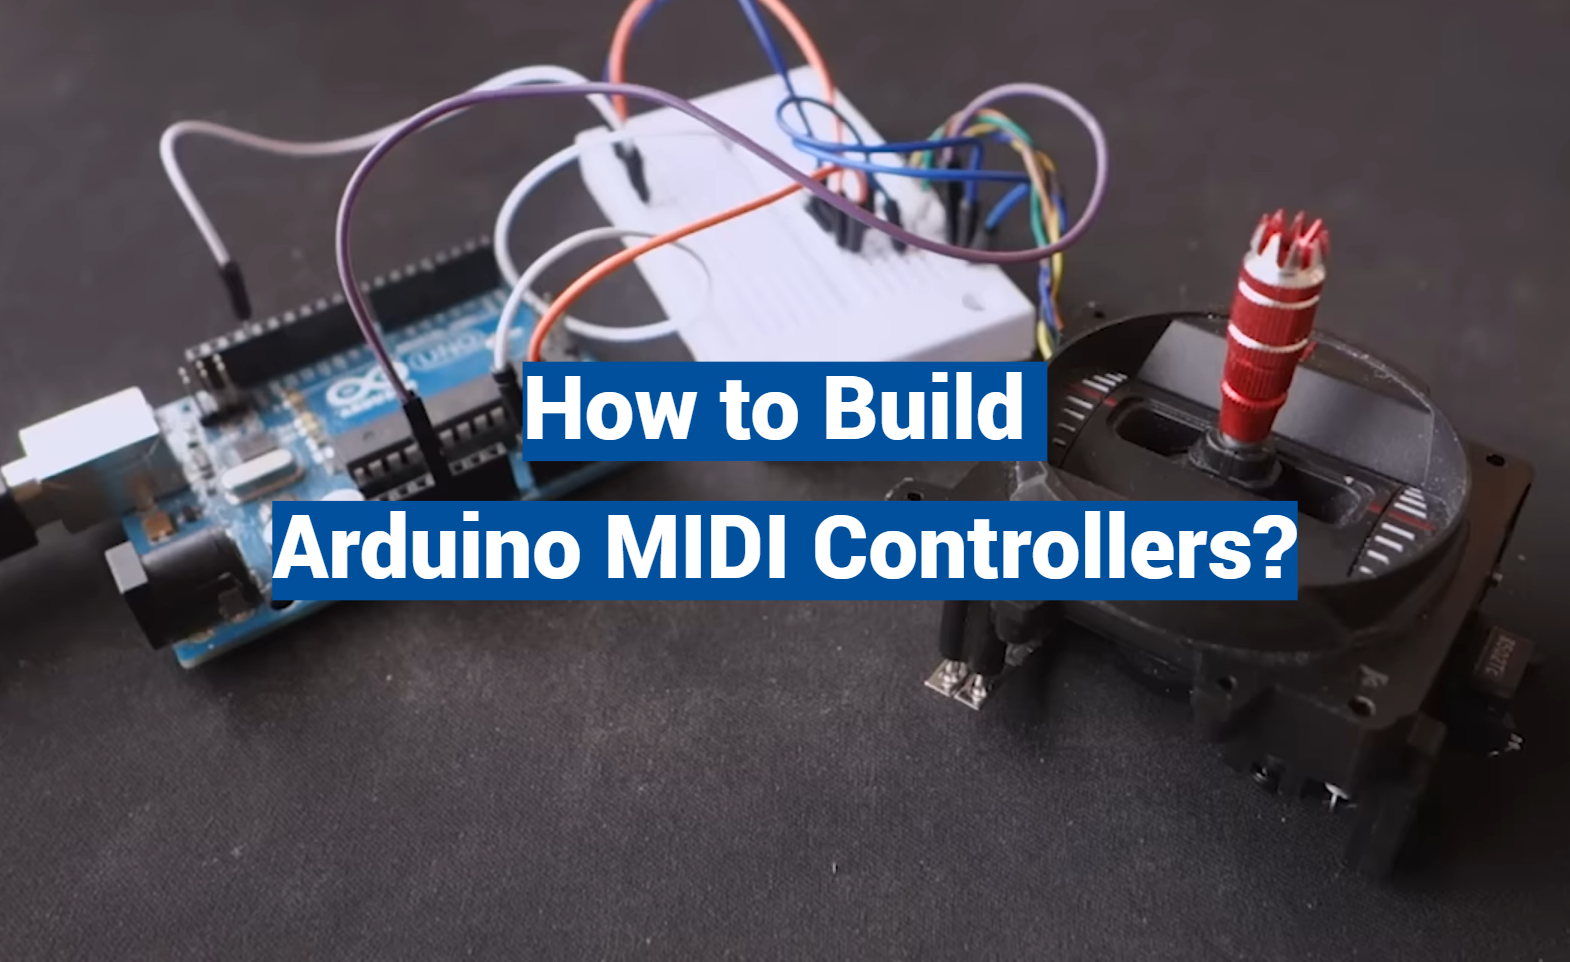
In the world of electronics and music production, the possibilities are endless. With the advent of open-source hardware platforms like Arduino and the ever-evolving realm of MIDI controllers, creative minds have been given the tools to explore new horizons.
In this article, we’ll dive deep into the intersection of these two fascinating domains and explore the art of building MIDI controllers with Arduino. We’ll discuss what Arduino is, delve into the realm of MIDI controllers, explore the exciting projects you can undertake, and guide you through the process of creating your own MIDI controller.
Additionally, we’ll introduce you to a few intriguing MIDI controller projects to spark your inspiration.
What Is Arduino?
Created to simplify the process of building digital devices, Arduino consists of a programmable microcontroller and a user-friendly integrated development environment (IDE) [1]. It allows enthusiasts to create a wide range of electronic projects, from simple blinking LEDs to sophisticated robots and interactive installations.
One of the standout features of Arduino is its extensive library of sensors, shields, and modules, which facilitate rapid prototyping and experimentation. Additionally, Arduino’s open-source nature means that there is a vast and active community of users and developers who contribute to its growth. This community-driven approach ensures that Arduino remains accessible and adaptable to a wide array of applications.
What Are MIDI Controllers?
MIDI, or Musical Instrument Digital Interface, is a protocol that allows electronic musical instruments, computers, and software to communicate and control each other [2]. MIDI data can transmit various musical parameters, such as note pitch, duration, velocity, and more. MIDI controllers are devices used to generate and manipulate this MIDI data.
They come in various forms, from simple keyboards and drum pads to more complex devices like MIDI wind controllers and breath controllers.
The beauty of MIDI controllers lies in their versatility. Musicians and producers use them to perform and compose music, control software synthesizers, trigger samples, and even control lighting and visual effects during live performances. MIDI controllers have become an integral part of modern music production, enabling artists to express themselves in new and exciting ways.
What Can You Build With an Arduino?
Now that we have a grasp of what Arduino and MIDI controllers are, let’s explore the endless possibilities of combining these two technologies. With Arduino, you can create customized MIDI controllers that suit your specific needs and preferences.
Here are some examples of what you can build:
- Button Box
A button box is a simple and practical MIDI controller that consists of an array of buttons or switches. You can use it to trigger various musical events, such as launching clips in a DAW (Digital Audio Workstation), changing instrument presets, or controlling effects.
- Knob Box
A knob box features rotary encoders or potentiometers that allow you to control parameters like volume, pitch, or filter cutoff. It’s a versatile tool for real-time manipulation of sound parameters in your music production setup.
- Fader Box
Fader boxes are equipped with sliders or faders that emulate traditional mixing consoles. They are perfect for controlling channel levels, pan positions, or any continuous parameter in your software or hardware setup.
- Drum Pad
Drum pads provide a tactile interface for triggering drum sounds and samples. Whether you’re a drummer looking for an electronic kit or a producer who loves finger drumming, a DIY drum pad controller can be tailored to your preferences [3].
- Arcade Controller
For those with a flair for nostalgia and gaming, an arcade controller can be turned into a unique MIDI instrument. You can map buttons and joysticks to control different aspects of your music software, making the creative process more enjoyable.
These are just a few examples of what’s possible with Arduino and MIDI. The beauty of these projects is that you can customize them to match your unique requirements and artistic vision. To get started, let’s walk through the generic steps of building a MIDI controller with Arduino.
How to Build a MIDI Controller with an Arduino: Generic Steps
Building a MIDI controller with Arduino involves several steps, from selecting the hardware components to programming the controller and customizing its functionality.
Here’s a breakdown of the process:
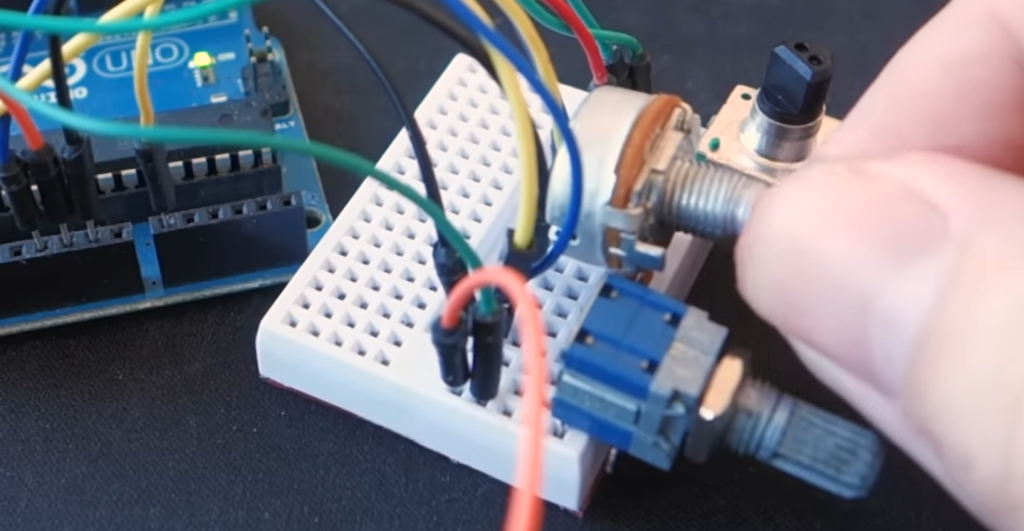
- Choose The Hardware
The first step is to determine the type of MIDI controller you want to build and select the necessary hardware components. Depending on your project, you might need buttons, knobs, faders, rotary encoders, potentiometers, sensors, and an Arduino board. Ensure that the components are compatible with each other and the MIDI protocol.
- Choose The Software
Next, you’ll need to decide on the software framework or library to use for MIDI communication. Libraries like “MIDI.h” for Arduino simplify the process of sending and receiving MIDI messages. Familiarize yourself with the chosen software and its documentation to understand how to implement MIDI functionality.
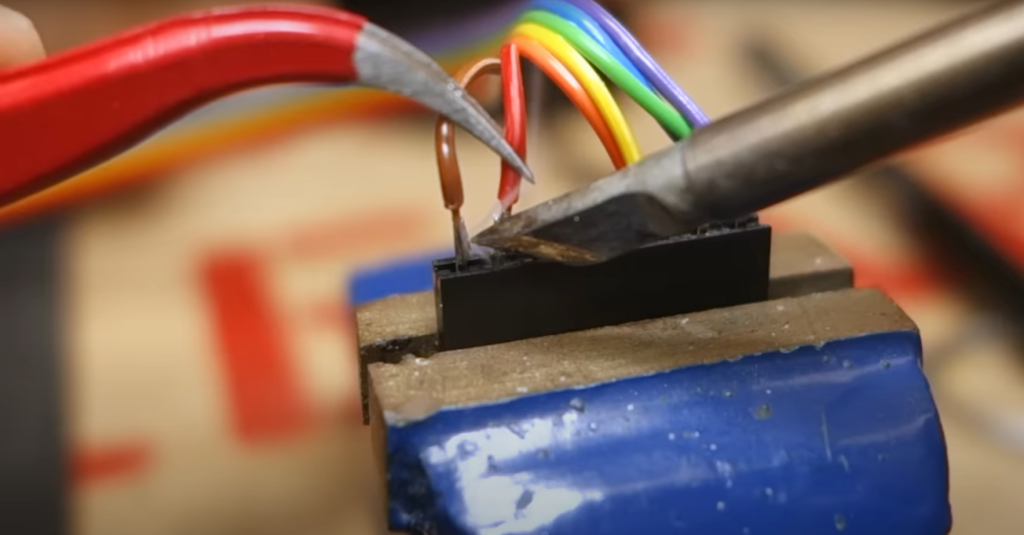
- Build The Controller
Now comes the fun part—building the physical controller. Design the layout of your controller, solder or connect the components to the Arduino board, and assemble the enclosure or casing. This step requires precision and attention to detail to ensure that the controller is both functional and aesthetically pleasing.
- Program The Controller
Once the hardware is set up, it’s time to program your MIDI controller. Write the Arduino code that defines how the controller will interact with the MIDI protocol. You’ll need to map the physical controls (buttons, knobs, faders, etc.) to specific MIDI messages, such as note on/off, control change, or program change messages.
- Customize The Controller
Customization is where you can truly make the MIDI controller your own. Experiment with different mappings and functionalities to tailor the controller to your creative needs. You can create multiple presets, adjust sensitivity, or add LED feedback for visual cues [4].
- Test and Refine
After programming and customizing, it’s essential to thoroughly test your MIDI controller. Ensure that all controls are responsive and that MIDI messages are transmitted accurately. Debug any issues that arise and refine your controller’s behavior as needed.
- Document and Share
Lastly, document your project by creating a wiring diagram, writing a clear README, and sharing your code and design with the Arduino and MIDI controller communities. Sharing your knowledge and experience can be immensely helpful to others embarking on similar projects.
A Few MIDI Controllers To Build With an Arduino
Button Box
Description: A button box is a straightforward yet versatile MIDI controller. It typically consists of an array of buttons that can trigger various MIDI events.
Use Cases:
- Triggering clips or samples in a DAW;
- Switching instrument presets;
- Controlling effects on/off;
Knob Box
A knob box features rotary encoders or potentiometers that allow precise control over parameters like volume, pitch, or filter cutoff.
Use Cases:
- Adjusting EQ settings in real-time;
- Tweaking synth parameters;
- Controlling panning and modulation effects;
Fader Box
A fader box includes sliders or faders that emulate traditional mixing consoles. It’s ideal for controlling channel levels, pan positions, and other continuous parameters [5].
Use Cases:
- Mixing tracks in a DAW;
- Real-time volume control;
- Automating filter sweeps;
Drum Pad
A drum pad controller provides a tactile interface for triggering drum sounds and samples. It’s a must-have for electronic drumming enthusiasts.
Use Cases:
- Playing drum patterns in a DAW;
- Performing live drum sequences;
- Creating dynamic percussion effects;
Arcade Controller
An arcade controller is a unique MIDI instrument that repurposes the buttons and joysticks from arcade cabinets to control music software.
Use Cases:
- Playing retro-style video game music;
- Adding an element of fun to live performances;
- Creating unconventional music interfaces;
Building A MIDI Controller With An Arduino: An Example
Blinking the Built-In LED
Arduino boards often come with a built-in LED, and we’ll start by making it blink. This preliminary step ensures that your hardware and software are properly configured:
- Set Up Your Arduino: Connect your Arduino board to your computer using a USB cable and launch the Arduino IDE (Integrated Development Environment);
- Select the Correct Board: In the Arduino IDE, navigate to “Tools” > “Board” and select the appropriate Arduino board you’re using;
- Select the COM Port:Also under “Tools”, choose the correct COM port associated with your Arduino [6];
Write the Code: In the Arduino IDE, open a new sketch and enter the following code:
void setup() {
pinMode(LED_BUILTIN, OUTPUT);
}
void loop() {
digitalWrite(LED_BUILTIN, HIGH);
delay(1000);
digitalWrite(LED_BUILTIN, LOW);
delay(1000);
}
Upload the Code: Click the upload button (a right-facing arrow) in the IDE to transfer the code to your Arduino board. The built-in LED should start blinking.
If you see the LED blinking, you’ve successfully set up your Arduino board. Now, let’s move on to creating a MIDI controller.
Blinking the LED on Manual Input
To create a simple MIDI controller, we’ll first control the built-in LED based on manual input. This will serve as the foundation for understanding how to interact with external components:
- Add an External Button: Connect an external push-button to your Arduino board. Connect one leg of the button to the Arduino’s ground (GND) and the other leg to a digital pin (e.g., pin 2);
- Modify the Code: Modify the previous code to control the built-in LED based on the state of the external button;
Here’s an example code snippet:
const int buttonPin = 2; // Define the button pin
int buttonState = 0; // Initialize the button state variable
void setup() {
pinMode(LED_BUILTIN, OUTPUT);
pinMode(buttonPin, INPUT_PULLUP); // Set buttonPin as input with pull-up resistor
}
void loop() {
buttonState = digitalRead(buttonPin); // Read the state of the button
if (buttonState == LOW) { // If the button is pressed
digitalWrite(LED_BUILTIN, HIGH); // Turn on the LED
} else {
digitalWrite(LED_BUILTIN, LOW); // Turn off the LED
}
In this code, the LED will turn on when you press the external button and turn off when you release it. This demonstrates how you can control external components with your Arduino [7].
Installing the MIDI/USB Library
Now, let’s shift our focus to MIDI communication. To enable MIDI functionality on your Arduino, you’ll need to install the MIDI/USB library.
Here’s how to do it:
- Install the Library: In the Arduino IDE, go to “Sketch” > “Include Library” > “Manage Libraries”;
- Search for MIDI: In the Library Manager, search for “MIDI” and locate the “MIDIUSB” library by arpruss. Click the “Install” button to install the library;
Once the library is installed, your Arduino is ready for MIDI communication.
Sending a MIDI Message
To send a basic MIDI message, you can use the “MIDIUSB” library. Let’s send a Note On message when the button is pressed and a Note Off message when it’s released. This example will help you understand how MIDI messages work.
#include <MIDIUSB.h> // Include the MIDIUSB library
const int buttonPin = 2;
int buttonState = 0;
void setup() {
pinMode(buttonPin, INPUT_PULLUP);
MIDI.begin(); // Initialize MIDI communication
}
void loop() {
buttonState = digitalRead(buttonPin);
if (buttonState == LOW) {
MIDI.sendNoteOn(60, 127, 1); // Send Note On (Note: 60, Velocity: 127, Channel: 1)
delay(100); // Delay for a short duration
MIDI.sendNoteOff(60, 0, 1); // Send Note Off (Note: 60, Velocity: 0, Channel: 1)
}
}
In this code, when the button is pressed, it sends a Note On message (Note: 60, Velocity: 127) and, after a short delay, a Note Off message (Note: 60, Velocity: 0) to turn off the note. The “60” represents the MIDI note number, which corresponds to a specific pitch [8].
Sending a MIDI Message From Each Button
Expanding your MIDI controller to include multiple buttons is a natural progression. You can connect multiple buttons to different digital pins and send unique MIDI messages for each button press.
#include <MIDIUSB.h>
const int buttonPin1 = 2;
const int buttonPin2 = 3;
void setup() {
pinMode(buttonPin1, INPUT_PULLUP);
pinMode(buttonPin2, INPUT_PULLUP);
MIDI.begin();
}
void loop() {
if (digitalRead(buttonPin1) == LOW) {
MIDI.sendNoteOn(60, 127, 1);
delay(100);
MIDI.sendNoteOff(60, 0, 1);
}
if (digitalRead(buttonPin2) == LOW) {
MIDI.sendNoteOn(62, 127, 1);
delay(100);
MIDI.sendNoteOff(62, 0, 1);
}
}
In this code, we’ve added a second button (connected to pin 3) that sends a different MIDI note (Note: 62) when pressed.
Setting Up Channels or Banks (Optional)
To expand the functionality of your MIDI controller, you can create channels or banks of buttons that allow you to control different aspects of your music software. This step involves more complex programming but provides greater flexibility. For example, you can have one bank of buttons for triggering drum sounds and another for controlling synthesizer parameters.
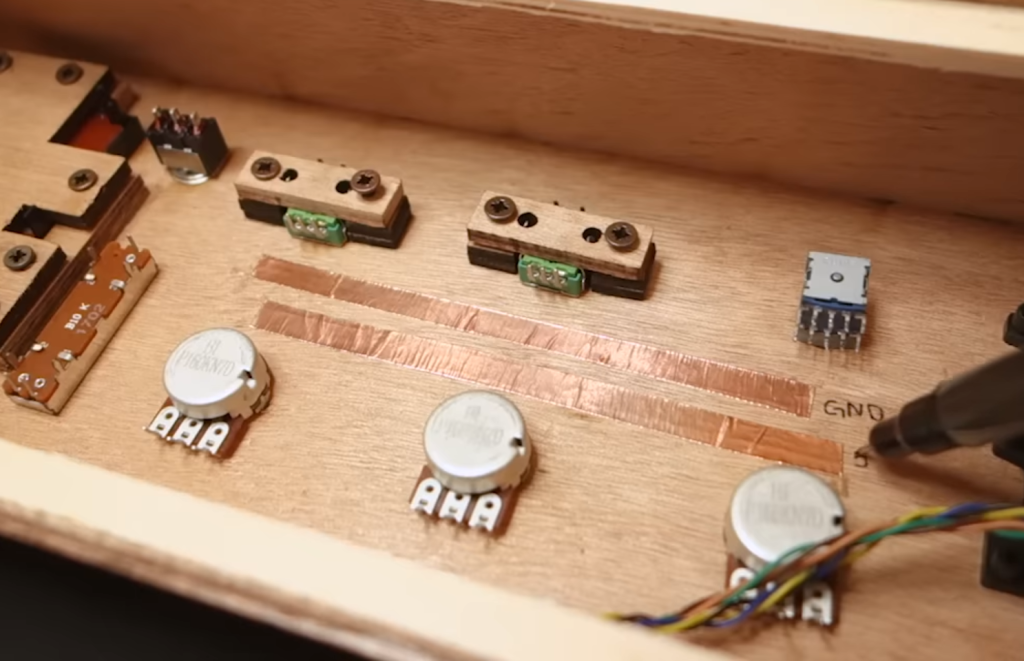
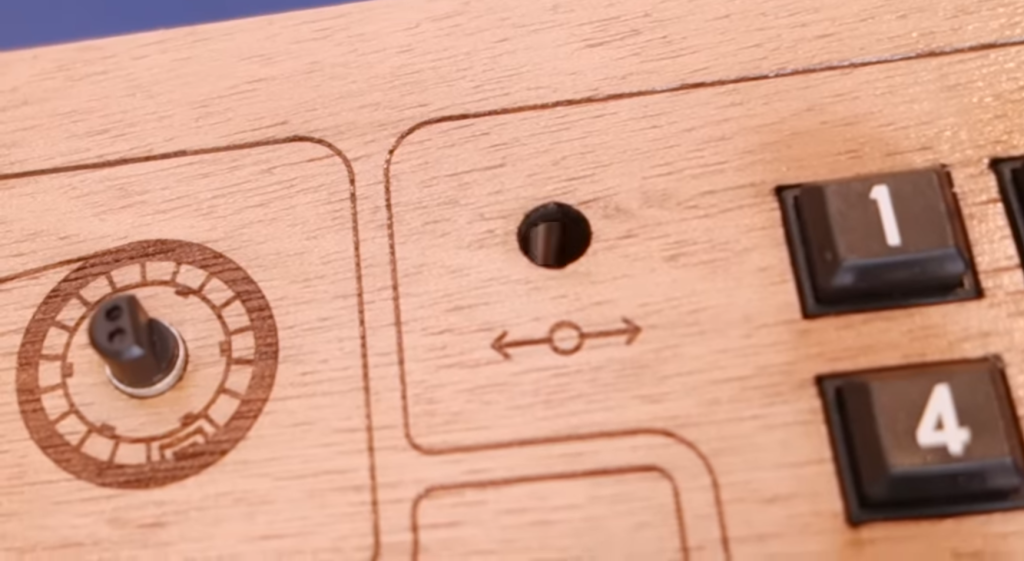
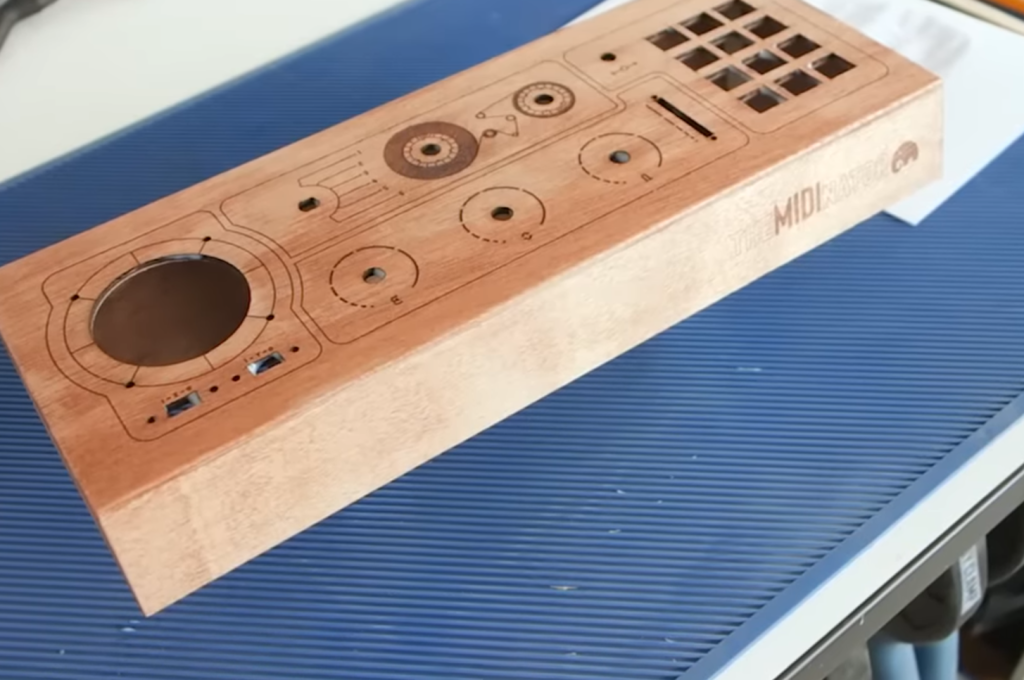
The Case
The Assembly
Assemble your components neatly inside the case, making sure all connections are secure. Ensure that the buttons are properly aligned with holes or openings in the case for easy access.
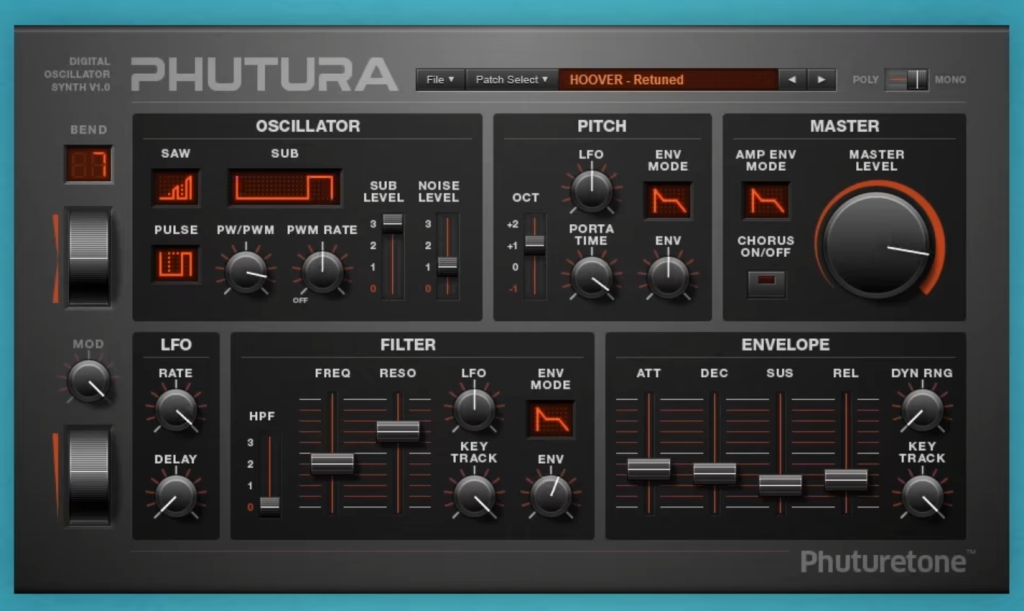
Using the MIDI Controller
Once your MIDI controller is assembled, connect it to your computer using a USB cable. It should be recognized as a MIDI device, and you can use it to control your music software. Configure your software to receive MIDI input from your controller, and you’re ready to unleash your creativity.
FAQ:
How to make MIDI with Arduino?
To create MIDI with Arduino, you can use the MIDI library available in the Arduino IDE.
Here’s a simplified overview of the process:
- Set Up Your Arduino: Connect your Arduino board to your computer and open the Arduino IDE;
- Install the MIDI Library:If you haven’t already, you can install the MIDI library by going to “Sketch” > “Include Library” > “Manage Libraries”, then searching for “MIDI” and installing the appropriate library, such as “MIDIUSB” for USB-based MIDI communication;
- Write Your Code: In your Arduino sketch, you can use the MIDI library functions to send MIDI messages. For example, you can use MIDI.sendNoteOn() to send a Note On message with parameters like note number and velocity;
- Connect MIDI Hardware: If you want to interface with external MIDI hardware, you may need additional components like MIDI connectors and opto-isolators. Connect your Arduino to the MIDI hardware following the MIDI standard pinout;
- Upload and Test: Upload your Arduino sketch to the board. Your Arduino can now send MIDI messages to control external MIDI devices or software [9];
Remember that MIDI communication involves various message types, including Note On/Off, Control Change, Program Change, and more. Your Arduino code should match the specific MIDI messages your project requires.
Can you use an Arduino as a MIDI controller?
Yes, you can use an Arduino as a MIDI controller. By interfacing buttons, knobs, sliders, or other input components with an Arduino, you can send MIDI messages to control music software, synthesizers, or external MIDI devices. Arduino can act as a versatile and customizable MIDI controller tailored to your specific needs.
How to install the Arduino MIDI library?
To install a MIDI library in the Arduino IDE, follow these steps:
- Open the Arduino IDE on your computer;
- Go to the “Sketch” menu;
- Select “Include Library” and then click on “Manage Libraries”;
- In the Library Manager, you can search for “MIDI”;
Find the appropriate MIDI library for your project (e.g., “MIDIUSB” for USB-based MIDI communication) and click the “Install” button next to it.
The library will be downloaded and installed, making it available for use in your Arduino sketches.
Can Arduino play MIDI files?
Arduino is primarily designed for creating and sending MIDI messages to control MIDI-compatible devices or software. It doesn’t have the capability to play full MIDI files like a MIDI player or synthesizer. However, you can use Arduino in conjunction with other hardware or software to trigger MIDI events in response to external stimuli.
Why is Arduino an 8-bit controller?
The term “Arduino” encompasses a range of microcontroller boards, some of which are 8-bit while others are 32-bit or 16-bit. The popular Arduino Uno, for example, is based on the ATmega328P microcontroller, which is an 8-bit microcontroller. Arduino boards come in various configurations to cater to different project requirements. The choice of microcontroller bit depth depends on factors such as cost, power consumption, and computational needs.
What is the difference between MIDI and MIDI controller:
- MIDI (Musical Instrument Digital Interface): MIDI is a communication protocol used in the music industry to exchange musical information between digital devices. It consists of messages that represent musical events, such as note on/off, control changes, and program changes. MIDI data is used for various purposes, including controlling synthesizers, recording music, and triggering sound modules;
- MIDI Controller:A MIDI controller is a physical device used to generate and manipulate MIDI data. It can be a keyboard, drum pad, knob box, or any other interface that allows a musician or producer to interact with MIDI-compatible software or hardware. MIDI controllers do not generate sound on their own but instead send MIDI messages to control external devices or software;
Can you automate MIDI?
Yes, MIDI automation allows you to automate various parameters within MIDI-compatible software or hardware. You can program changes in volume, pitch, modulation, and more over time, creating dynamic and evolving musical compositions. This automation is commonly used in digital audio workstations (DAWs) and synthesizers to add depth and complexity to music production.
Can you make an Arduino play music?
Arduino itself doesn’t have the capability to play music like a standalone music player. However, you can use an Arduino in combination with external hardware, such as speakers or synthesizer modules, to generate music. The Arduino can send MIDI messages to control these external devices, creating music in real time or in response to programmed sequences.
Is it legal to use MIDI?
Using MIDI itself is legal and widely accepted in the music industry. MIDI is a standard protocol for musical communication. However, the legality of specific MIDI files, software, or other musical content depends on factors such as copyright and licensing. It’s essential to respect copyright laws when using MIDI files or software to create and distribute music.
Do professionals use MIDI?
Yes, professionals in the music industry frequently use MIDI for various purposes. MIDI is integral to music production, live performances, studio recording, and sound design. Musicians, producers, composers, and sound engineers rely on MIDI to control synthesizers, virtual instruments, lighting systems, and a wide range of other equipment.
Is MIDI outdated?
MIDI is not considered outdated; it remains a fundamental and widely used protocol in the music industry. While it was introduced in the early 1980s, MIDI has evolved and adapted over the years. Modern MIDI implementations include USB MIDI and wireless MIDI protocols, ensuring its continued relevance in contemporary music production and performance.
Is MIDI faster than USB?
MIDI and USB serve different purposes and have different characteristics.
- MIDI is a protocol for sending musical data, and it has a relatively low data rate compared to USB. MIDI messages are compact and designed for real-time musical control;
- USB is a universal data transfer standardthat can carry various types of data, including MIDI messages. USB can transmit data much faster than traditional MIDI cables, making it suitable for high-resolution audio and other data-intensive applications;
What is the speed of MIDI in Arduino?
MIDI messages typically run at a baud rate of 31,250 bits per second (bps) [10]. The Arduino can handle this baud rate for MIDI communication, allowing for reliable and real-time interaction with MIDI-compatible devices and software.
Is MIDI a binary file?
No, MIDI is not a binary file format. MIDI is a protocol that uses a series of binary messages to represent musical events. These messages are made up of individual bytes containing binary data, but MIDI itself is not a binary file like a binary executable or binary image file.
Are MIDI files universal?
MIDI files themselves are standardized, meaning they adhere to a common format and structure defined by the MIDI specification. However, the interpretation of MIDI data can vary depending on the software or hardware that processes it.
Different MIDI devices and software may interpret and respond to MIDI data in unique ways, which can lead to variations in playback and performance. MIDI files are not universally consistent in terms of sound and playback across all MIDI-compatible devices and software.
Useful Video: Building a MIDI Controller Using Arduino
References:
- https://www.instructables.com/Building-an-Arduino-MIDI-Controller/
- https://docs.arduino.cc/tutorials/generic/midi-device
- https://www.midi.org/midi-articles/build-a-midi-controller-with-arduino-1
- https://www.makeuseof.com/tag/arduino-midi-controllers/
- https://siytek.com/arduino-midi-controller-read-this/
- https://www.makeuseof.com/tag/make-midi-controller-arduino/
- https://hackaday.com/2019/04/06/make-your-own-midi-controller-with-an-arduino/
- https://www.thetechedvocate.org/midi-controllers-you-can-build-with-an-arduino/
- https://www.midilifestyle.com/diy-midi-controller/midi-controller-with-arduino/
- https://www.allaboutcircuits.com/projects/touchless-midi-controller-with-arduino/