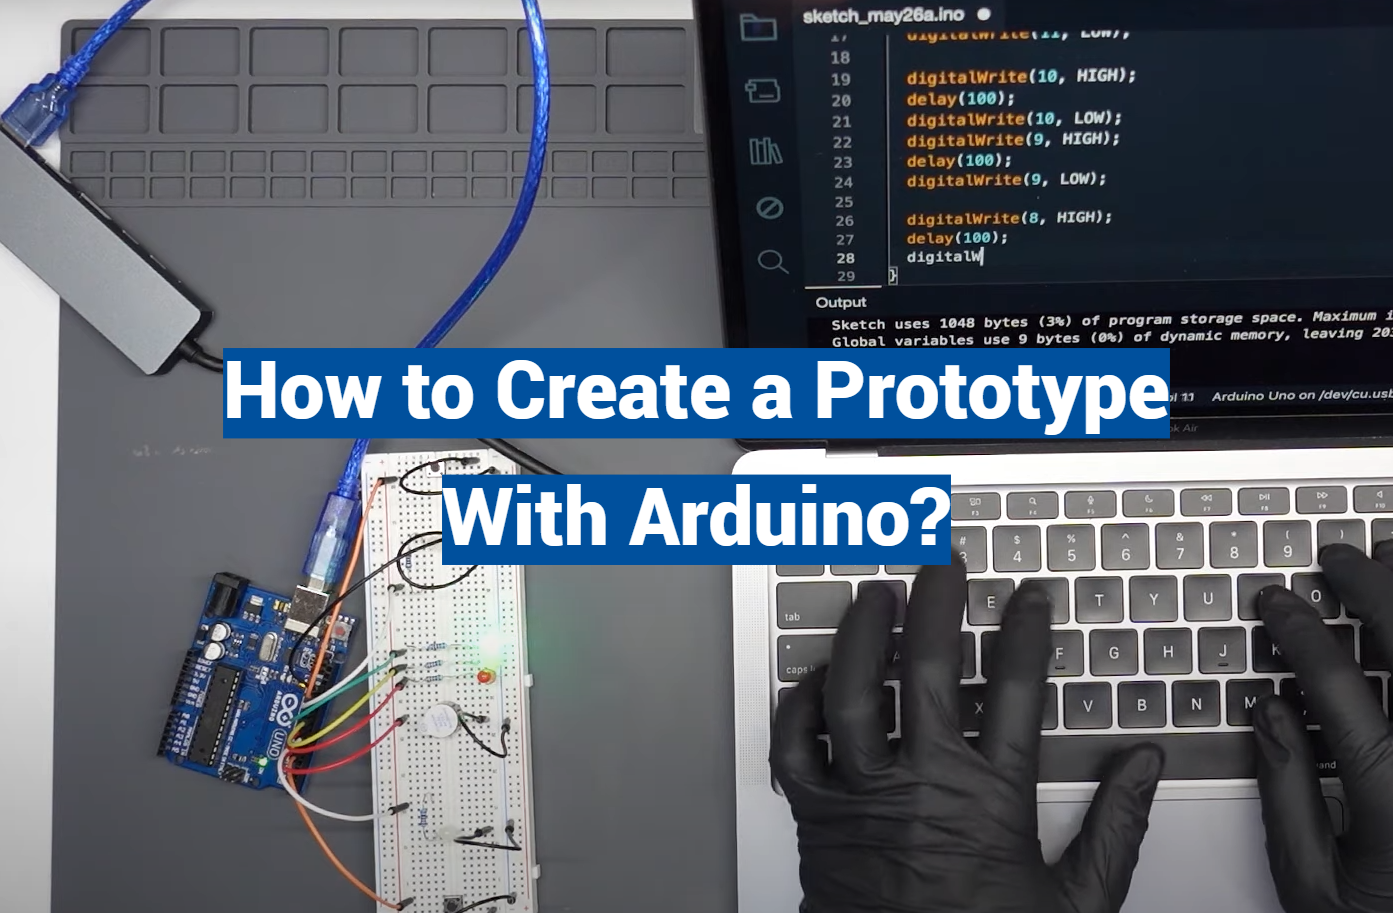
Arduino offers an open-source platform for creating interactive electronic objects, perfect for prototyping. Its simplicity, flexibility, and user-friendly interface make it an ideal tool for both beginners embarking on their initial projects and seasoned experts executing complex ideas. This guide will walk you through the process of creating a prototype with Arduino, from understanding its components to programming the board. Whether you aim to create a basic LED setup, a complex robot, or a smart IoT device, Arduino’s potential is only limited by the bounds of your imagination.
What is Arduino?
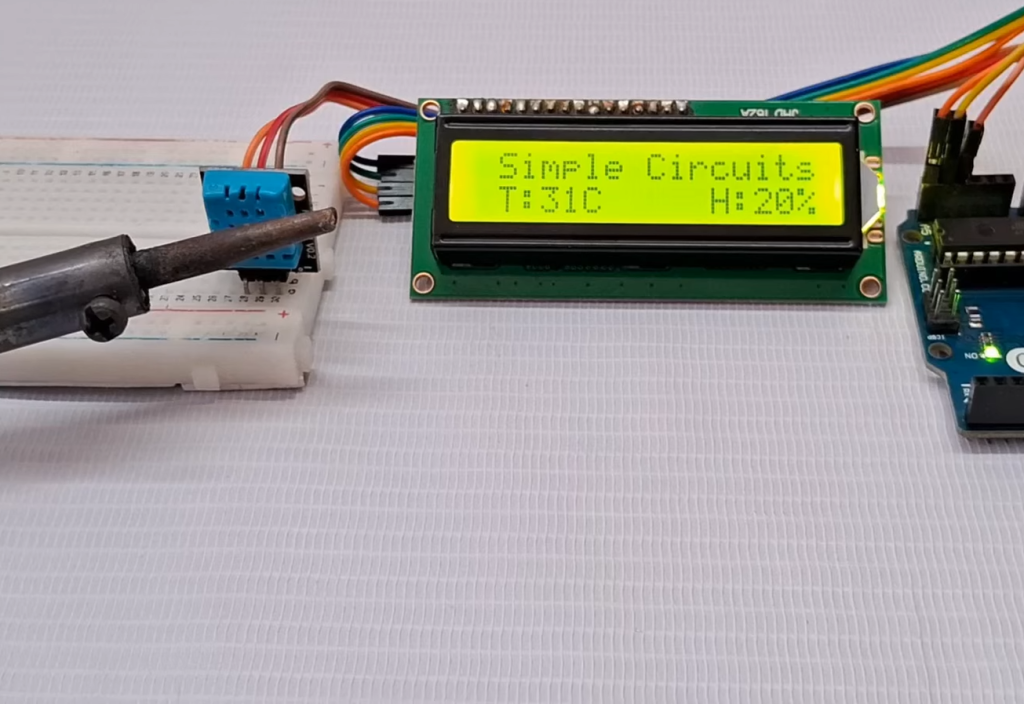
What can you do with Arduino?
With Arduino, you can create a wide range of electronic projects including robots, home automation systems, weather stations, musical instruments, and more. Its versatility allows you to bring your ideas to life without having extensive knowledge of programming or electronics.
How does it work?
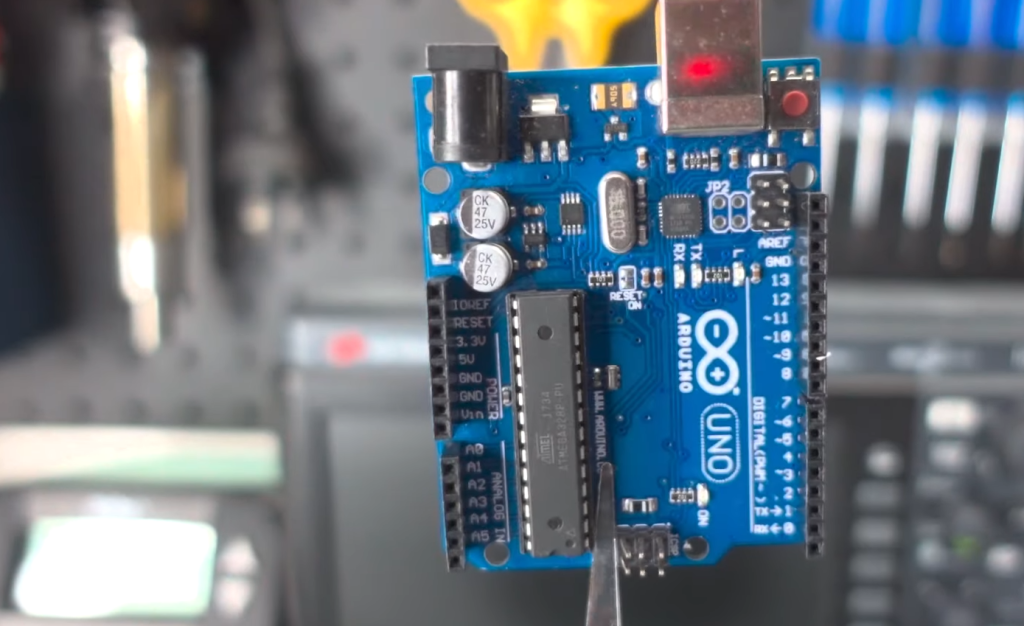
The heart of the Arduino platform is the microcontroller board. A microcontroller is a small computer on a single integrated circuit that contains a processor, memory, and input/output peripherals. The Arduino board is connected to a computer via a USB cable, allowing you to write code in the Arduino Integrated Development Environment (IDE) and upload it to the board.
What is a prototype?
A prototype is an early version or sample of a product that is used for testing and evaluation before finalizing the design. It allows you to experiment with different ideas and functionalities without committing to a costly production process. [1]
Steps for creating a prototype with Arduino
- Define your project: Start by identifying the problem you want to solve or the idea you want to bring to life.
- Gather materials: You will need an Arduino board, USB cable, breadboard, jumper wires, and any additional components required for your project.
- Learn basic programming concepts: Familiarize yourself with Arduino’s programming language, which is based on C/C++, and learn about digital and analog inputs/outputs.
- Write your code: Use the Arduino IDE to write your code and test it before uploading it to the board.
- Connect components: Use the breadboard and jumper wires to connect various components such as sensors, LEDs, motors, etc. to the Arduino board according to your circuit diagram.
- Upload code: Once your circuit is complete, upload your code to the board and test it.
- Refine and repeat: Use the feedback from testing to make any necessary changes or improvements to your prototype. You can also create multiple prototypes to explore different design ideas.
Choosing the Right Components for the Project
When creating a prototype with Arduino, it’s important to choose the right components for your project. Some key factors to consider include:
- Board compatibility: Make sure the components you choose are compatible with your Arduino board.
- Functionality: Choose components that serve the purpose of your project and provide the desired functionalities.
- Power requirements: Ensure that the power supply meets the requirements of all components in your circuit.
- Size and form factor: Consider size limitations and how the components will fit together in your prototype.
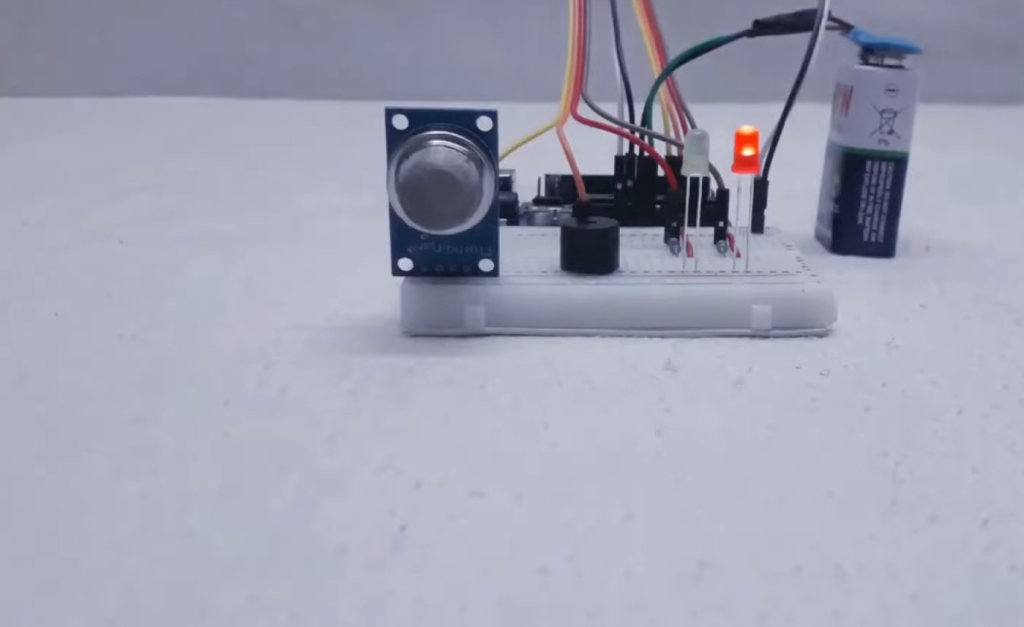
Programming the Arduino Prototype
Once you have your components ready, it’s time to program your prototype. Here are some tips to keep in mind:
- Start simple: Begin with basic projects and gradually work your way towards more complex ones as you gain experience.
- Utilize code libraries: Arduino has a vast community that has created code libraries for various components. Make use of these resources to save time and effort.
- Test often: Debugging is a crucial part of the prototyping process, so test your code frequently to catch any errors.
- Document your progress: Keep track of changes and modifications made to your code, so you can easily revert back if needed or share it with others for collaboration. [2]
Evaluating and Testing Your Prototype
Once your prototype is complete, it’s important to evaluate and test it thoroughly to ensure that it meets your project requirements. Here are some steps you can follow:
- Conduct a functional test: Test all the functionalities of your prototype to see if they work as intended.
- Gather feedback: Share your prototype with others and gather feedback on its design, functionality, and user experience.
- Make improvements: Use the feedback to make any necessary improvements or changes to your prototype.
- Repeat testing: Continue testing and refining until you are satisfied with the results.
Troubleshooting Common Issues
As with any electronic project, you may encounter some common issues while creating a prototype with Arduino. Here are some troubleshooting tips to help you overcome them:
- Check connections: Make sure all components are connected correctly according to your circuit diagram.
- Test individual components: If a specific component is not working, test it separately to check if there are any defects.
- Use the serial monitor: The Arduino IDE has a serial monitor that allows you to view debug messages and test code line by line.
Why Use Arduino to Create Prototypes?
Using Arduino for prototyping has numerous benefits, including:
- Cost-effective: Arduino boards and components are affordable compared to specialized prototyping tools.
- User-friendly: The Arduino IDE is easy to use, making it accessible even for beginners.
- Open-source: Arduino’s hardware and software are open-source, allowing for customization and innovation.
- Extensive community support: The large Arduino community provides access to a wealth of resources and support when creating prototypes. Furthermore, using Arduino allows you to easily transition from prototype to production by building on the same platform. This eliminates the need to completely redesign your project, saving time and effort in the long run. With its simplicity and versatility, Arduino is an excellent choice for bringing your ideas to life through prototyping. [3]
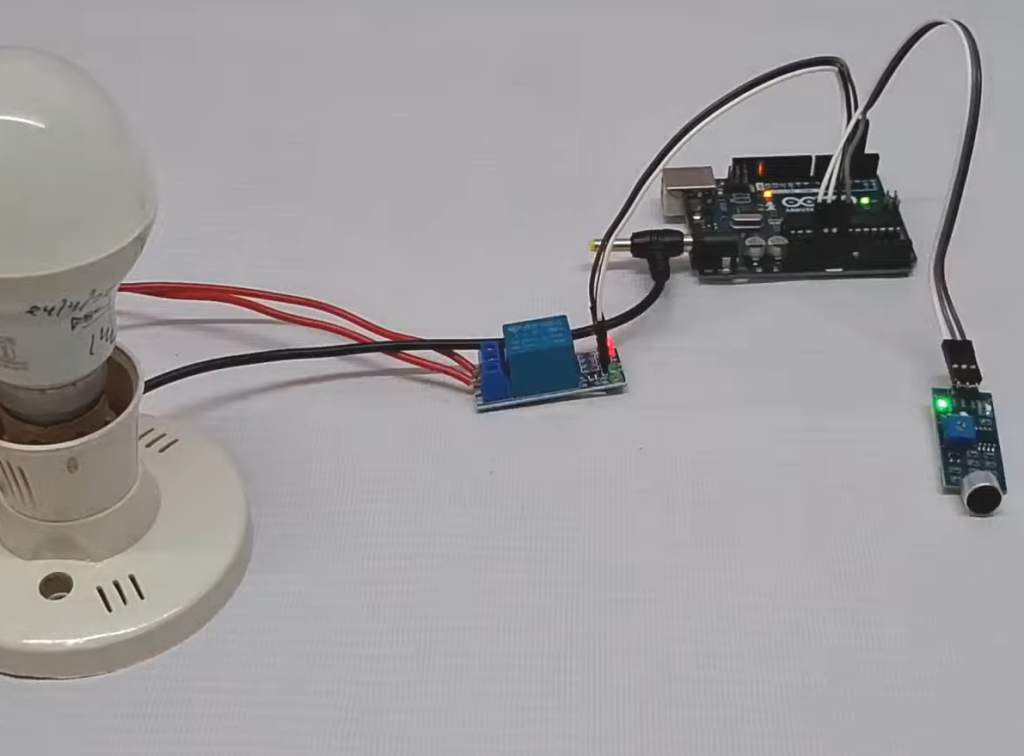
Tips for Creating an Effective and Functional Prototype with Arduino
- Start with a clear idea of what you want to achieve.
- Plan and test your circuit before assembling it.
- Use code libraries and resources provided by the Arduino community.
- Gather feedback and make necessary improvements throughout the prototyping process.
- Keep track of changes made to your code for future reference.
What Prototypes Can We Do With Arduino?
With its wide range of components and functionalities, Arduino can be used to create various types of prototypes such as:
- Internet of Things (IoT) devices
- Robotics projects
- Wearable technology
- Home automation systems
- Interactive art installations
Can AI Run on Arduino?
Arduino is an open-source platform that allows users to create electronic prototypes using easy-to-use hardware and software. It has gained popularity among hobbyists and professionals alike due to its versatility and affordability.
One question that often arises is whether AI can run on Arduino. The short answer is yes, but with some limitations.
Limitations of Running AI on Arduino
Due to its limited processing power and memory, Arduino may not be able to handle complex AI algorithms like deep learning or natural language processing. These algorithms require a significant amount of data and computing power, which may not be feasible for an Arduino board.
Additionally, Arduino boards usually do not have built-in internet connectivity, making it difficult to access large datasets or use cloud-based resources for AI tasks. [4]
Possible Applications of AI on Arduino
Despite its limitations, there are still some applications where AI can be used on Arduino. Some examples include:
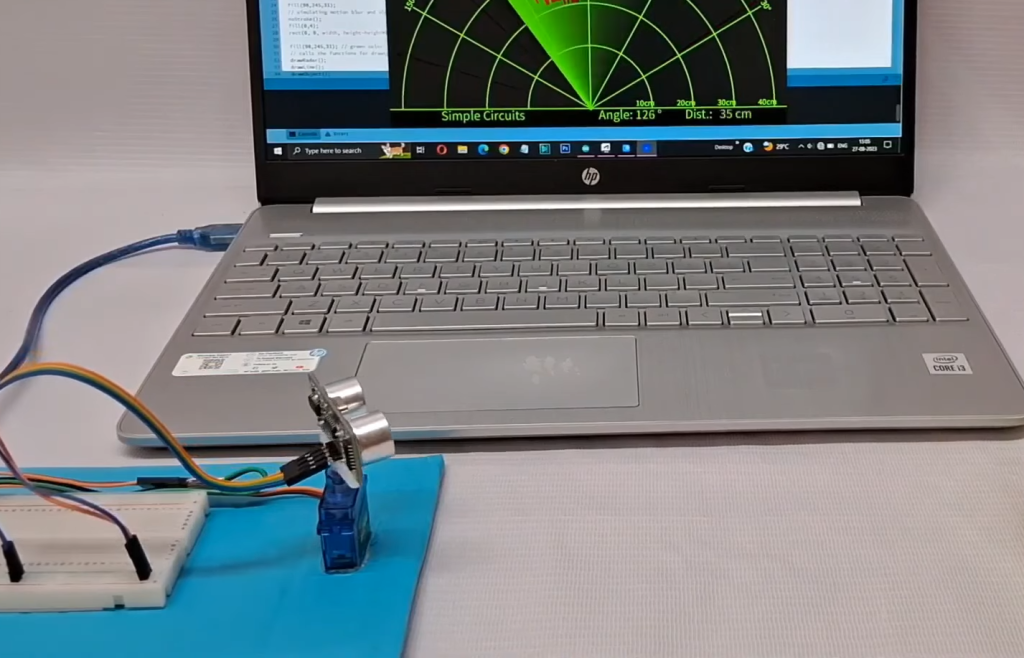
- Voice recognition: With the help of a separate voice recognition module, an Arduino board can be programmed to respond to specific voice commands.
- Object detection: By using image sensors and machine learning algorithms, an Arduino board can be trained to recognize and classify objects in its surroundings.
- Machine monitoring: An Arduino board equipped with sensors and machine learning algorithms can be used to monitor machines and detect anomalies or predict failures.
- Home automation: AI can be used on Arduino boards to automate tasks in a home, such as controlling lights or adjusting the thermostat based on user preferences.
Do Professionals Use Arduino?
Yes, professionals do use Arduino for various purposes. While it may have started as a hobbyist platform, its capabilities and affordability have made it popular among professionals in different industries.
Examples of Professional Use Cases for Arduino
- Prototyping: Many companies and organizations use Arduino to quickly create prototypes for new products or ideas. It allows them to test out their concepts before investing in expensive hardware or software.
- Data logging: With the help of sensors and data loggers, Arduino can be used to collect and analyze data in various fields such as environmental monitoring, agriculture, and more.
- Robotics: Some robotics engineers utilize Arduino boards as a cost-effective solution for controlling robot movements and sensors.
- Education: Many educational institutions use Arduino as a way to introduce students to the world of electronics and programming. It provides a hands-on learning experience and can be used for various projects and experiments.
Which is Better: Python or Arduino?
It is not fair to compare Python and Arduino as they serve different purposes. Python is a high-level programming language used for various applications, while Arduino is a microcontroller platform used for creating electronic prototypes.
Python allows for more complex and advanced programming techniques, making it suitable for AI and data analysis tasks. On the other hand, Arduino’s simplicity makes it popular among beginners and hobbyists who want to learn about electronics.
In conclusion, both Python and Arduino have their strengths and weaknesses. It ultimately depends on the project or task at hand to determine which one is better suited. However, with the rise of Internet of Things (IoT) devices, we may see more integration between the two in the future. [5]
Does Arduino Use Java or C++?
Arduino uses a simplified version of C++ called the Arduino programming language for writing code. This language makes it easier for beginners to learn and use, compared to other languages like Java or C++. However, more advanced users can also program their Arduino boards using traditional C++ if they prefer.
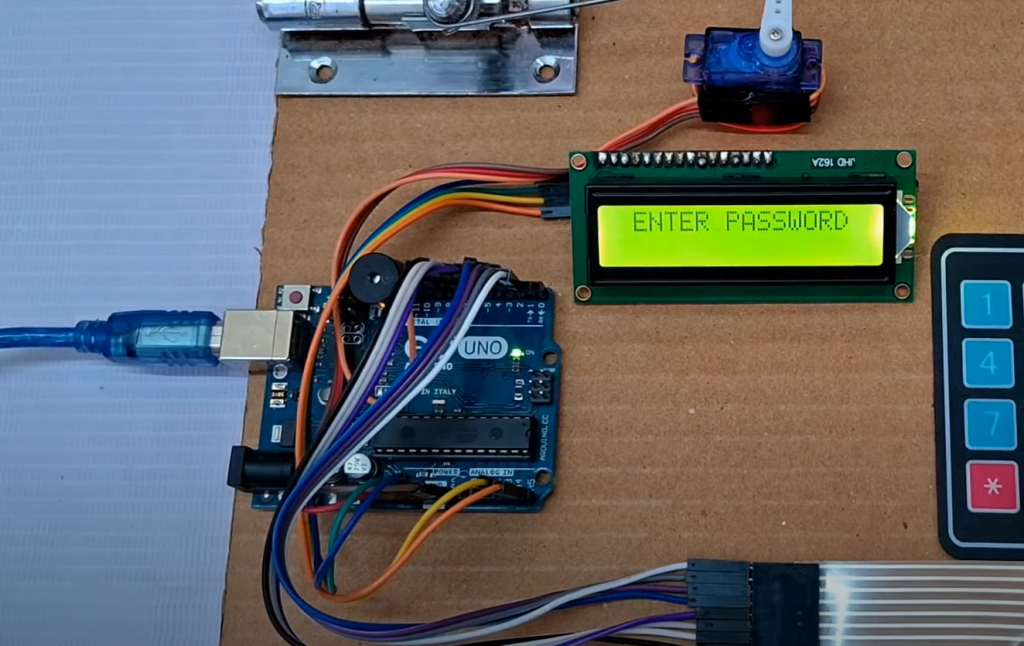
Future Possibilities for AI on Arduino
While AI may be limited on current Arduino boards, there are possibilities for future advancements in this area. With the constant development of new technologies and improvements in processing power and memory, we may see more sophisticated AI algorithms being implemented on Arduino boards in the coming years.
Additionally, with the increasing popularity of IoT devices, we may see more integration between AI and Arduino as well. This could lead to more complex smart devices that can learn and adapt to their surroundings.
In conclusion, while AI may currently have limitations on Arduino, it is still possible to utilize this technology on the platform in a variety of ways. As technology continues to advance, we may see even more possibilities for AI and Arduino in the future. So whether you are a beginner or a professional, don’t shy away from exploring the intersection of AI and Arduino – who knows what innovative projects you could come up with!
Arduino Alternatives
While Arduino is a popular platform for creating electronic prototypes, there are also other alternatives available. Some of these include:
- Raspberry Pi: Similar to Arduino, Raspberry Pi is a versatile and affordable microcontroller board that can be programmed using various languages.
- BeagleBone: Another open-source platform that offers more advanced features and capabilities compared to Arduino.
- NodeMCU: A low-cost microcontroller board based on the ESP8266 WiFi module, making it suitable for IoT projects.
Each of these alternatives has its own strengths and weaknesses, so it ultimately comes down to personal preference and project requirements when choosing the right platform. With the constant development in technology, we may see even more options emerge in the future! [6]
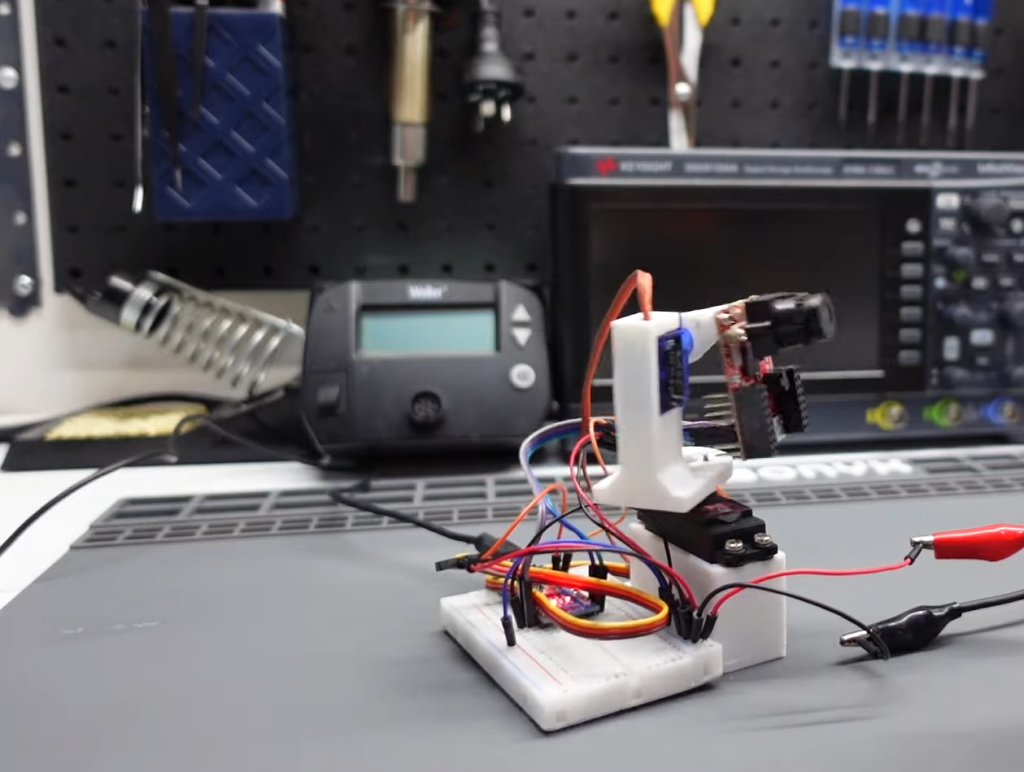
FAQs
What is an Arduino?
Arduino is an open-source electronics platform based on easy-to-use hardware and software. It provides a way for individuals, hobbyists, and professionals to create interactive projects without needing extensive electronics knowledge.
What is a prototype?
A prototype is a preliminary model or draft of a product that serves as the basis for further development. In the context of Arduino, a prototype can be seen as a proof-of-concept or initial version of an electronic device that will later be refined and improved upon.
Why should I use Arduino to create a prototype?
Arduino offers an accessible and user-friendly platform for creating prototypes. With its wide range of compatible sensors, actuators, and other components, it allows you to quickly build functional models without having to start from scratch. Additionally, the open-source nature of Arduino means that there is a vast community of users and resources available to assist with your projects.
What are some examples of prototypes made with Arduino?
Arduino has been used to create a variety of prototypes ranging from simple devices such as motion-activated lights or automated plant watering systems, to more complex projects like home security systems and interactive art installations.
How do I get started creating a prototype with Arduino?
To get started, you will need an Arduino board, which serves as the brain of your prototype, and various components such as sensors, actuators, and wires. You will also need to download the free Arduino software and have some basic knowledge of programming in order to code your prototype’s behavior. Many tutorials and guides are available online to help you get started with your first project.
Can I use Arduino for commercial purposes?
Yes, you can use Arduino for commercial purposes. However, it is important to note that some components and licenses may have restrictions on commercial use. It is always best to check the specific guidelines for each component or library you plan to use in your prototype.
What if I am not familiar with electronics or programming?
Even if you have little or no experience with electronics or programming, Arduino can still be a great platform for creating prototypes. There are many beginner-friendly resources and communities dedicated to helping newcomers learn how to use Arduino, and the hands-on nature of creating projects can be a fun and effective way to learn.
Can I create a prototype with Arduino without any prior knowledge?
While some basic understanding of electronics and programming can be helpful, it is not necessary to have extensive knowledge in order to create a prototype with Arduino. With the right resources and determination, anyone can learn how to use Arduino and bring their ideas to life. So don’t let lack of experience hold you back from exploring the possibilities of prototyping with Arduino. Remember, practice makes perfect! So dive in and start creating your own prototypes today.
Are there other ways to create prototypes besides using Arduino?
Yes, there are other methods for creating prototypes such as 3D printing or traditional fabrication techniques. However, many individuals and companies choose to use Arduino due to its accessibility, versatility, and community support. It is always beneficial to explore different methods and determine which one works best for your specific prototype project. However, Arduino remains a popular and effective choice for many prototyping needs.
How can I share my prototype with others?
There are several ways to share your prototype with others, depending on your goals and preferences. You can document your project on online platforms such as Instructables or Hackster, where you can also find inspiration from other makers’ projects. You can also participate in maker fairs or exhibitions to showcase your prototype in person. Additionally, many companies use crowdfunding platforms like Kickstarter or Indiegogo to launch their prototypes and gain support from the public for further development.
What should I do after creating a prototype with Arduino?
After creating a prototype with Arduino, the next steps will depend on your goals and intentions for your project. You may choose to refine and improve your prototype, seek funding or partnerships for further development, or even turn it into a fully functional product for commercial use. The possibilities are endless, so don’t be afraid to dream big and keep exploring the potential of Arduino prototyping. Remember that every great invention started with just an idea and a prototype! So keep experimenting and see where your journey takes you.
What programming language does Arduino use?
Arduino uses its own programming language, based on C++, which is specifically designed for creating projects with the Arduino platform. However, it also supports other languages such as Python and Scratch through external libraries. So even if you are not familiar with C++ or coding in general, there are still options for using a different language to program your prototype with Arduino. But learning some basics of the default Arduino programming language can be beneficial in the long run and open up more possibilities for your projects. You can easily find tutorials and resources online to help you learn how to code with Arduino.
Is Arduino suitable for beginners?
Yes, Arduino is suitable for beginners. Its user-friendly interface and community support make it a great platform for learning about electronics and programming, even for those with no prior knowledge or experience. With its low cost and accessibility, anyone can dive into the world of prototyping with Arduino and start bringing their ideas to life.
What are some tips for successful prototyping with Arduino?
- Plan your project: Before diving into prototyping, it’s important to plan out your project and consider all the components you will need. This can save you time and money in the long run.
- Start with simple projects: It’s always best to start with simpler projects when learning how to use Arduino. This will allow you to gain a better understanding of the platform and build up your skills gradually.
- Utilize online resources: There are numerous tutorials, guides, and communities available online for learning about Arduino and creating prototypes. Take advantage of these resources as they can be extremely helpful for beginners.
- Practice troubleshooting: Prototyping often involves trial and error, so be prepared for things not working perfectly on the first try. Don’t get discouraged and use any mistakes as an opportunity to learn and improve your skills.
- Experiment and have fun: Arduino is all about creativity and experimentation, so don’t be afraid to try new things and have fun with your projects. This can lead to unexpected discoveries and breakthroughs in your prototyping journey. So embrace the process and enjoy the ride!
- Collaborate with others: Collaborating with other makers or joining a local maker community can provide valuable insights, feedback, and support for your projects. It’s also a great way to meet like-minded individuals who share your passion for creating prototypes.
- Document your progress: Keeping track of your progress through notes, photos, or videos can not only help you troubleshoot any issues, but it can also serve as a reference for future projects or for sharing your journey with others.
Are there any limitations to using Arduino in prototyping?
As with any tool or platform, there are some limitations to using Arduino in prototyping. One limitation is its relatively low processing power compared to other microcontrollers. This may be a factor to consider when working on more complex projects that require high-speed processing. Additionally, Arduino boards have limited analog input and output pins, which may pose a challenge for certain types of prototypes. However, there are ways to overcome these limitations by using external components or multiple Arduino boards.
Conclusion
In conclusion, creating a prototype with Arduino is an exciting and rewarding process that can bring your ideas to life. By following the steps outlined in this guide, you should now have a good understanding of how to use Arduino to create prototypes for various projects.
We discussed the basic components of an Arduino board, including the microcontroller, power supply, and input/output pins. We also covered some useful tools and resources that can help you get started with Arduino, such as the official Arduino IDE and community forums.
However, this is just the beginning of your journey with Arduino. There are endless possibilities for creating prototypes using this platform, from robotics and automation to wearable technology and Internet of Things devices.
To continue learning and expanding your skills with Arduino, it is important to stay updated on new developments and projects in the community. You can also experiment with different components and sensors to create more complex prototypes.
In addition, don’t be afraid to share your work and collaborate with others in the Arduino community. This can lead to valuable feedback, knowledge exchange, and even potential partnerships.
With determination, creativity, and a little bit of coding knowledge, you can use Arduino to bring your ideas from concept to reality. So go ahead and start prototyping with Arduino today!
Useful Video: How to use Prototyping Shield with breadboard for Arduino
References:
- https://predictabledesigns.com/from-arduino-prototype-to-mass-production/
- https://www.protopie.io/blog/arduino-prototyping
- https://www.baldengineer.com/arduino-prototype-into-product.html
- https://chargedwarrior.com/how-to-create-a-prototype-with-arduino-easy-guide-example/
- https://www.linkedin.com/learning/arduino-prototyping/prototype-with-arduino
- https://www.ignitec.com/insights/youve-built-an-arduino-prototype-where-do-you-go-from-here/

