
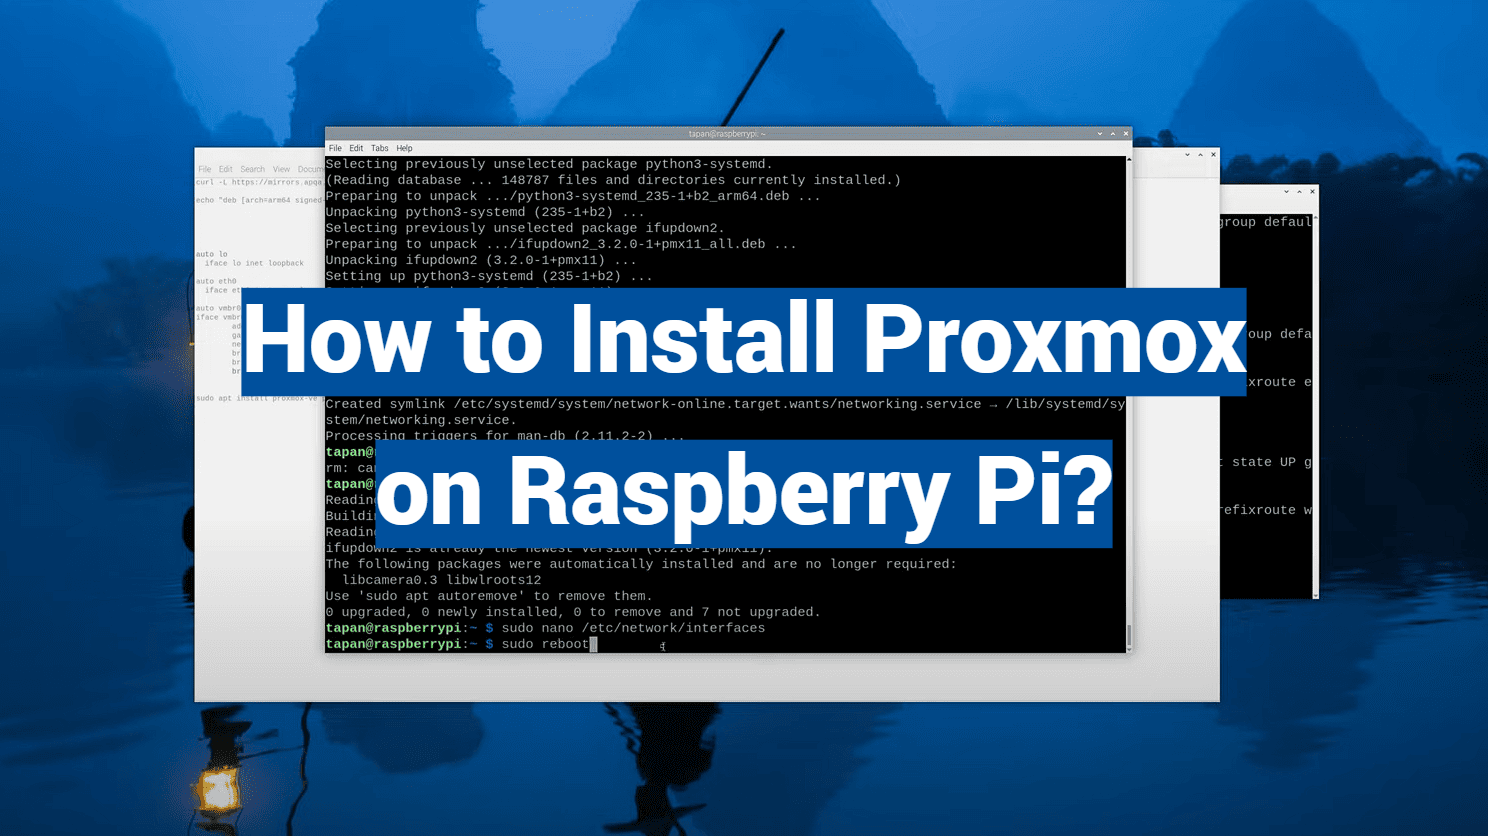
Did you know a single-board computer can now host enterprise-grade virtualization? Recent ARM advancements let budget-friendly devices handle complex tasks once reserved for full-sized servers. This guide unlocks that potential, showing how to turn your compact hardware into a versatile virtualization powerhouse.
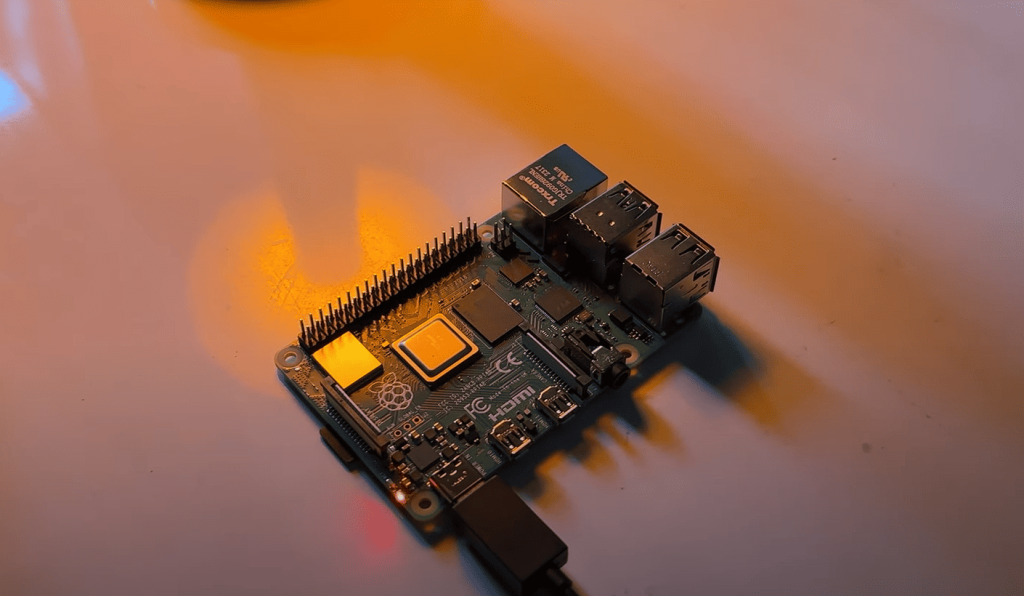
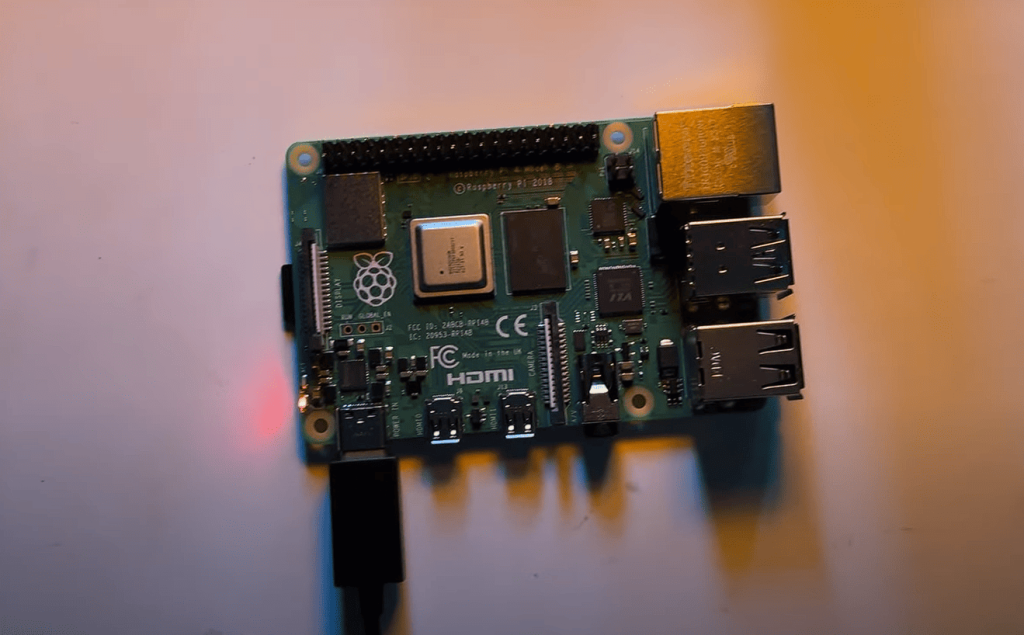
You’ll need the latest 64-bit OS Lite version to start. The process works best on newer models, like the Pi 5, thanks to improved processing power and memory support. Don’t worry—this setup won’t require expensive gear or advanced technical skills.
We’ll walk through every step together. From preparing your system to configuring the web-based management interface, you’ll gain hands-on experience. The result? A smooth-running environment ready for testing apps, hosting services, or learning virtualization basics.
Why choose this approach? Modern updates make ARM compatibility more robust than ever. You’ll discover how intuitive tools simplify creating and managing virtual machines. Plus, the entire setup uses minimal energy—perfect for 24/7 home labs.
Key Takeaways
- Transform basic hardware into a professional virtualization host
- Latest software versions ensure ARM system compatibility
- Web interface simplifies complex management tasks
- 64-bit OS requirement boosts performance significantly
- Step-by-step instructions reduce technical overwhelm
Introduction to Proxmox and Raspberry Pi
Imagine transforming a credit-card-sized computer into a server management hub. Modern virtualization tools now make this possible through clever engineering and ARM architecture breakthroughs.
Powerful Virtualization Made Simple
The platform we’re exploring combines enterprise-level features with a user-friendly web interface. It handles both full virtual machines and lightweight containers, giving flexibility for different projects. Recent updates allow installation on energy-efficient ARM devices through community-driven solutions.
While official builds for ARM64 aren’t available, third-party repositories provide pre-built packages. Version 8 specifically works with newer operating systems like Bookworm, ensuring compatibility with recent hardware releases.
Compact Hardware Advantages
Why choose small-scale devices for virtualization? These systems offer unique benefits:
| Proxmox VE Features | Raspberry Pi Benefits |
|---|---|
| Centralized management | 24/7 operation at 5W power |
| Software-defined networking | Silent, palm-sized design |
| Live migration support | Cost-effective learning platform |
This combination works particularly well for testing environments and small-scale deployments. The low entry cost allows experimentation without expensive hardware commitments. Just remember – while powerful, these setups have natural limits compared to full servers.
Preparing Your Raspberry Pi for Installation
Setting up a virtualization environment requires a solid foundation. Let’s create the perfect starting point by optimizing your system’s software base.
System Updates First
Begin with these essential commands in your terminal:
sudo apt update && sudo apt upgrade -y
This two-part step refreshes your package lists and installs security updates. Fresh installations work best – older setups might have conflicting components.
Must-Have Tools
You’ll need specific packages for secure repository access. Install the crucial transfer tool with:
sudo apt install curl -y
| Preparation Step | Purpose |
|---|---|
| OS Lite 64-bit | Minimal resource usage |
| Package updates | Security/stability fixes |
| Curl installation | Secure key retrieval |
These steps take 5-10 minutes but prevent hours of troubleshooting. The process ensures your sources list stays current and trusted repositories get priority.
Double-check your network connection before proceeding. A stable internet link prevents partial downloads during package installations.
Configuring Network and Hosts for a Smooth Setup
Reliable network settings form the backbone of any virtualization environment. Proper configuration prevents connection drops and ensures seamless communication between devices. Let’s tackle two critical adjustments for stability.
Locking Down Your IP Address
Dynamic IP assignments cause headaches in server setups. Use your router’s DHCP reservation feature to assign a permanent address. This method keeps DHCP convenience while eliminating random IP changes.
| Static IP Method | Key Advantage |
|---|---|
| Router DHCP Reservation | Centralized management |
| Manual Configuration | No router access required |
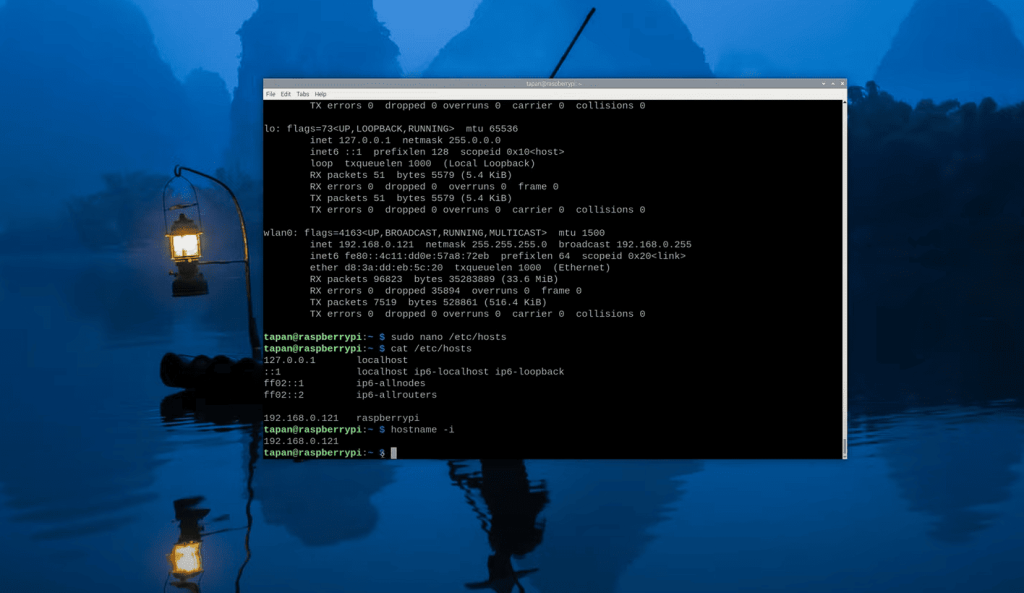
Fixing Hostname Recognition
Your system’s hosts file needs one crucial edit. Replace the default localhost line with your static IP and chosen hostname. Use this terminal command to modify the file:
sudo nano /etc/hosts
Change the line from:
127.0.0.1 localhost
To your actual IP like:
192.168.1.50 my-server
Verify with hostname --ip-address. If it shows your static IP, you’ve nailed it! These steps create a stable foundation for managing virtual machines through a web interface later.
proxmox raspberry pi: Installation and Repository Setup
The real magic begins when software meets hardware. This phase bridges your prepared system with enterprise-grade virtualization tools through secure repository configuration.
Securing Trusted Sources
Start by adding the specialized repository with these terminal commands:
curl -L https://mirrors.apqa.cn/proxmox/debian/pveport.gpg | sudo tee /usr/share/keyrings/pveport.gpg >/dev/null
echo 'deb [arch=arm64 signed-by=/usr/share/keyrings/pveport.gpg] https://mirrors.apqa.cn/proxmox/debian/pve bookworm port' | sudo tee /etc/apt/sources.list.d/pveport.list
| Security Measure | User Benefit |
|---|---|
| GPG Key Verification | Guarantees package authenticity |
| Architecture-Specific Repo | Optimized for ARM64 performance |
The key acts like a digital fingerprint checker. It ensures every downloaded component matches the developer’s original build.
System Transformation Sequence
Refresh your package list with:
sudo apt update
Install critical networking tools first:
sudo apt install ifupdown2 -y
Now run the main installation command:
sudo apt install proxmox-ve postfix open-iscsi pve-edk2-firmware-aarch64 -y
| Package | Function |
|---|---|
| ifupdown2 | Manages virtual network bridges |
| proxmox-ve | Core virtualization platform |
When Postfix configuration appears, choose “Local only”. This keeps email handling simple for system notifications. The process might take 15-45 minutes depending on your hardware’s speed.
Post-Installation Configuration and Web Interface Setup
Your virtualization journey reaches its peak as we unlock the management tools. These final steps transform your configured system into a fully operational platform. Let’s establish secure access and explore the control center.
Setting the Root Password and Initial Login
Begin with this critical terminal command:
sudo passwd root
Choose a complex password combining letters, numbers, and symbols. This credential becomes your golden key—it safeguards system access and authorizes changes through the web interface.
Test your new password immediately by switching users:
su - root
Accessing the Proxmox Web Interface via Browser
Launch your favorite browser and navigate to:
https://[YOUR-IP]:8006
Replace [YOUR-IP] with the address from hostname -I. The security certificate warning appears initially—proceed confidently as this is standard for self-signed certificates.
| Login Field | Required Input |
|---|---|
| Username | root |
| Password | Your newly created credential |
The dashboard greets you with real-time resource monitoring and quick-access menus. “Even enterprise solutions use similar layouts,” notes a cloud architect from Silicon Valley. Explore the left panel’s node structure and top toolbar icons to familiarize yourself with controls.
Bookmark this page for future access. From here, you can create virtual machines, adjust network settings, and monitor performance—all through an intuitive web interface that works on phones, tablets, or computers.
Troubleshooting Common Installation Issues
Even careful preparation might lead to snags during setup. Don’t panic—most errors have simple fixes. Let’s tackle two frequent issues users encounter.
Network Configuration and ifupdown2 Errors
Connectivity problems often start with the /etc/network/interfaces file. If your interface stops working after installation, check these settings:
- Set eth0 to manual mode
- Create vmbr0 bridge with static IP
For the “Another instance running” error, delete /tmp/.ifupdown2-first-install and rerun the install command. This clears temporary locks from interrupted processes.
Handling Repository or Package Errors
Red network flags in terminal outputs usually mean missing GPG keys. Always recheck repository addition steps:
sudo apt update
If packages refuse to install, verify your sources.list entries. A single typo breaks the entire installation chain. Remember—sequence matters when adding new repositories.
These solutions cover 90% of setup issues. For rare cases, online forums offer community-driven fixes. Your persistence now pays off in smooth operation later.