
Watching your favorite movie or presenting a slide on a huge screen is often an exhilarating experience – that is, until the screen is too big for your space. Whether you’re dealing with a home theater setup or a presentation venue, at times, the projector screen might overpower the room, impeding on viewers’ comfort and concentration. But what if you can’t move the projector closer or further away to adjust the size of the screen? This blog post will discuss some practical solutions that can help you reduce the size of your projector screen without the need to reposition the hardware.
How to use a projector properly?
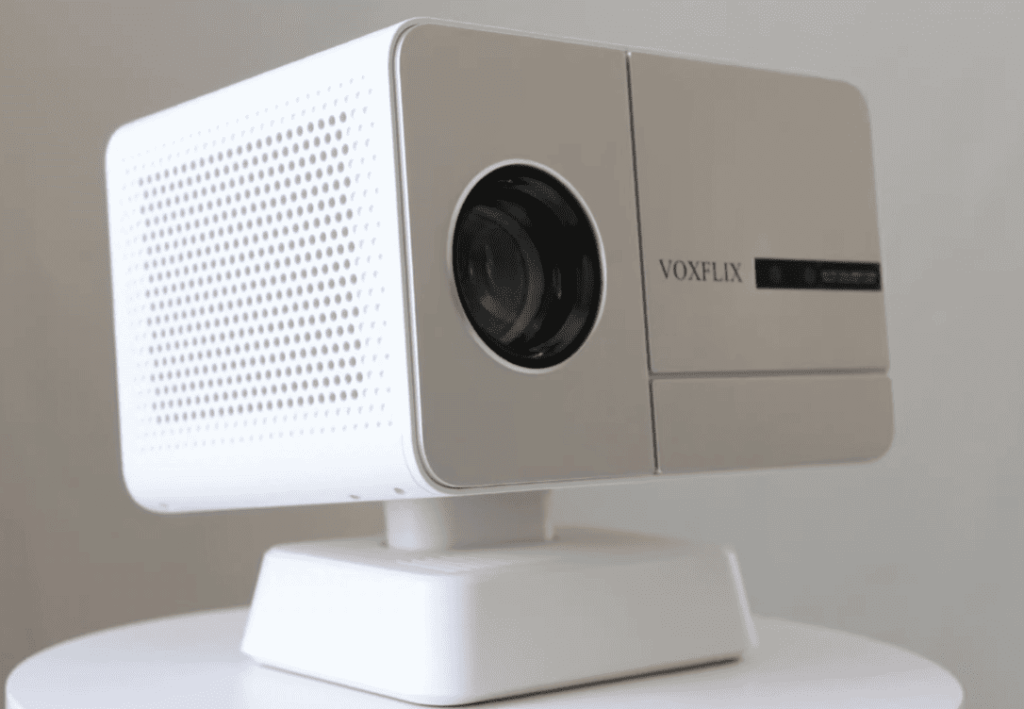
There are several key steps to using a projector properly. First, you need to make sure that the projector is placed on a stable surface, such as a table or stand. This will ensure that the image projected is steady and not affected by any external movements.
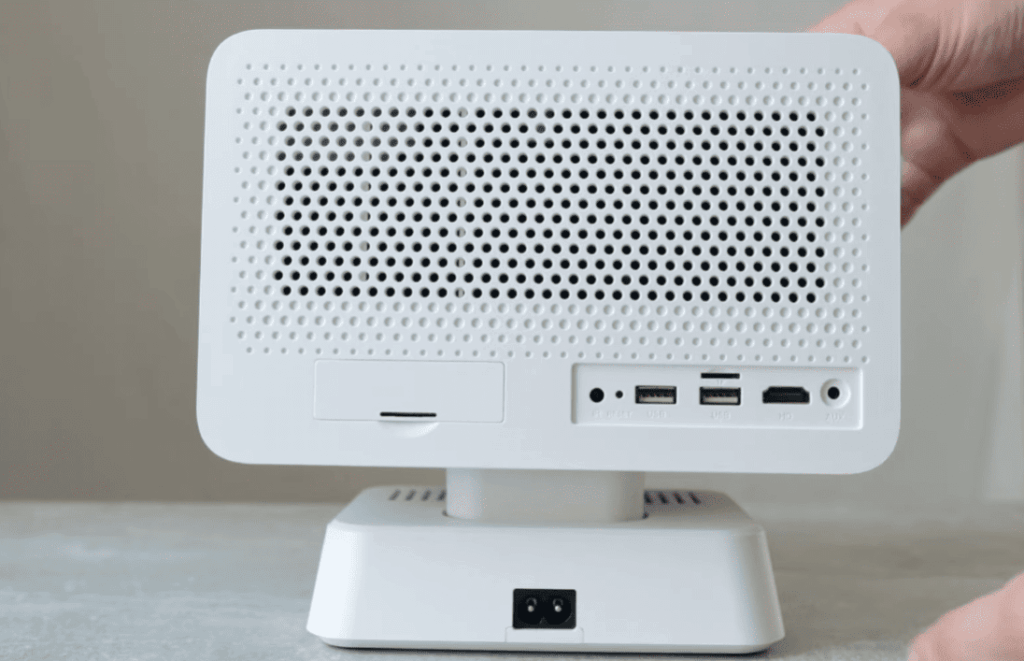
Next, you should connect all necessary cables and power sources to the projector. It’s important to follow the manufacturer’s instructions for proper connection, as each projector may have different requirements.
Once the projector is set up and connected, you can turn it on and adjust the focus using the manual or automatic focus controls. It’s important to make sure that the image projected is clear and in focus before proceeding.
Another key step is to adjust the keystone correction. This will ensure that the image is properly aligned and not distorted due to the angle of the projector. Most projectors have a keystone correction function that can be adjusted to fix any distortion.
If you are using a laptop or other device to display content on the projector, make sure that it is set up correctly and connected properly. This may involve adjusting display settings or selecting the correct input source on both the projector and the device.
It’s also important to consider the lighting in the room. If possible, dimming or turning off any ambient lights can help improve the quality of the projected image. Additionally, try to avoid placing the projector in direct sunlight or other sources of bright light as this may impact visibility.
Finally, be sure to turn off and safely disconnect all equipment after use. This will help prolong the lifespan of the projector and prevent any potential accidents.
In addition to these general steps, it is important to read the instruction manual for your specific projector model. Each projector may have unique features or settings that should be taken into consideration when using it properly.
Following these guidelines will ensure that you are able to use a projector effectively and get the best possible image quality. With proper set up and use, projectors can be a valuable tool for presentations, movie nights or other events.
Why to adjust a projector screen?
There are several reasons why you might need to adjust a projector screen. This section will discuss the most common reasons and how to address them.
1. Image Size is Too Small or Too Large
The most common reason for adjusting a projector screen is when the image projected on it is either too small or too large for your needs. This can happen due to several factors, such as the distance between the projector and the screen, the type of lens used in the projector, or even the settings on your device.
To address this issue, you can adjust the zoom function on your projector or change the position of either the projector or screen to achieve your desired image size. You can also try changing the resolution settings on your device to see if that affects the image size.
2. Image is Not Centered
Another common issue with projector screens is when the projected image is not centered on the screen. This can be distracting and make it difficult for viewers to focus on the content being displayed. To fix this, you can adjust the position of your projector or screen until the image is centered. You may also need to use the horizontal and vertical keystone correction functions on your projector to fine-tune the alignment.
3. Screen is Wrinkled or Sagging
Over time, projector screens can become wrinkled or sag due to frequent use or improper storage. This not only affects the appearance of the image but can also cause distortions in the projected content.
To fix this, you can try gently stretching the screen to remove wrinkles or use a steamer to remove any creases. If the sag is severe, you may need to replace the screen altogether.
4. Screen is Not Tensioned Properly
Tensioned projector screens are designed to be pulled tightly for optimal image quality. However, if the tension is not set correctly, the screen may appear wavy or uneven. This can also cause distortions in the image.
To adjust the tension on your projector screen, refer to the manufacturer’s instructions or use a tensioning tool if provided. You may need to experiment with different levels of tension until you find one that works best for your specific setup.
Tips for improving the projector viewing experience
While using a projector properly is essential for getting the best image quality, there are also some additional tips that can enhance your viewing experience:
- Make sure the room is darkened for maximum contrast and clarity.
- Adjust the brightness and contrast settings on your projector to suit the ambient lighting in the room.
- Use a high-quality screen with a matte finish to minimize glare and reflections.
- Keep your projector and screen clean to avoid any dust or debris that may affect image quality.
- Consider using a color calibration tool to ensure accurate and consistent colors on your screen.
- Use a projector mount or stand to achieve the optimal angle for your viewing needs.
By following these tips and properly adjusting your projector screen, you can ensure an enjoyable and high-quality viewing experience every time. So, it is important to regularly check and make adjustments as needed for the best results.
Understanding Projector Scaling
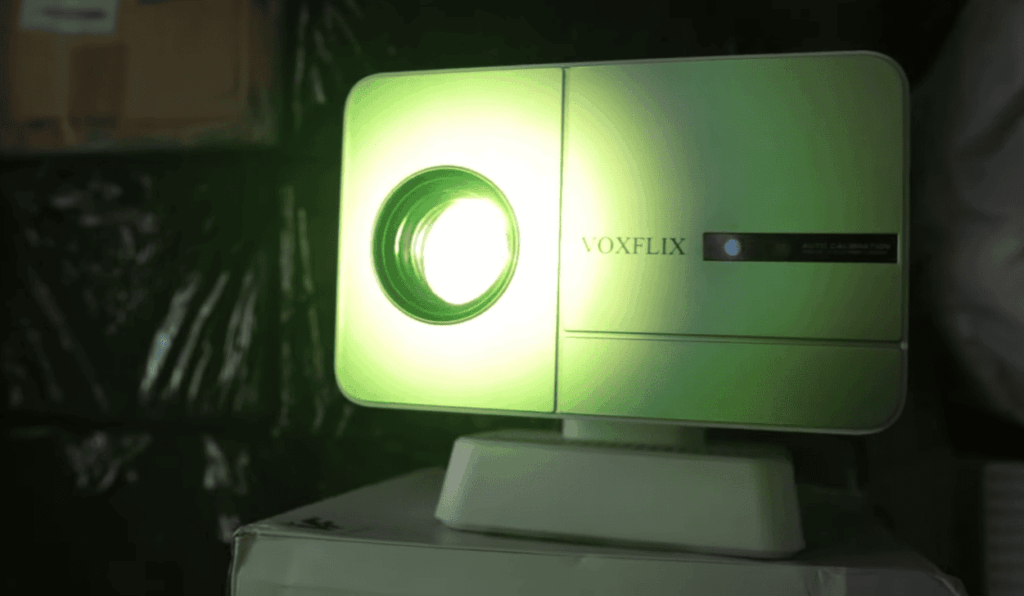
First, it’s essential to familiarize yourself with the concept of projector scaling. Almost all projectors come with a scaling function that enables you to adjust the image size without changing the projector’s position. Read through your projector’s manual to locate this feature because it’s typically your go-to solution for resizing the image display.
Digital Zoom and Keystone Correction
Digital Zoom:
A standard feature in many projectors, digital zoom allows you to shrink the projected image. While it may slightly reduce the quality of the image, this setting is a quick and easy way to make your screen size smaller.
Steps to use Digital Zoom:
- Access the projector menu using the remote control or buttons on the projector.
- Navigate to the “Zoom” or “Image Size” settings.
- Adjust the zoom level to reduce the image size as required.
Keystone Correction:
Another feature, known as keystone correction, helps adjust the angles of your projection if it’s not perfectly centered. This tool can also be manipulated slightly to reduce image size, although it’s primarily for fixing image shape.
Steps to use Keystone Correction:
- Enter the projector menu.
- Find the “Keystone” settings.
- Adjust the vertical or horizontal keystone to skew the image subtly, which can decrease its overall size.
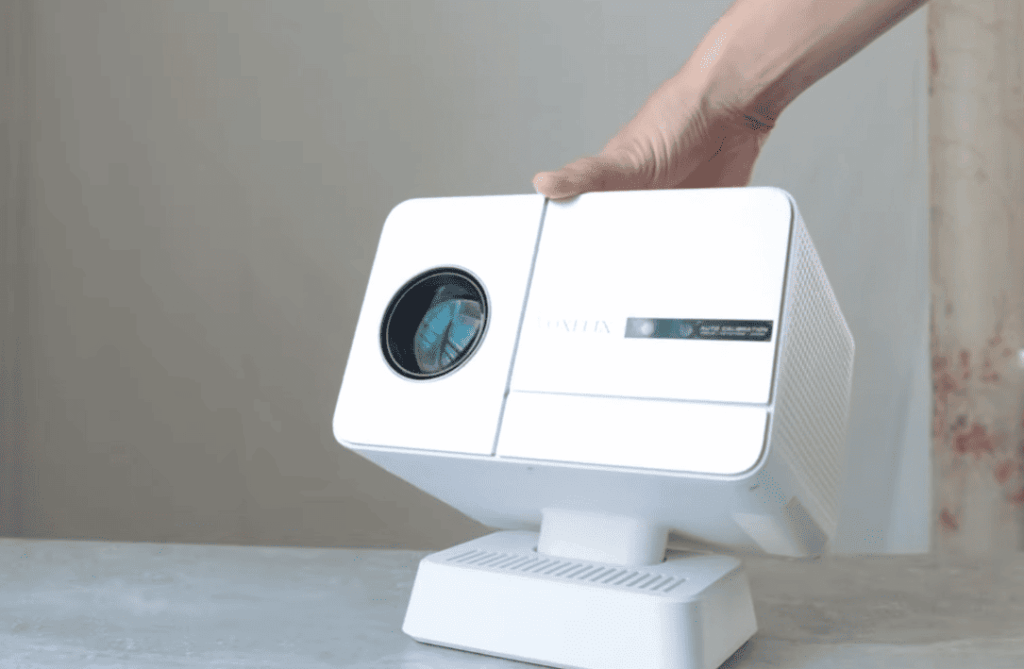
Using a Shorter Throw Lens
Some projectors allow the addition of a shorter throw lens, which can drastically reduce the image size. These lenses are designed for small spaces where you can’t move the projector far away. If your projector is compatible, investing in a shorter throw lens could be a practical long-term solution.
DIY Masking Solutions
If technical adjustments aren’t an option, consider creating a black border around the area of the screen you want to use. This physical “masking” gives the appearance of a smaller screen, though the projector still outputs the same sized image.
How to Implement DIY Masking:
- Measure and cut out black felt or thick fabric to create the border.
- Attach the border directly to the screen or wall, using a method that doesn’t cause damage.
- Ensure the border is tight and secure to prevent any sagging or unevenness.
Aspect Ratio Adjustment
Changing the aspect ratio can also offer a makeshift solution for a small reduction in image size. For example, switching from widescreen (16:9) to standard (4:3) might crop the image slightly. However, be aware that this will affect the format and might not be suitable for all types of content.
Software Solutions
For PC presentations, software applications are available that enable you to define the active area of your screen. This method essentially blacks out parts of your presentation that you do not want displayed, making the viewing area seem smaller.
Epson Projector: Use the Wide and Tele Buttons
On some Epson projectors, you can find a feature on the remote control that lets you adjust the image size. The wide and tele buttons function similarly to digital zoom but offer more flexibility because they work with your projector’s lens.
To use this feature:
- Point the remote at your projector and press either button to make small adjustments in image size.
- Hold the button down for a few seconds to see larger changes.
- Release the button when you achieve your desired image size.
In conclusion, there are several ways to adjust projector screen size and make it smaller, depending on your specific needs and equipment. By following these tips and techniques, you can easily resize the projected content to fit your viewing space and enhance the overall viewing experience. Remember to always consult your projector’s manual and experiment with different settings to find the best solution for your setup.
BenQ Projector: Use Digital Shrink
For BenQ projectors, there is a feature called “Digital Shrink” that can help reduce the image size. This function is similar to digital zoom but specifically designed for making the projected image smaller.
To use Digital Shrink:
- Press the Menu button on your remote control or projector.
- Use the arrow keys to navigate to the “Image” tab.
- Select “Advanced” and then choose “Digital Shrink.”
- Use the arrow keys to shrink or expand the image as needed.
- Press Exit on your remote control or projector to save the settings.
Note that Digital Shrink may slightly reduce the image quality, so it is important to find a balance between size and clarity when using this feature. Additionally, BenQ projectors also offer the option to adjust aspect ratio and keystone correction for further customization of image size. Overall, understanding and utilizing these features can greatly impact the quality and size of your projected image.
How to maintain and clean a projector screen?
Maintaining and cleaning your projector screen is essential for ensuring optimal image quality and prolonging the lifespan of your device. Here are some simple steps to follow:
1. Dusting
The first step to maintaining your projector screen is by dusting it regularly. Use a soft, lint-free cloth or a feather duster to gently wipe away any accumulated dust on the screen surface. Avoid using harsh chemicals or abrasive materials as it can damage the screen material.
2. Spot cleaning
If your projector screen has any visible stains or marks, spot cleaning is necessary. Use a mild soap and water solution to gently dab and remove the stain. Be sure to test the solution on a small, inconspicuous area first before applying it to the entire stain.
3. Deep cleaning
Over time, your projector screen may accumulate dirt and grime that cannot be removed by dusting or spot cleaning alone. In this case, it is recommended to deep clean the screen. Start by removing the screen from its frame and laying it flat on a clean surface. Then, using a mild soap and water solution, gently scrub the screen using a soft cloth or sponge. Rinse thoroughly with clean water and allow it to air dry completely before reattaching it to the frame.
4. Avoid moisture
Moisture can be damaging to your projector screen as it can cause warping or mold growth. Therefore, ensure that the screen is completely dry before storing it away. If you live in a humid climate, consider using a dehumidifier in the room where your projector screen is kept.
5. Protect during storage
When not in use, it is important to store your projector screen properly. Make sure to roll it up carefully and secure it with ties or straps to avoid any creases or wrinkles. Additionally, store it in a cool, dry place away from direct sunlight to prevent any potential damage.
6. Regular inspections
Finally, make it a habit to inspect your projector screen regularly for any tears or damage. If you notice any issues, address them immediately to avoid further damage. Additionally, check and tighten any screws or bolts on the frame as needed.
FAQ
How do you resize a projector screen?
To resize a projector screen, follow these steps:
- Determine the screen size and aspect ratio, either from the user manual or by measuring the length and width.
- Adjust the projector settings to match the screen’s aspect ratio.
- Find the zoom function in the menu section and use the arrow keys to adjust the projected image size.
- If there is no zoom function, physically move the projector closer or further away from the screen to adjust the image size.
How do I get my projector screen down?
To lower a projector screen, follow these steps:
- Locate the control panel or remote for your projector screen.
- Look for a button or option labeled “down” or “lower”.
- Press the designated button to activate the motor and lower the screen.
- If using a remote, aim it at the sensor on the projector screen and press the appropriate button.
- The screen should lower smoothly and stop at the desired position.
Conclusion Paragraph
While ideally, projector screens should be tailored to fit the space they’re in, there are times when that isn’t possible. Fortunately, with technological advancements and a bit of creativity, making your projector screen smaller without physically moving it is indeed feasible. From digital zooms to DIY borders, you have several options at your disposal.
Ultimately, your choice of solution will depend on the specific scenario and capabilities of your projector. Just remember that while these solutions can be handy, always prioritizing proper projector placement and room setup from the start is crucial for the best viewing experience.