
If you’re using a Raspberry Pi for your projects, you might have noticed a black border around the display that can be somewhat distracting. This is not an issue with your monitor or the Pi itself, but rather, a setting that can be adjusted. This guide is designed to walk you through the simple steps to remove this black border, optimizing your Raspberry Pi display for a better user experience.
Understanding the Black Border on Raspberry Pi Display
Reasons for the Black Border
The most common reason for the black border on a Raspberry Pi display is due to the overscan setting. Overscan is a feature that allows displays to compensate for any extra space or pixel errors around the edges of the screen. This feature was primarily used in older CRT (cathode ray tube) televisions, but it can also be found in modern LCD/LED displays.
Another reason could be incorrect display settings. If the Raspberry Pi device’s resolution does not match the display’s native resolution, it may result in a black border appearing around the edges.
Removing the Black Border
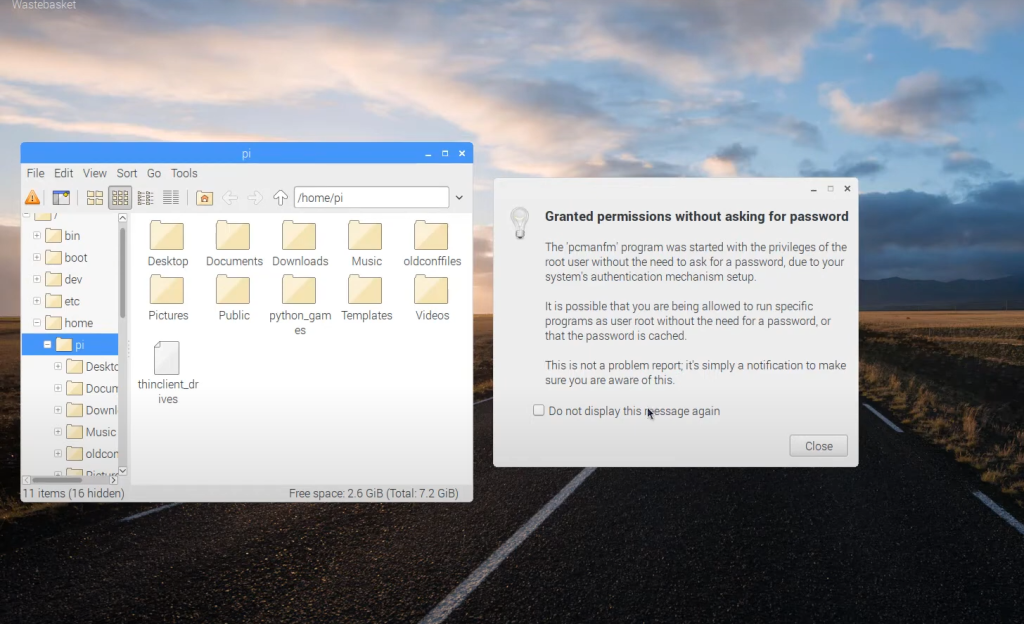
The first step to removing the black border is to disable overscan. This can be done by accessing the “Raspberry Pi Configuration” menu and selecting “Advanced Options.” From there, select “Overscan” and then choose the “Disable” option.
If disabling overscan does not remove the black border, it is recommended to check the display’s settings. Make sure that the Raspberry Pi’s resolution matches the display’s native resolution. If it does not, change the resolution to match, and the black border should disappear. [1]
Additional Tips
In some cases, users may still notice a slight black border even after trying these solutions. This could be due to physical limitations of the display or an issue with the HDMI cable being used. Users can try using a different HDMI cable or adjusting their display’s settings to see if it makes any difference.
It is also important to note that removing the black border may result in the display not fitting perfectly on the screen. In such cases, users can adjust the display’s aspect ratio or use overscan to slightly scale down the image and fit it within the screen.
What is Raspberry Pi?
Raspberry Pi is a small, affordable, and customizable computer that is popular among hobbyists, educators, and professionals. It was created by the Raspberry Pi Foundation to promote computer science education and make computing more accessible to people all over the world. The Raspberry Pi device can be used for a variety of projects such as media centers, gaming consoles, home automation systems, and more. With its powerful capabilities and low cost, it has become a go-to choice for many individuals looking to experiment with technology.
Pros and Cons of Raspberry Pi Display
The Raspberry Pi display is one of the most popular choices for users looking to connect their Raspberry Pi board to a monitor or screen. It offers a compact and easy-to-use solution for displaying output from the board, making it a go-to option for beginners and experienced users alike.
Like any technology, the Raspberry Pi display has its own set of pros and cons that are important to consider before making a decision on whether or not to use it. In this section, we will discuss some of these pros and cons in detail.
Pros:
- Easy Setup: One of the biggest advantages of using a Raspberry Pi display is its ease of setup. Unlike other displays that may require additional drivers or configurations, setting up a Raspberry Pi display is as simple as connecting it to the board’s HDMI output.
- Compact Size: The Raspberry Pi display is small and compact, making it a great option for projects with limited space. This also makes it highly portable, allowing users to easily transport their projects without worrying about bulky displays.
- Cost-effective: Compared to other display options, the Raspberry Pi display is relatively inexpensive. This makes it an affordable choice for those on a budget or for large-scale projects that require multiple displays.
- Customizable Settings: The Raspberry Pi display offers various settings and configurations that can be customized according to user preferences. This includes screen resolution, orientation, and more, making it a versatile option for different project needs. [2]
Cons:
- Limited Screen Size Options: While the compact size of the Raspberry Pi display is a pro, it can also be seen as a limitation for some users. The display only comes in 7-inch and 10.1-inch options, which may not be suitable for all projects.
- Not Touchscreen: Unlike other displays on the market, the Raspberry Pi display is not touchscreen-enabled. This means that users will need to connect a separate input device such as a mouse or keyboard to interact with the board.
- Limited Compatibility: While the Raspberry Pi display is compatible with most models of the Raspberry Pi board, it may not work with other devices. This can be seen as a limitation for those looking to use the display with non-Raspberry Pi projects.
- No Built-in Audio: Another potential downside of using a Raspberry Pi display is that it does not have built-in speakers. This means users will need to connect external speakers for audio output, adding to the cost and potential clutter of the setup.
Customizing Display Settings
Changing Aspect Ratio
One of the most useful customizations for a Raspberry Pi display is changing its aspect ratio. This can be done through the “overscan” setting, which adjusts the size and position of the image on the screen.
To change the aspect ratio, navigate to the Raspberry Pi Configuration menu by typing `sudo raspi-config` into the terminal. Then, select “Advanced Options” followed by “Overscan”. From here, you can adjust the overscan settings to your liking.
Adjusting Screen Orientation
Another customizable setting for a Raspberry Pi display is its screen orientation. This can be especially useful for projects where space is limited or for specific use cases such as mounting the display vertically.
To adjust screen orientation, go back to the Raspberry Pi Configuration menu and select “Display Options”. From here, you can choose between portrait or landscape mode depending on your project needs.
What Is Overscan Raspberry Pi?
In simple terms, overscan on a Raspberry Pi is the process of scaling an image to fit a display screen. This is often necessary because many displays have areas around the edges that are not visible due to manufacturing settings or bezels.
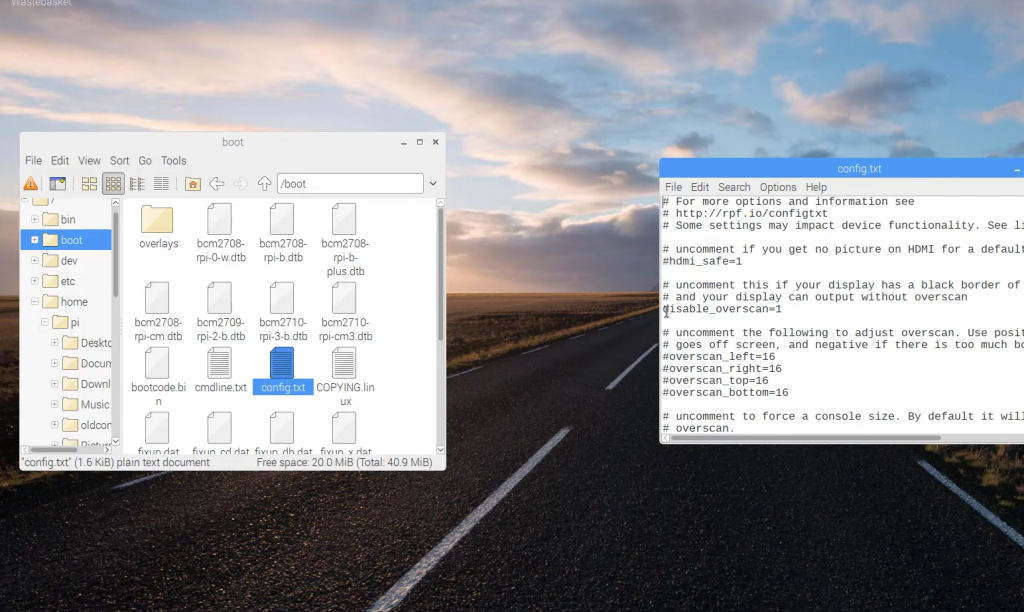
While overscan can be adjusted through the Raspberry Pi Configuration menu as mentioned above, it can also be tweaked manually by editing the `config.txt` file using a text editor program. [3]
How Do I Turn Off HDMI Bullseye On Raspberry Pi?
The HDMI bullseye on a Raspberry Pi display is the black border that appears around the edge of the screen. Some users may find this border distracting or unnecessary, and luckily it can be turned off.
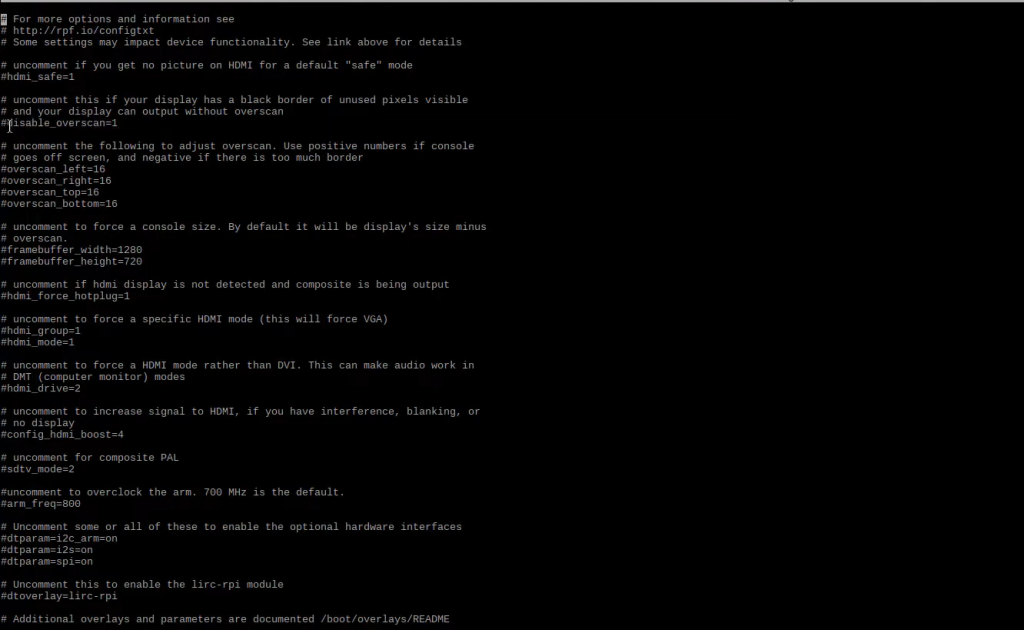
To turn off the HDMI bullseye, navigate to the `config.txt` file using a text editor program. Then, add `disable_overscan=1` to the bottom of the file and save your changes. This will disable overscan and remove the black border from your display. [4]
How Do I Get My Raspberry Pi Out Of Full Screen Mode?
Occasionally, users may want to exit full screen mode on their Raspberry Pi display. This can be easily done by pressing the `Esc` key on your keyboard or by using the `F11` shortcut.
Overall, being able to customize display settings like aspect ratio and overscan allows for a more personalized and optimal viewing experience with a Raspberry Pi display. However, it’s important to consider both the pros and cons of using this type of display before making a decision. With its ease of setup and affordability, the Raspberry Pi display is a great option for many projects, but its limitations should also be taken into account. [5]
FAQs
Why is there a black border around my Raspberry Pi display?
There may be several reasons for a black border around your Raspberry Pi display. Some common causes include incorrect HDMI settings, improper resolution and overscan configuration, or faulty hardware connections.
How can I remove the black border on my Raspberry Pi display?
To remove the black border on your Raspberry Pi display, you will need to adjust the overscan settings. This can typically be done through the advanced options in the raspi-config menu.
- Open Terminal by clicking on the terminal icon in the upper-left corner of your screen.
- Type `sudo raspi-config` and press Enter.
- Select Advanced Options from the main menu and press Enter.
- Choose Overscan from the list of options and press Enter.
- Select Disable and press Enter.
- Reboot your Raspberry Pi for the changes to take effect.
Are there any other ways to remove the black border on my Raspberry Pi display?
Yes, there are a few other methods that you can try to remove the black border on your Raspberry Pi display:
- Adjusting HDMI settings: You can use `tvservice` commands in Terminal to adjust the HDMI settings manually. However, this method requires some technical knowledge and should be used with caution.
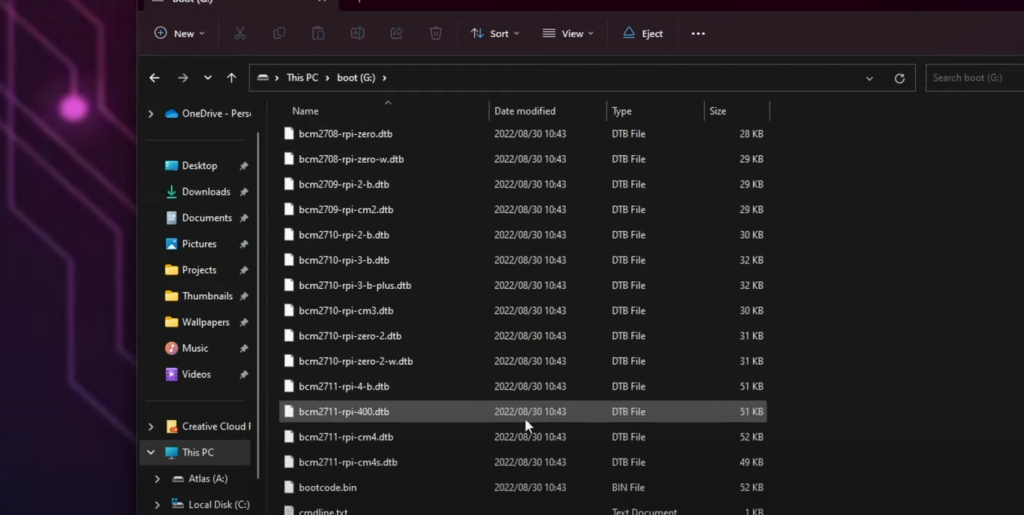
- Editing the config.txt file: You can edit the `/boot/config.txt` file using a text editor such as nano or vi. Look for lines related to overscan and make changes as necessary. Again, this method requires some technical knowledge and should be approached carefully.
Can the black border around my Raspberry Pi display be caused by hardware issues?
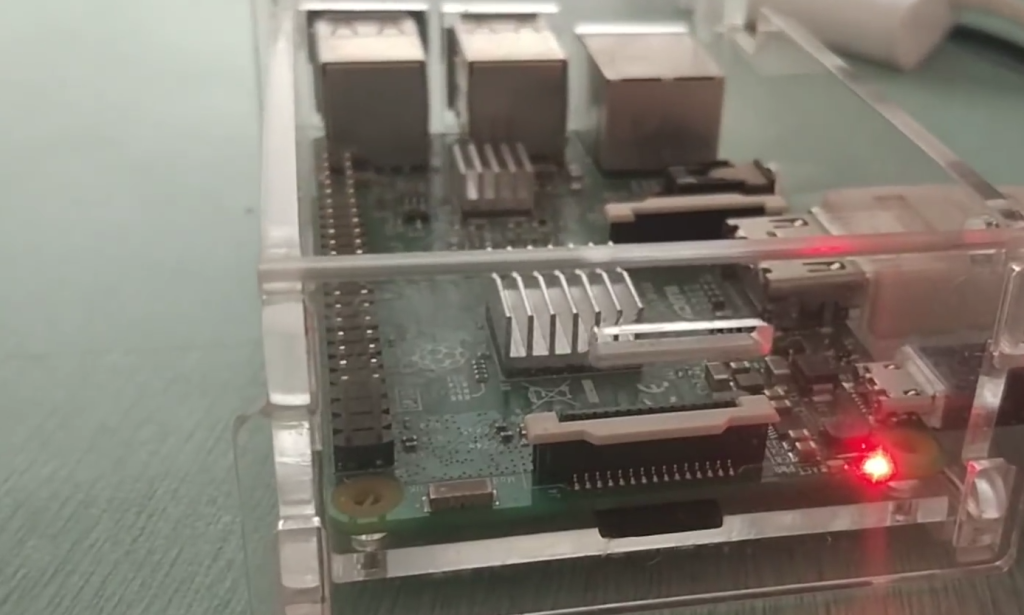
In some cases, a faulty HDMI cable or connection may cause a black border on your Raspberry Pi display. Make sure all connections are secure and try using a different HDMI cable to see if the issue persists.
How can I prevent the black border on my Raspberry Pi display from occurring in the future?
To prevent a black border from appearing on your Raspberry Pi display in the future, make sure to properly configure overscan settings during initial setup. You can also use automatic resolution detection or manually set the appropriate resolution for your screen. Additionally, regularly checking and updating any software related to your display can help avoid potential issues. If you continue to experience problems with a black border, it may be worth considering using a different display or seeking professional assistance.
Does removing the black border affect the resolution of the display?
No, removing the black border should not affect the resolution of your display. The overscan settings only adjust the positioning and scaling of the image on your screen, not its actual resolution.
Can I get the black border back once it is removed?
Yes, you can reverse the changes made to the overscan settings and restore the black border around your Raspberry Pi display. Simply follow the same steps as before, but choose Enable instead of Disable in step 5. This will revert the overscan settings back to their default configuration. So, if you ever need or want to have a black border on your display again, it is possible to do so.
Is there any other troubleshooting advice for issues with Raspberry Pi displays?
If you are experiencing persistent issues with your Raspberry Pi display, here are a few more troubleshooting tips that you can try:
- Check for updates: Make sure all software related to your display, including drivers and firmware, are up-to-date.
- Try a different display: If possible, try connecting your Raspberry Pi to a different display to see if the issue persists. This can help determine if the problem is with the display or the Raspberry Pi itself.
- Seek professional assistance: If none of the above solutions work, it may be best to seek professional assistance from a technician who specializes in Raspberry Pi devices. They will be able to provide more specific and tailored troubleshooting advice for your particular issue.
Does every Raspberry Pi model have this black border issue?
Not necessarily. While the black border issue is a common problem for Raspberry Pi displays, it may not occur on every model. Some newer models have updated firmware and software that help prevent this issue from happening.
Are there any risks associated with removing the black border around my Raspberry Pi display?
In most cases, removing the black border should not cause any risks to your Raspberry Pi or display. However, if you are unsure or uncomfortable with making these changes, it is always best to seek professional assistance to avoid any potential damage. Also, be sure to backup any important data before making any significant changes to your system. As with any technical task, it is important to proceed with caution and take necessary precautions. While rare, there is always a possibility of unexpected issues arising when making changes to your device’s settings.
What are the alternatives to Raspberry Pi?
If you are experiencing persistent issues with your Raspberry Pi display and are looking for alternative options, there are several other single-board computers on the market. Some popular alternatives include Arduino, BeagleBone, and Orange Pi. These devices may have different capabilities and features, so be sure to do your research before making a decision. However, Raspberry Pi remains a popular choice for its affordable price point and vast community support. Depending on your specific needs and preferences, another device may better suit your purposes.
What are the pros and cons of the Raspberry Pi display?
Some pros of using a Raspberry Pi display include its affordability, flexibility, and wide range of available software and applications. On the other hand, some cons may include potential technical issues or limitations with certain displays and configurations. Ultimately, it is important to carefully consider your needs and do thorough research when deciding on the best display for your Raspberry Pi. Additionally, having a general understanding of troubleshooting methods can help mitigate any potential challenges that may arise. With proper care and attention, you should be able to successfully set up and enjoy your Raspberry Pi display without any major problems.
Conclusion
In conclusion, a black border around your Raspberry Pi display can be caused by various factors such as incorrect settings or faulty connections. However, it can be easily removed by adjusting the overscan settings in the raspi-config menu or through other methods like manual configuration. In some cases, using a different display or seeking professional assistance may also help resolve any persistent issues. Remember to always proceed with caution and seek help if needed to avoid any potential risks. With the proper configuration and troubleshooting steps, you can enjoy a clear and properly displayed image on your Raspberry Pi without any distracting black borders. So go ahead and make those adjustments to achieve the best viewing experience for your device! Happy coding!
Useful Video: Remove Black Border Raspberry Pi
References:
- https://chargedwarrior.com/how-to-remove-black-border-around-raspberry-pi-display-top-3ways/
- https://forums.raspberrypi.com/viewtopic.php?t=192705
- https://linuxhint.com/remove-black-border-raspberry-pi/
- https://www.hackerstec.com/raspberry-pi-display-border-troubleshooting/
- https://funconsumertech.com/retropie-overscan-how-to-fix-black-borders/