Did you know over 5 million radio packets travel through global networks daily? Most pass unnoticed – until now. This guide unlocks a hidden layer of communication buzzing around you.
Imagine tracking weather balloons, emergency alerts, and volunteer operators through a device smaller than a credit card. Our system uses off-the-shelf parts to create a window into this invisible world. Best part? It costs less than dinner for two.
You’ll transform a palm-sized computer into a 24/7 monitoring hub. The setup sips power like a nightlight while handling data like a pro. Even better: no soldering or advanced skills required. We’ve streamlined every step based on real-world testing.
This project bridges classic radio tech with modern data sharing. Your station automatically uploads findings to global maps, helping first responders and adventurers alike. Whether you’re new to radio tech or expanding an existing setup, you’ll gain:
- Live tracking of local transmissions
- Insights into atmospheric conditions
- A crash course in signal decoding
Ready to become your neighborhood’s signal sleuth? Let’s turn that tiny computer into a powerful listening post.
Key Takeaways
- Create a functional radio monitoring system for under $50
- Transform compact hardware into a 24/7 data collection tool
- Contribute to global networks without technical expertise
- Access real-time weather and emergency communications
- Learn radio protocols through hands-on experimentation
Introduction to APRS and SDR for Raspberry Pi
Picture an invisible highway where messages zip across continents at lightning speed. This digital roadway powers everything from storm alerts to hiker location updates. At its core lies a unique blend of radio tradition and computer innovation.
Understanding APRS Network Basics
APRS (Automatic Packet Reporting System) turns ordinary radio signals into smart data carriers. Operators across North America use 144.390 MHz to share GPS positions, weather readings, and emergency bulletins. Each transmission hops between stations, creating a self-healing web of information.
| Region | Primary Frequency | Data Types |
|---|---|---|
| United States | 144.390 MHz | Location, weather, messages |
| United Kingdom | 144.800 MHz | Emergency alerts, telemetry |
Benefits of Using SDR with Raspberry Pi
Traditional radio gear locks you into fixed frequencies. Software-defined radio changes the game entirely. A $20 USB dongle paired with open-source software becomes:
- A multi-frequency receiver
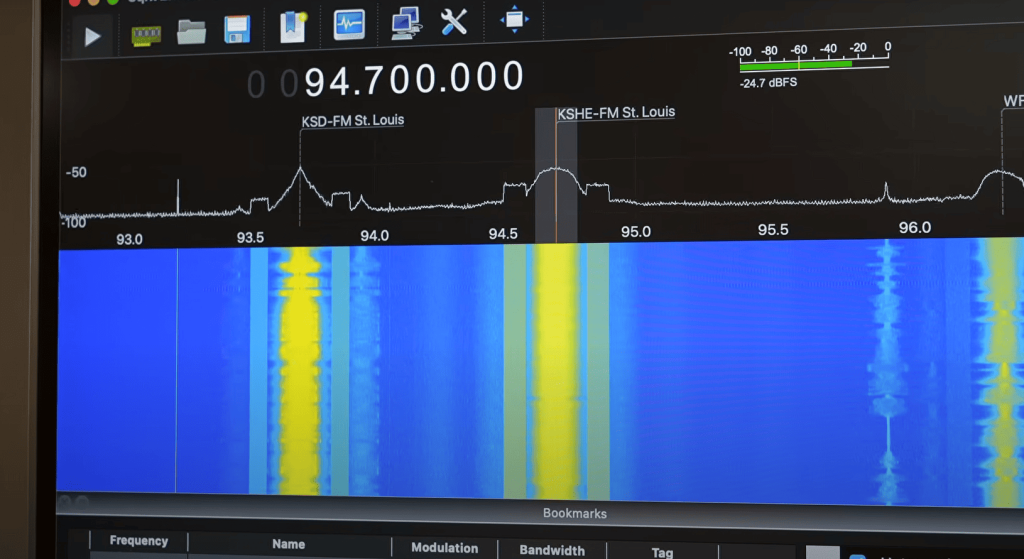
- Signal analyzer
- Data decoder
This setup lets beginners explore radio protocols through simple configuration files instead of soldering irons. You’ll monitor aircraft positions one hour, then track marine signals the next – all from your couch.
Essential Hardware and Software Components
Assembling a reliable listening post requires smart hardware and software choices. Three core elements form the backbone of your station: a compact computer, a radio receiver, and purpose-built code. Each piece plays a specific role in capturing and decoding signals.
Key Hardware Foundations
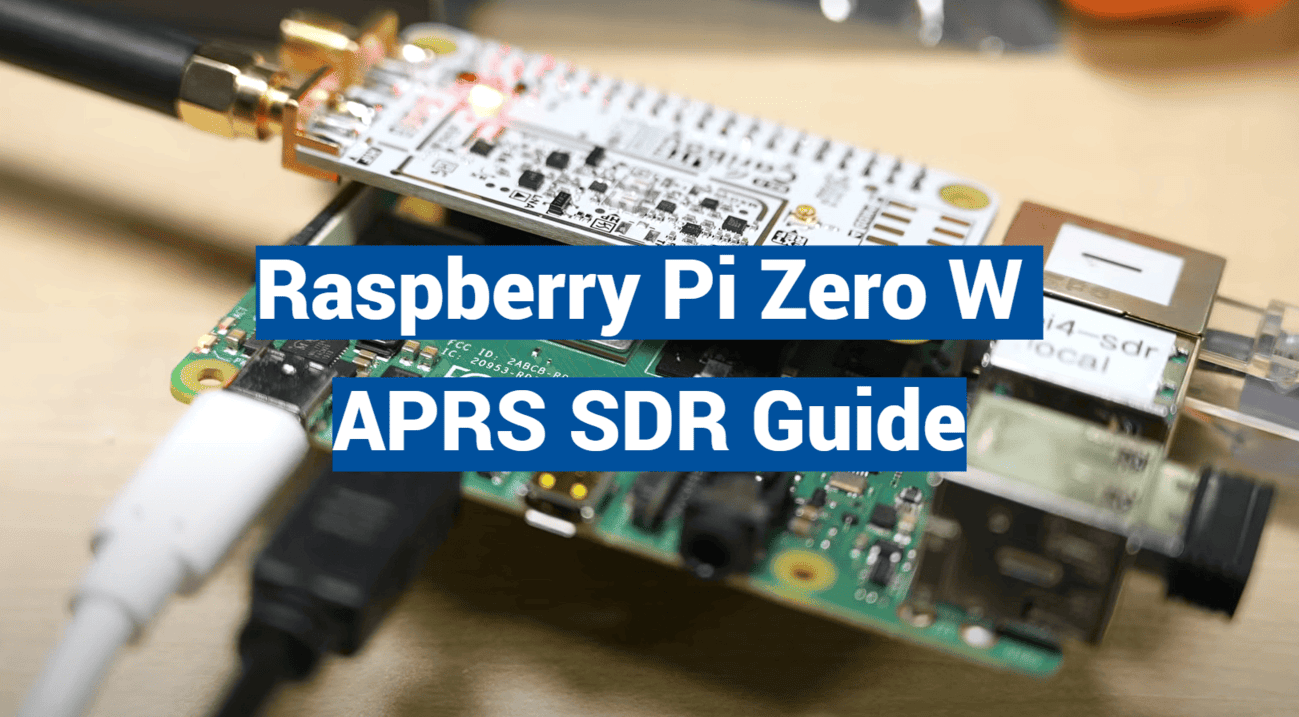
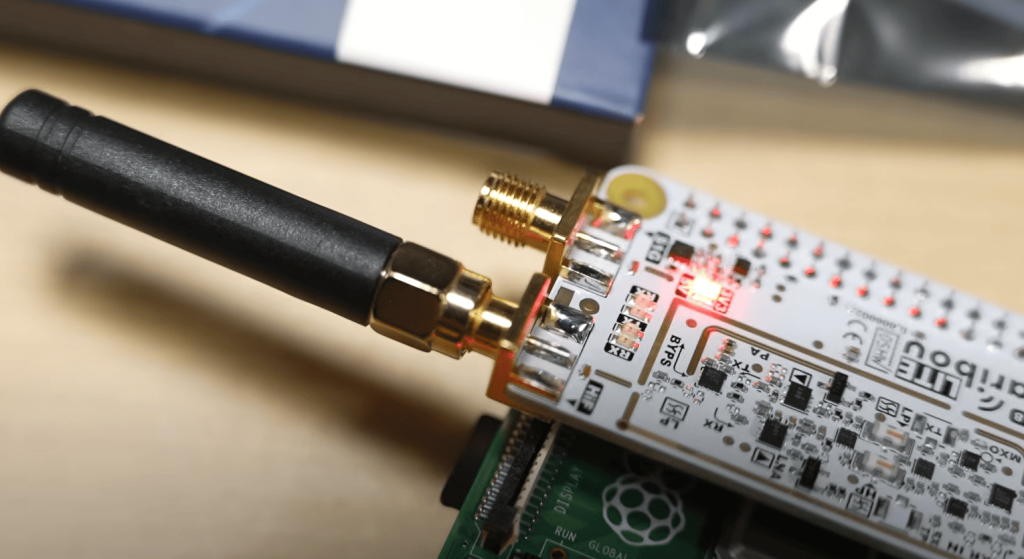
The foundation device needs Wi-Fi and enough power to run 24/7. We recommend models with built-in wireless connectivity – they simplify setup and reduce cable clutter. Pair it with a quality receiver dongle featuring:
- Precision frequency control (TCXO)
- High-sensitivity chipsets
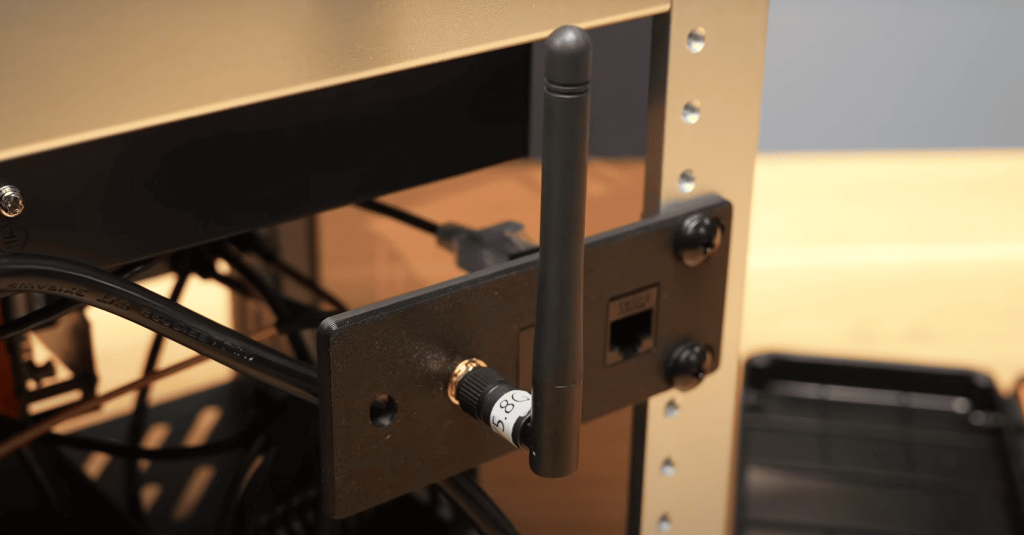
- Standard antenna ports
Even basic wire antennas work for local signals. Position matters more than fancy gear – higher locations often beat expensive equipment.
Streamlined Software Solutions
Pre-configured system images save hours of setup time. These ready-to-use packages include:
- Signal decoding tools
- Driver support for common dongles
- Automatic data upload features
First-time users simply enter their location and license details. The modular design lets you swap components later – upgrade your antenna or try new decoding software without rebuilding everything.
Total cost? Less than a video game. All parts ship from U.S. suppliers, typically arriving within a week. This approach keeps you experimenting instead of waiting for rare components.
Preparing Your Raspberry Pi Operating System
Your monitoring station’s reliability starts with its digital backbone. Think of the operating system as your project’s nervous system – it needs proper setup to handle automatic operations and remote commands.
Downloading and Installing the Core Software
Grab the latest OS image directly from the developers. The official installer tool verifies files as it writes to your storage card. This eliminates corrupted downloads that might crash your setup weeks later.
Pro tip: Always format your card first. Create an empty file named ‘ssh’ on the boot partition before ejection. This simple step unlocks remote access from day one.
First-Boot Customizations
Connect via SSH using the default credentials – but change them immediately. The configuration tool lets you:
- Set your local timezone for accurate timestamps
- Enable automatic GUI login
- Optimize wireless country settings
These adjustments ensure your station reboots properly after outages. Desktop autologin keeps your decoding software running 24/7 without manual input.
Remember: Security matters. That default password? Over 100,000 devices still use it. Change yours before connecting to the internet.

Connecting Your Raspberry Pi to the Network
Your gateway to global radio data begins with rock-solid network access. Like a digital lifeline, this connection keeps your station feeding real-time updates to worldwide mapping services. Let’s secure that link.
Locating Your System’s Address
Modern routers display connected gadgets in their admin panels. Look for entries matching your hardware’s nickname – “WeatherWatcher” or “SignalSniffer” work well. No router access? Try free network scanners like Angry IP for instant results.
Pro tip: Set a static IP through DHCP reservation. This locks your address like a library book’s shelf spot – always available, never moved. Most routers handle this in their “LAN settings” section.
Remote management shines with SSH access. Open any terminal and type:
ssh user@192.168.1.144
Swap “user” with your login and numbers with your actual IP. This encrypted tunnel lets you adjust settings from any networked computer.
Stability matters most for 24/7 operation. Test connections by pinging cloud servers – consistent replies mean you’re golden. Place your hardware where Wi-Fi signals stay strong, avoiding microwave ovens and thick walls.
Remember: Your antenna placement affects both radio reception and network performance. Higher locations often improve both – attic mounts work wonders for home setups.
Setting Up Your raspberry pi zero w aprs sdr
Building a radio system’s foundation begins with its digital DNA. The right software transforms basic hardware into a signal-decoding powerhouse. Let’s install the tools that make magic happen.
Essential Software Installation Guide
Start by clearing audio roadblocks: Remove PulseAudio to prevent mysterious glitches. Run this terminal command first:
sudo apt-get remove --purge pulseaudio
Next, grab the sound libraries your system needs. These let your compact computer process radio signals smoothly. Install them with one line:
sudo apt-get install libasound2-dev
Direwolf becomes your system’s brain. Clone the latest version directly from GitHub:
git clone https://www.github.com/wb2osz/direwolf
Compiling from source code unlocks custom optimizations. Navigate to the direwolf folder and run:
make && sudo make install
Your SDR dongle needs special drivers. Install build tools first:
sudo apt-get install cmake build-essential libusb-1.0-0-dev
Build the RTL-SDR software with precise parameters. This step ensures maximum compatibility with your hardware. The process takes minutes but pays off in reliability.
Why this matters: Each component handles specific tasks. The software chain converts radio waves to digital data, then decodes hidden messages. Proper installation prevents headaches later.
First-time users often skip these steps. Don’t. Taking time now means your station runs autonomously for months. Next, we’ll configure everything to work together seamlessly.
Configuring the SDR and APRS Software
Think of this step as programming your station’s personality. Every setting shapes how it interacts with the global network. Precision here ensures your contributions reach the right ears while following amateur radio etiquette.
Editing the sdr.conf File with Your Callsign
Your callsign-SSID combo acts like a digital fingerprint. Use the -10 suffix to flag your station as an iGate. Open the configuration file in a text editor – this is where you’ll:
- Input your exact geographic coordinates
- Set login credentials using your unique passcode
- Designate packet forwarding servers
North American operators should connect to noam.aprs2.net. Generate your authentication code through the Magicbug tool – it’s like a security handshake for the network.
Adjusting APRS Parameters for Your Region
Frequency selection keeps your station legal and functional. Most U.S. setups use 144.390 MHz – double-check local band plans. The configuration file’s beacon section needs millimeter-accurate GPS data. This helps others see your coverage area on live maps.
Set your PBEACON line to broadcast station details hourly. Proper formatting matters:
PBEACON sendVia=WIDE1-1 lat=XX.XXXXXX lon=YY.YYYYYY
These tweaks transform generic software into your personal monitoring hub. Test settings with a temporary beacon before going live. You’ll soon see your station’s data flowing through public APRS networks.
Automating the iGate Startup Process
True automation shines when your station revives itself after midnight thunderstorms. This final setup step locks in 24/7 operation without constant babysitting.
Crafting the Self-Healing Script
Create a new text file named dw-start.sh. Remove the hash symbol from the frequency line – this activates your regional setting. Save changes and convert it to an executable using one terminal command:
sudo chmod +x dw-start.sh
Smart Scheduling for Reliability
Open the cron scheduler with commands every maker should know. Add this line to run checks every 60 seconds:
* * * * * /home/pi/dw-start.sh >/dev/null 2>&1
The system now verifies Direwolf’s status automatically. If the process stops, it reboots within a minute. Make sure to test during daylight hours first – you’ll want to witness your creation spring back to life.
These steps transform your setup from fragile to fortress-like. Your station keeps contributing data even during power flickers or Wi-Fi dropouts. Best part? You’ve now built a system that learns from hiccups instead of crashing.
Make sure to bookmark your script location – future upgrades will thank you. With everything automated, it’s time to let your silent sentinel do its work while you explore new projects.