
Did you know 83% of STM32 developers waste time switching between multiple programming tools? STMicroelectronics solved this frustration by creating one unified platform that replaces five separate utilities. Meet STM32CubeProgrammer – the Swiss Army knife of microcontroller programming.
This versatile software combines JTAG/SWD programming, UART flashing, USB burning, and firmware upgrades into a single interface. Whether you’re updating factory firmware or debugging complex memory operations, it handles tasks that previously required different applications.
The tool shines with its dual interface options. Beginners love the intuitive graphical interface, while seasoned pros appreciate the command-line flexibility. Need automation? The built-in C++ API lets you integrate programming functions directly into your custom applications.
Key Takeaways
- Replaces 5 separate STMicroelectronics tools with unified functionality
- Offers both graphical and command-line interfaces for different skill levels
- Enables automation through integrated API capabilities
- Simplifies flash programming, memory management, and firmware updates
- Supports all STM32 microcontroller families and development boards
Through this guide, you’ll master efficient workflows that accelerate your programming tasks. We’ll break down complex operations into simple steps, helping you leverage the software’s full potential – from basic uploads to advanced memory optimization.
Introduction to STM32CubeProgrammer
Modern microcontroller development demands tools that adapt to your workflow. This cross-platform software combines multiple programming methods into one efficient package, eliminating the need to juggle separate utilities.
Tool Overview and Capabilities
The all-in-one solution handles every stage of STM32 development. You get full control over flash memory operations, option byte configuration, and firmware updates through multiple interfaces. Unlike older tools requiring different apps for USB vs JTAG connections, this platform unifies them under a single roof.
| Feature | Benefit | Use Case |
|---|---|---|
| Multi-interface support | Works with USB, UART, ST-LINK | Field updates via USB |
| Memory management | Read/write/erase operations | Firmware recovery |
| Dual interface modes | GUI for beginners, CLI for automation | CI/CD pipelines |
Installation Requirements and Setup Process
The software runs on Windows, Linux, and macOS systems. Before installation, ensure you have Java Runtime Environment (JRE) version 8 or newer. Linux users need these additional steps:
- Install openjdk-8-jre and OpenJFX packages
- Set Java 8 as default runtime
- Launch from /usr/local/STMicroelectronics/…
Windows and macOS setups take under three minutes. The installer automatically checks dependencies, while the Linux version requires manual package configuration. Regular updates ensure compatibility with new STM32 chipsets.
Mastering STM32CubeProgrammer: Key Functions and Features
What separates professional-grade tools from amateur solutions? Precision control across every development stage. This section reveals how to leverage the platform’s robust capabilities through three critical areas.
Powerful Connectivity Options
The software supports six communication protocols, from ST-LINK debuggers to USB/UART connections. Need to program a board without debug pins? Use I²C or CAN interfaces via the built-in bootloader. Developers praise this flexibility:
“I programmed an STM32H7 over SPI when JTAG wasn’t accessible – saved us two days of debugging.”
Memory Mastery Made Simple
Handle flash memory like a pro with granular controls. Choose between sector-by-sector erasing or full chip wipes. The Two-in-One mode revolutionizes workflows by programming firmware and option bytes simultaneously. Supported file formats include:
- Binary (.bin) for raw data transfers
- ELF files for debug information retention
- Hex records for address-specific updates
Interface Showdown: CLI vs GUI
Match the interface to your task. The graphical user interface works great for one-off programming, while the command-line interface excels in automated workflows. Compare key differences:
| Feature | GUI | CLI |
|---|---|---|
| Secure programming | ❌ | ✅ |
| CRC calculations | ❌ | ✅ |
| Drag-and-drop | ✅ | ❌ |
Advanced users combine both – configure settings visually, then automate repetitive tasks through scripts. External memory support via QSPI/FMC loaders extends capabilities beyond internal storage.
Practical Tutorial: Programming STM32 Microcontrollers
Ready to bring your STM32 projects to life? Let’s walk through the essential steps for flashing your first program. This hands-on guide simplifies device setup and file management, even if you’re new to embedded systems.
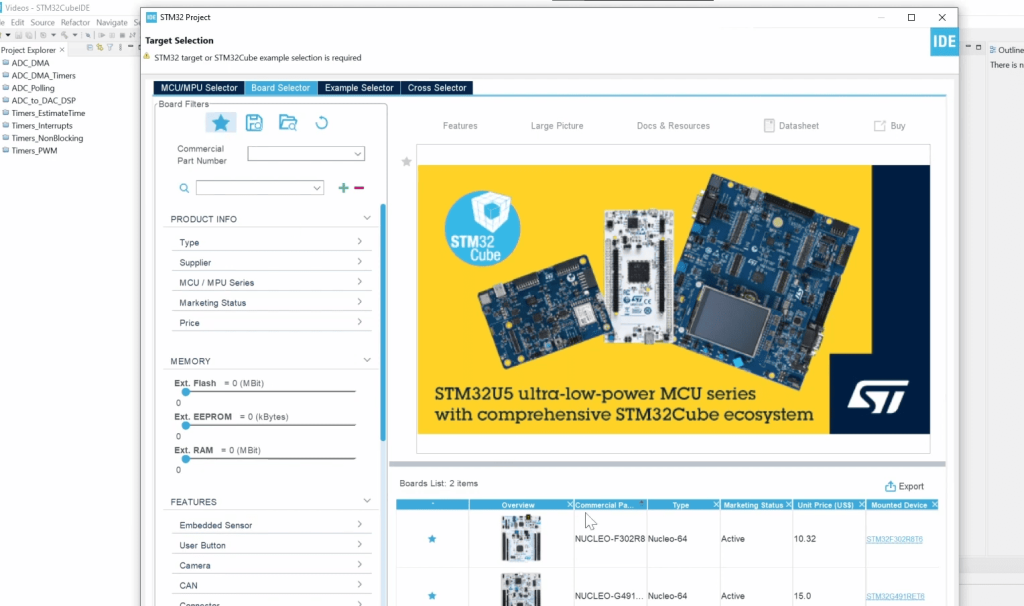
Connecting and Configuring Your STM32 Device
Start by locating the ST-LINK USB port on your development board. Nucleo and Discovery kits typically label this connector as “ST-LINK” or “STLK”. Connect it to your computer using a standard USB cable.
When you use STM32CubeProgrammer for the first time, the interface automatically detects ST-LINK connections. The software pre-configures communication settings, letting you click the green Connect button immediately. No debugger setup required!
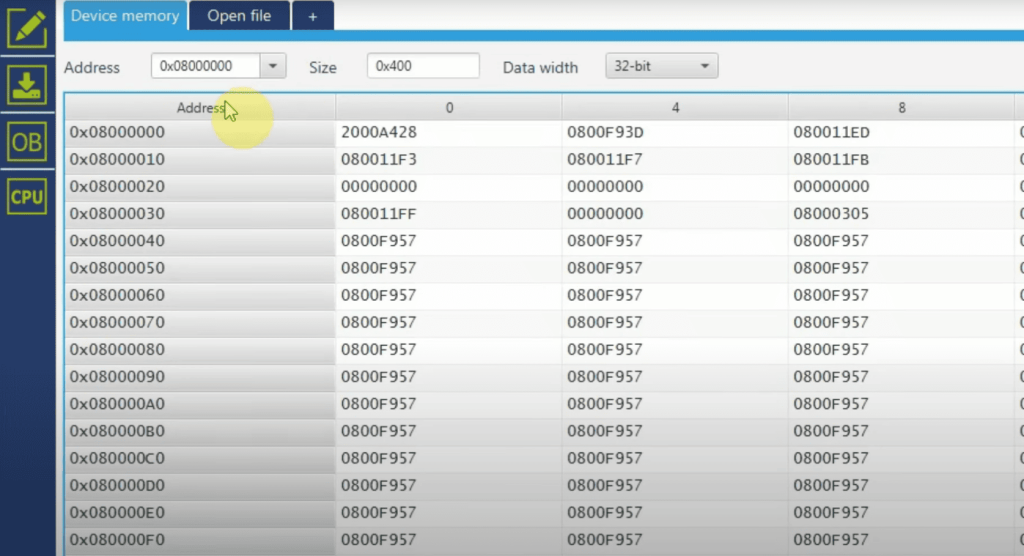
Uploading Firmware and Managing File Editions
Navigate to the Memory & File Edition page after establishing a connection. Click the + tab and select your compiled firmware file. Supported formats include:
- .bin (requires address input)
- .hex for precise memory targeting
- .elf with debug symbols
Programming via USB takes seconds. Click Download to flash your chip. The progress bar and confirmation message eliminate guesswork. Forgot to specify a binary address? The software alerts you before proceeding.
After successful upload, disconnect using the green button. Some boards need a manual reset to launch your code. Pro tip: Use the bootloader mode for recovery if a faulty program locks your microcontroller.
“I flashed three different firmware versions in under a minute during testing – the visual feedback makes troubleshooting effortless.”
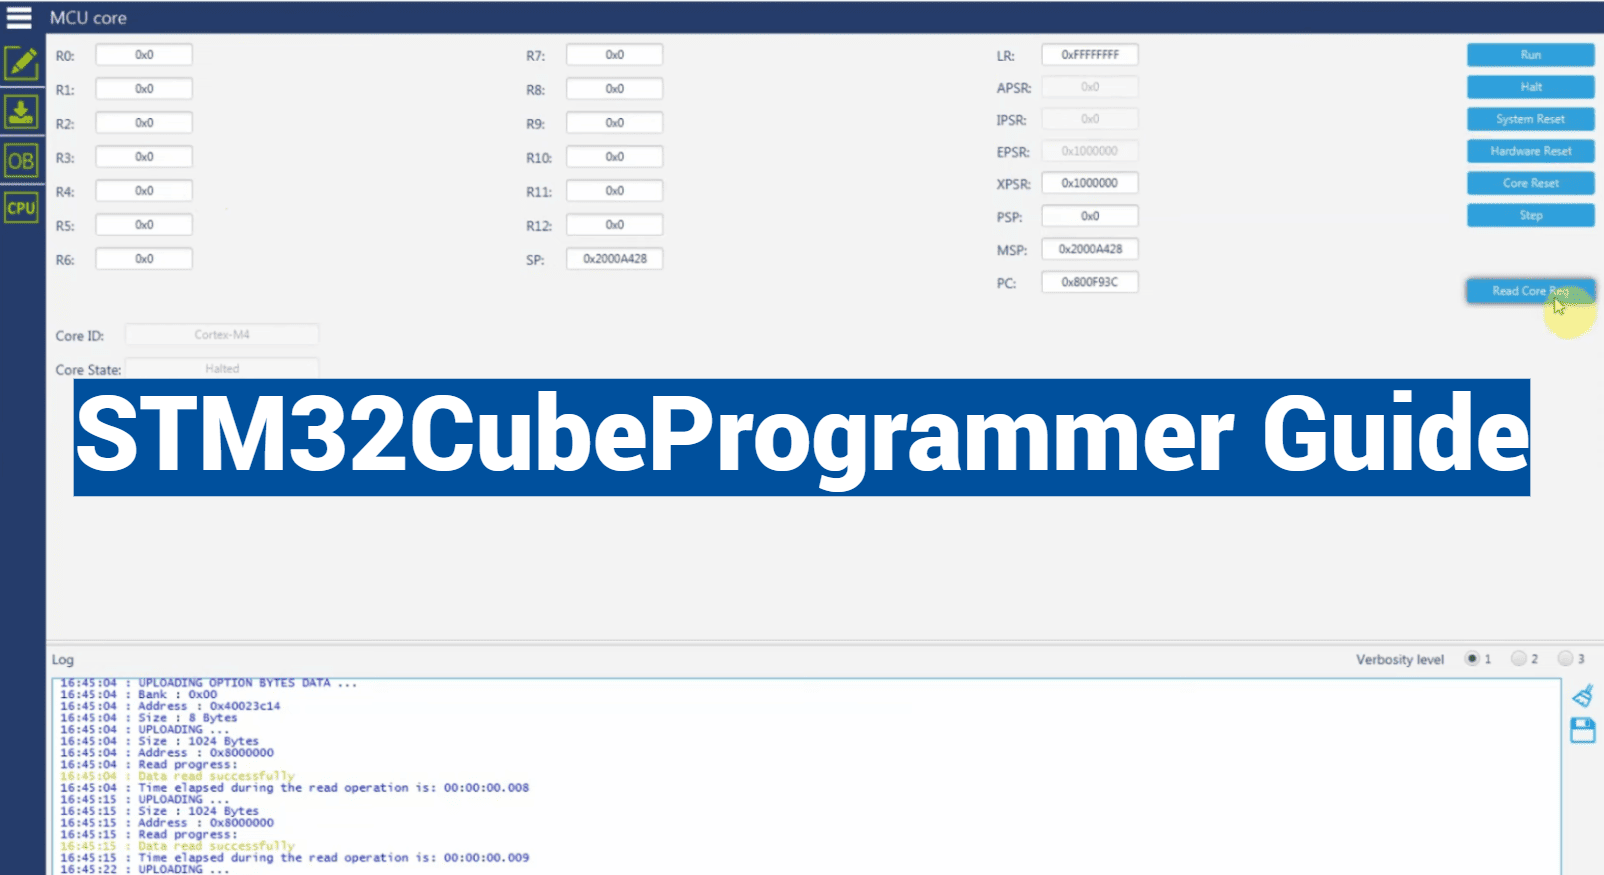
Advanced users love the memory editing tools. Read flash contents, save chip data as files, or modify specific memory blocks. These features shine when updating legacy systems or debugging complex memory issues.
Conclusion
STM32 developers finally have a unified solution that eliminates tool-switching headaches. This all-in-one software combines legacy utilities into a modern package, available directly from STMicroelectronics’ website. Whether you’re configuring option bytes or managing on-chip flash, it handles complex operations through intuitive interfaces.
The multi-protocol support stands out. From USB to CAN interfaces, you can program devices using six communication methods. File format flexibility ensures compatibility with binary, HEX, and ELF files from popular IDEs. Memory management goes beyond basic erasing – edit specific sectors or perform full-chip operations with precision.
Choose your workflow style. Beginners benefit from the visual interface, while advanced users automate tasks through CLI scripts. Cross-platform installation (Windows/Linux/macOS) enables team collaboration, though Java configuration requires attention during setup.
Regular updates keep the software tool aligned with new STM32 chips. With robust documentation and firmware upgrade capabilities, it evolves alongside your development needs. Ready to streamline your workflow? This comprehensive solution awaits your next embedded project.