
Imagine this: you’re ready to check your blood sugar, but your device flashes a confusing message. You’re not alone. For many managing their health, a sudden alert on their glucose meter can be a major interruption.
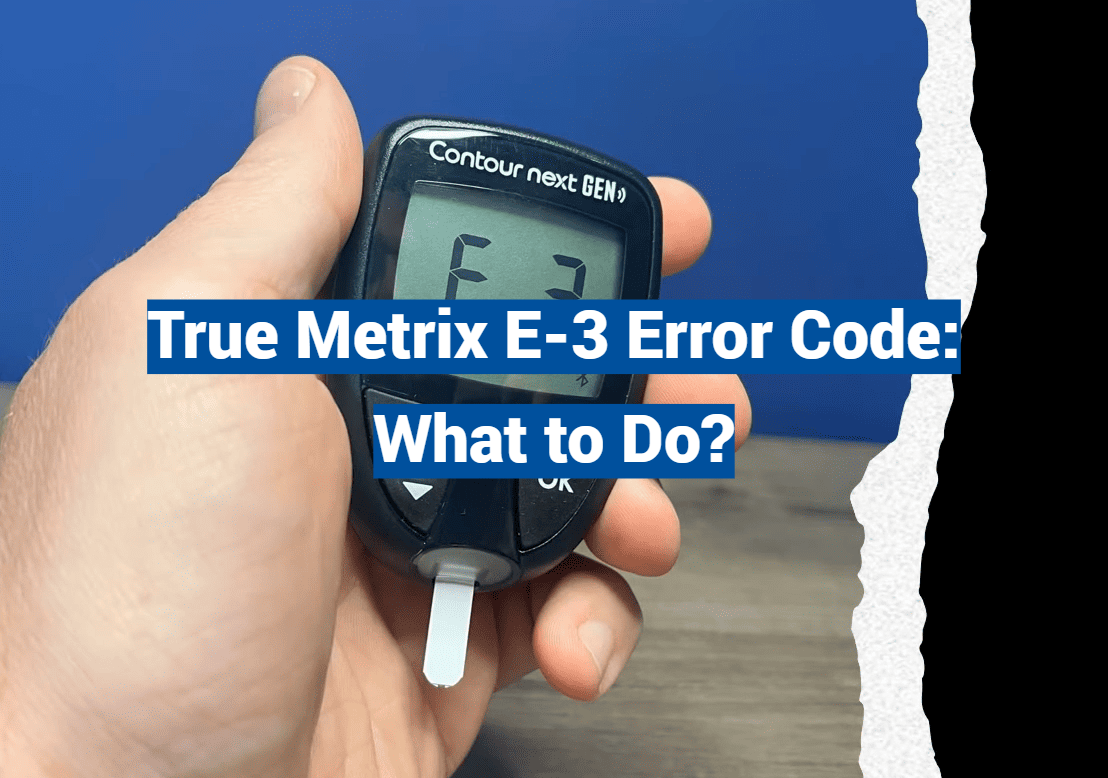
This guide focuses on one specific alert. It means your device has detected a problem with the test strip. The strip might be expired, damaged, or not working correctly. Understanding this signal is the first step to a quick fix.
Seeing a message when you need a reading can be stressful. However, this particular issue often has a simple solution. Our guide will walk you through clear, actionable steps.
You will learn how to perform a control test to verify your device is working. We will also cover when it’s best to call support at 1-800-803-6025. Getting back to reliable monitoring is our main goal.
By the end, you’ll feel confident handling this situation. You can avoid wasted supplies and maintain consistent diabetes management. Let’s get started and turn that frustration into a solution.
Key Takeaways
- The E-3 message indicates a problem with the test strip, not the meter itself.
- Compromised strips, like expired or damaged ones, are the usual cause.
- This is a common issue with straightforward troubleshooting steps.
- Performing a control test is a primary method to resolve the problem.
- Knowing how to handle this alert helps maintain reliable health monitoring.
- Customer support is available if the basic steps do not work.
Overview of the True Metrix Blood Glucose System
The ability to check blood sugar levels at home empowers individuals to take control of their health. This reliable product helps people with diabetes track their glucose levels independently.

System Features and Benefits
The True Metrix system offers user-friendly features designed for accurate testing. These meters provide fast results with small blood sample requirements.
| Feature | Benefit | User Advantage |
|---|---|---|
| Built-in error detection | Alerts to potential issues | Increased testing confidence |
| Fast result time | Quick decision-making | Immediate health insights |
| Small sample size | Comfortable testing | Reduced discomfort |
Device Usage and Self-Testing
Proper device usage is essential for accurate blood glucose monitoring. Understanding display messages helps users respond appropriately during self-test procedures.
Knowing your monitoring equipment’s capabilities ensures confident daily diabetes care.
The meter is specifically designed for self-testing outside the body. This allows independent monitoring and informed health decisions.
Insights into true metrix error codes e-3
Receiving an unexpected signal from your diabetes management equipment requires prompt understanding. The E-3 alert indicates your device has detected a problem with the testing strip. This protective feature prevents inaccurate glucose readings.
Three main situations trigger this notification. The strip may have been used before, passed its expiration date, or become contaminated. Each scenario affects the strip’s ability to provide reliable results.
Expired testing materials lose their chemical reactivity. Previously used strips contain blood residue that interferes with new measurements. Contaminated items may have moisture or debris affecting the testing process.
When this alert appears, your immediate action should be discarding the current strip. Insert a fresh one from a properly sealed container. This quick response typically resolves the situation.
This specific notification helps distinguish it from other device messages. Understanding the difference ensures you take appropriate corrective measures. Your meter is functioning correctly by preventing unreliable test outcomes.
Both True Metrix and True Metrix Go models display this alert. The detection sensitivity may vary slightly between devices. Consistent handling practices maintain accurate blood glucose monitoring.
Common Causes Leading to Test Strip Compromise
Understanding what can go wrong with your testing supplies helps prevent frustrating interruptions in your routine. Most issues with diagnostic materials fall into two main categories. Proper handling makes all the difference in getting reliable results.
Expired or Contaminated Strips
Chemical reagents on test strips degrade over time. Using expired materials leads to unreliable readings. Always check expiration dates before use.
Contamination occurs easily through moisture exposure or improper storage. Never touch the testing area with your fingers. Keep containers sealed tightly between uses.
Improper Sample Application
Applying too little blood can compromise your test. The sample must fully cover the target area. Multiple applications to the same strip also cause problems.
Avoid touching the strip after applying your blood sample. This prevents contamination and ensures accurate measurements. Proper technique maintains strip integrity.
| Common Issue | Visible Signs | Prevention Tip |
|---|---|---|
| Expired strips | Check date on vial | Rotate stock regularly |
| Moisture damage | Discoloration | Store in dry location |
| Improper application | Incomplete fill | Use adequate blood drop |
Simple handling practices dramatically reduce how often you encounter diagnostic problems. Proper care of your strips ensures consistent monitoring success.
Step-by-Step Troubleshooting Guide
When your glucose monitoring device displays an unexpected message, having a systematic approach can quickly resolve the issue. This clear guide walks you through logical steps to identify and fix common problems.
Reinserting a New Test Strip
Begin by discarding the current strip since it cannot be reused. Wash and dry your hands thoroughly before handling fresh supplies.
Remove a new strip from its sealed container. Insert it fully into the meter until you hear a click or see the display activate. This ensures proper connection for accurate test results.
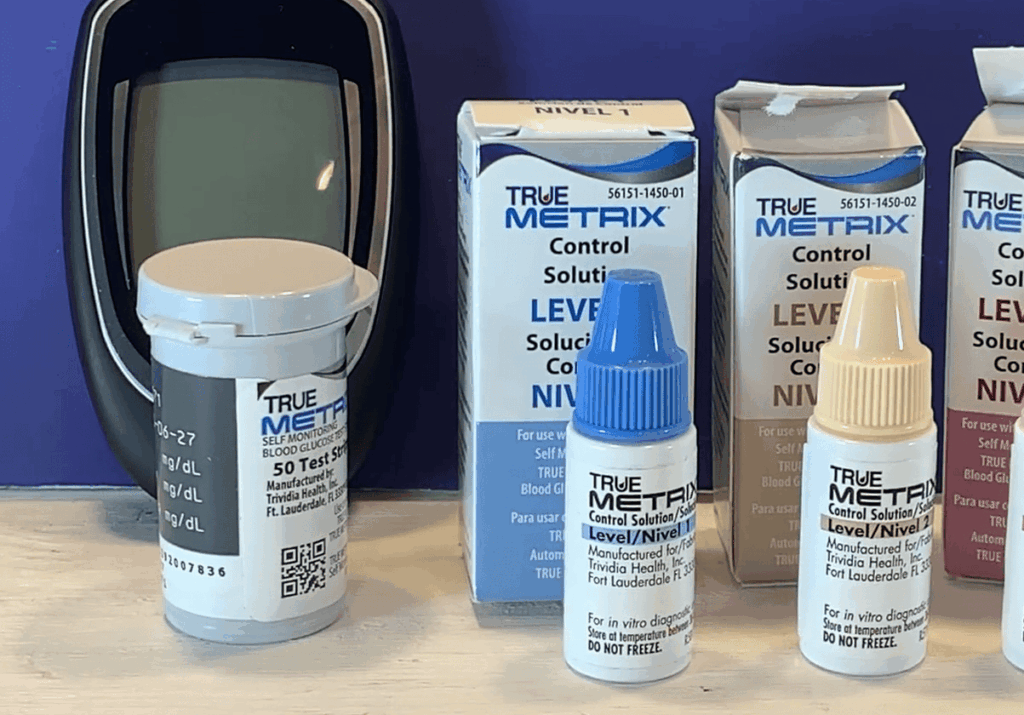
Performing a Control Test
A control test verifies your equipment’s accuracy. Use the special solution following your owner’s booklet instructions.
This process confirms both your meter and new strips work correctly together. Proper control testing provides reliable results and peace of mind.
Verifying Meter Functionality
Check your device’s battery level to ensure adequate power. Inspect the strip port for any debris that might interfere with connections.
Confirm the code on your meter matches your test strip vial. Mismatches can sometimes cause notification issues.
If problems persist after trying new strips from different containers, contact customer support at 1-800-803-6025. Documenting the situation helps technicians provide effective assistance.
Effective Techniques for Test Strip Handling and Storage
Your daily health routine depends on reliable results from your testing supplies. Proper care of your test strips is the best way to prevent issues. Simple habits ensure every reading is accurate.
Always keep the vial tightly sealed after removing a single strip. This protects the remaining strips from air and moisture. Store them at room temperature, away from extreme heat or cold.
Never keep your supplies in a humid bathroom. Moisture can quickly ruin a test strip. A cool, dry kitchen cabinet is a much better spot.
Wash and dry your hands thoroughly before handling any strip. Skin oils and lotions can contaminate the sensitive area. Tilt the vial to slide a strip into your palm instead of reaching inside.
Check the expiration date on every new vial. Do not use expired strips, even if they look fine. The chemicals inside degrade over time.
When traveling, protect your supplies from temperature changes.
- Keep strips in their original container.
- Avoid leaving them in a hot car or cold luggage.
- Check dates before you leave home.
Look at each strip before use. Discard any with discoloration, bent edges, or signs of damage. Good storage habits lead to trustworthy blood glucose results you can count on.
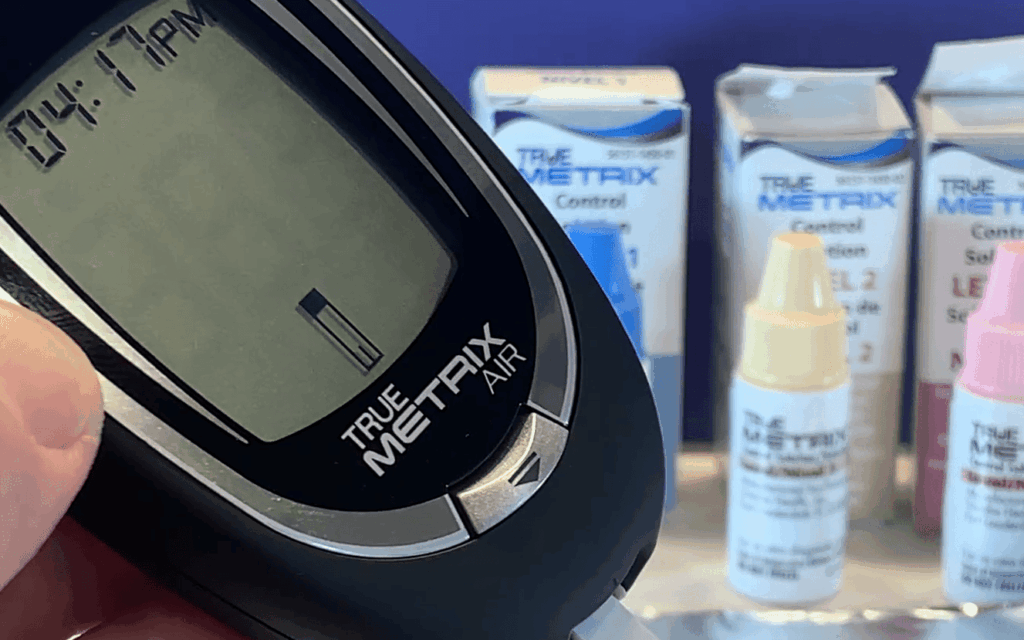
Meter Functionality and Battery Considerations
Sometimes, what seems like a test strip problem is actually a power issue with your glucose meter. A device with a weak battery can behave strangely, even showing messages typically linked to the strip.
Troubleshooting Power and Battery Issues
Watch for signs that your battery needs replacement. A dim screen or a meter that won’t turn on are clear indicators. The device might also shut off during a test.
If your meter is completely unresponsive, start with these steps. First, check that a test strip is inserted correctly. If it still doesn’t power on, replace the battery.
Make sure the new battery is the correct type for your model. Install it with the right polarity (+ and – signs matching). This simple fix often resolves power issues.
If problems continue after a battery change, it might be a device malfunction. Physical damage or persistent issues mean it’s time to call customer support.
- Distinguish between a strip alert and a power failure.
- Replace batteries proactively to avoid interruptions.
- Contact professional support if basic steps fail.
Regular maintenance keeps your meter reliable. This prevents false readings and ensures accurate health monitoring.
Healthcare and Support: When to Contact a Professional
There’s an important distinction between troubleshooting your meter and addressing your body’s signals. While most technical issues can be resolved at home, certain situations require professional healthcare advice. Knowing the difference ensures you get the right kind of support when you need it most.
Recognizing Symptoms and Seeking Help
If you experience physical symptoms, your health takes priority over any device malfunction. Never delay treatment because you cannot get a reading.
Be aware of these critical signs that require immediate medical advice:
- Hyperglycemic symptoms (high blood glucose): Excessive thirst, frequent urination, fatigue, and blurred vision.
- Hypoglycemic symptoms (low blood glucose): Shakiness, dizziness, weakness, sweating, and intense hunger.
If you have these symptoms and repeated device issues prevent testing, seek help immediately. Contact your healthcare provider to discuss alternative monitoring methods.
For persistent technical problems without physical symptoms, call technical support at 1-800-803-6025. They assist with meter function and strip handling.
Always have your information ready: recent blood sugar patterns, strip lot numbers, and any symptoms you’re experiencing. This helps both technical and medical teams provide the best care.
Tips for Accurate Blood Glucose and Control Testing
Small adjustments to your daily routine can dramatically improve your glucose reading accuracy. Consistent, reliable results depend on proper technique and regular verification.
Ensuring Proper Sample Collection
Start with clean, dry hands to prevent contamination. Use the side of your fingertip rather than the sensitive pad for more comfortable lancing.
Allow a proper blood drop to form before application. Apply enough blood in one continuous flow to cover the test strip completely. Avoid adding multiple small drops, as this can trigger issues.
Space out your blood glucose testing to allow circulation recovery. Back-to-back tests may produce erratic results due to residual fluid.
Optimizing Control Solution Use
Perform control testing when opening new strips or suspecting device issues. The control solution verifies your system’s accurate performance.
Follow your meter’s instructions precisely for control solution application. This confirms both strips and device work correctly together.
Remember that comparing results between different glucose systems isn’t reliable. Each device has unique manufacturing processes and calibrations.
Establishing consistent habits ensures accurate blood glucose monitoring you can trust for daily health decisions.
Conclusion
You now have the essential toolkit for maintaining uninterrupted diabetes monitoring when technical issues arise. This comprehensive guide has shown that most device messages are protective features, not permanent problems.
Quick resolution often comes from simple steps. Discard the current strip and use a fresh one from a properly stored container. Proper handling prevents most testing interruptions before they start.
Remember key preventive measures for reliable blood glucose results. Store supplies at room temperature in sealed containers. Check expiration dates and handle with clean, dry hands.
Your monitoring product is designed for accuracy when used correctly. Keep the support number handy for rare situations needing technical assistance.
Following these solutions and tips ensures consistent health monitoring. You can manage your condition with confidence and minimal stress.