

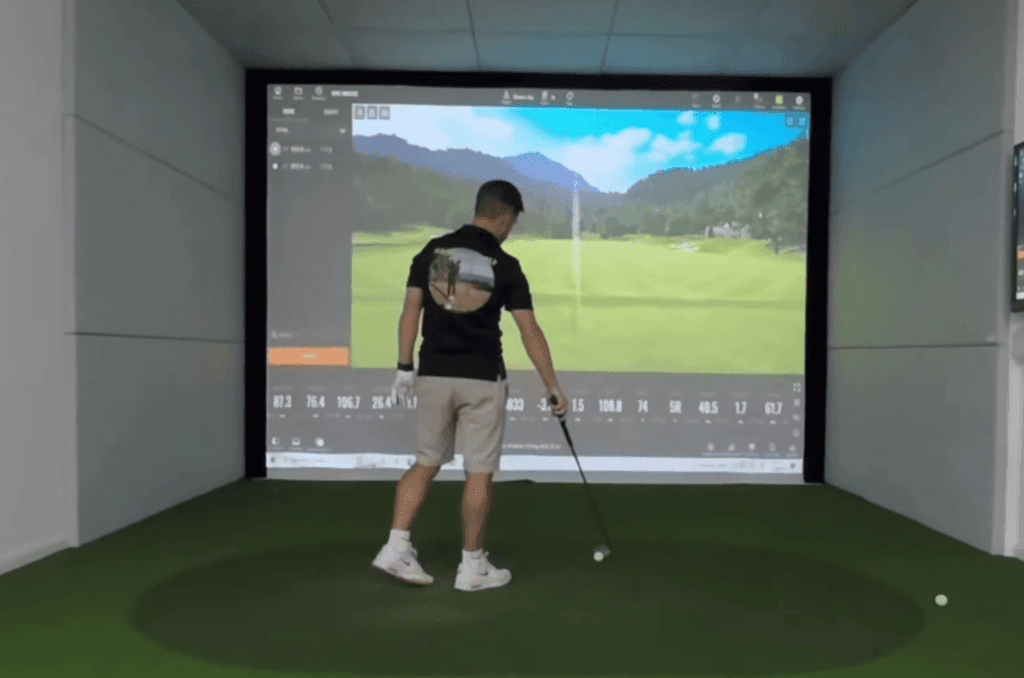
Transforming your living room or basement into a golfing oasis is an enticing idea for many sports enthusiasts and hobbyist golfers. One of the centerpiece technologies that make this home golfing experience possible is the projector. A digital projector is pivotal in bringing the lush green courses to life in your simulator environment. However, the true challenge lies not in the acquisition of a projector but in the art of positioning it to offer you an uncompromised, immersive, and realistic golfing experience. So, delve into the specifics of projector placement and learn how to tee up the projector for your golf simulator just right.
Projector Mounting Considerations
Before you even think of mounting that projector, there are different factors to consider to ensure you get the best experience. Here are some key considerations to keep in mind:
Height and Distance
The height at which you mount your projector is critical as it directly affects the projection quality and viewing angle. To achieve optimal results, it is recommended that the center of the lens be positioned between 5-6 feet above ground level. This height allows for a clear and unobstructed view of the projected image, ensuring an immersive viewing experience. Additionally, when calculating the distance between the projector and screen, it is important to consider factors such as screen size and resolution. By carefully determining the appropriate distance, you can achieve a crisp and focused image with minimal distortion, enhancing the overall visual quality of your projection setup.
Screen Size
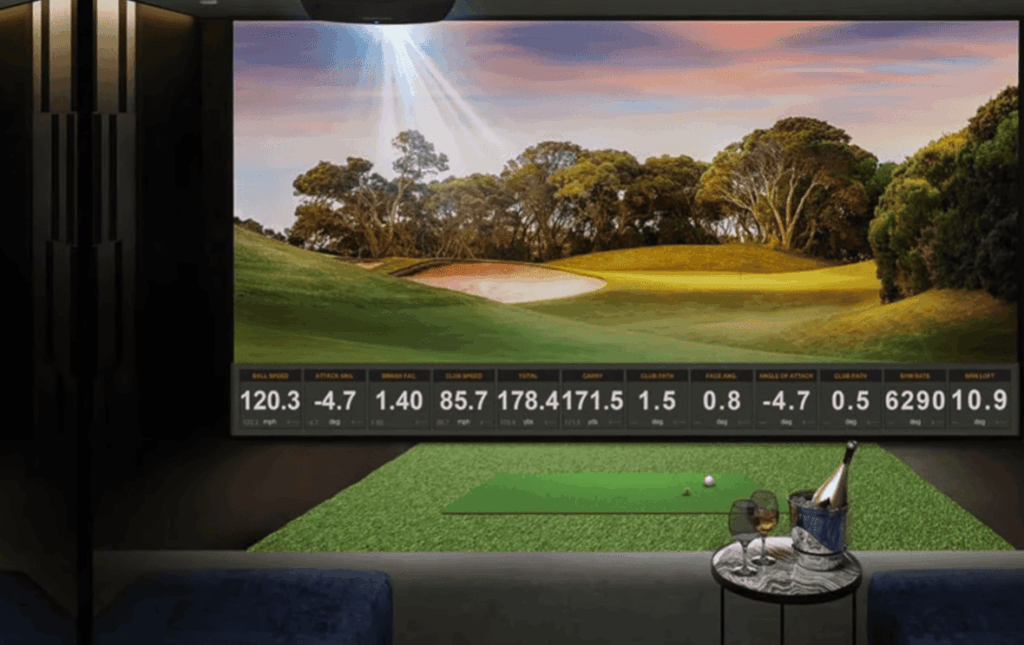
When it comes to creating an immersive experience with a golf simulator, the size of your projected image plays a crucial role. To ensure optimal visual quality and avoid any pixelation, it is highly recommended to choose a screen size that is at least 10 feet wide by 9 feet high. This generous space allows the projected image to maintain its high resolution and capture every detail, making your golfing experience truly lifelike and enjoyable.
Lighting Conditions
The ambient lighting in your simulator room plays a crucial role in determining the brightness and clarity of your projected image. To ensure optimal performance in various lighting conditions, it is essential to minimize any external light sources that might interfere with the projection. Additionally, investing in a projector with good contrast and high lumens will further enhance the visual experience. By taking these steps, you can create an immersive simulation environment that truly transports you to another world.
Mounting Options
When it comes to actually mounting the projector, there are a few different options to consider. Ceiling mounts, which are the most common choice, provide a stable and secure installation that ensures optimal viewing angles. They are particularly suitable for rooms with standard ceiling heights. On the other hand, if your simulator room has high ceilings or limited space, a wall mount may be a better alternative.
Wall mounts offer flexibility in terms of positioning and can be adjusted to achieve the desired projection height. Additionally, for those who require portability and flexibility in their set-up, there are portable stands available. These stands allow you to easily move and adjust the projector as needed. By considering these different options, you can find the best mounting solution that suits your specific needs and enhances your overall viewing experience.
Ideal Room Dimensions
While the dimensions can vary based on individual needs, an ideal golf simulator room should aim for a ceiling height of at least 10 feet and a length of 15 to 20 feet to realistically accommodate your swing and trajectory. A width of at least 10 to 15 feet is recommended to allow for the screen and some buffer space.
Best places to mount a projector for a golf simulator
Projector Placement 1 – Above Central Screen
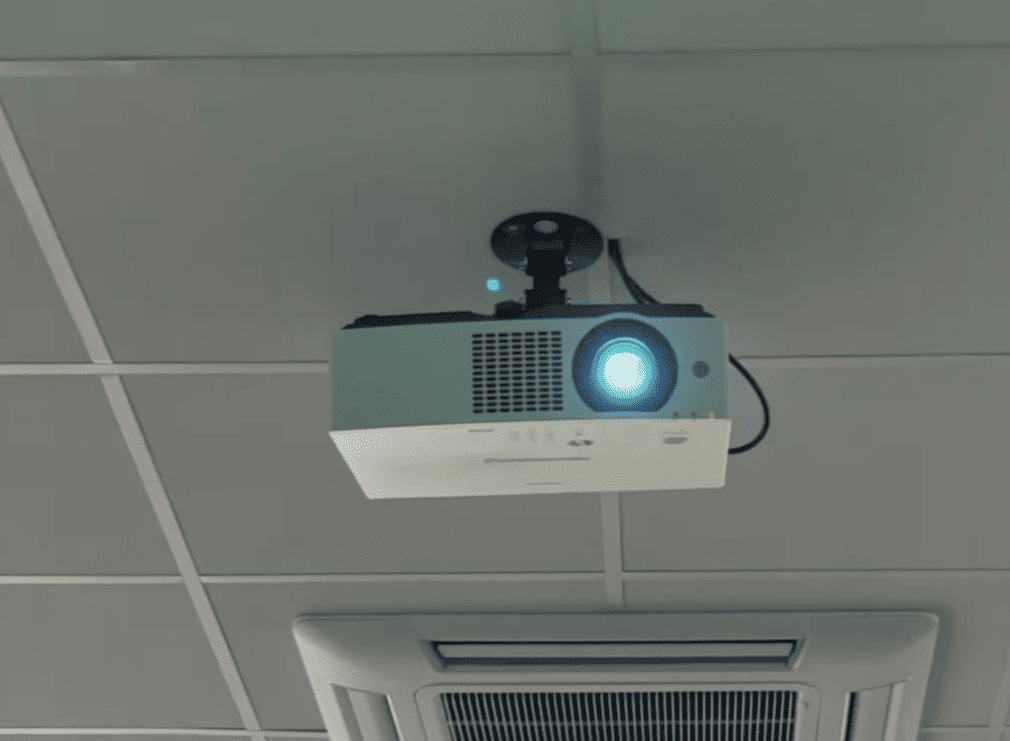
One of the most popular and effective projector placements for a golf simulator is to mount it above the central screen. This positioning allows for maximum visibility and eliminates any potential shadows that may affect your swing or projection quality. Additionally, by mounting the projector above the screen, you can easily adjust its height and angle, ensuring optimal placement.
When the projector is mounted above the screen, it creates a seamless and immersive experience, as if you were playing on a real golf course. The absence of shadows ensures that your swing analysis and ball tracking are accurate, enabling you to improve your skills with precision. Moreover, the adjustable height and angle of the projector allow you to customize the projection to your preference, whether you prefer a more realistic or dynamic display.
Projector Placement 2 – Above and Off Centre
Another option for projector placement is to mount it above and off-center from the central screen. This positioning allows for a wider range of motion while swinging, making it ideal for those who are taller or have a larger swing radius. It also provides a more immersive viewing experience, as the projected image can cover a larger area and create a sense of depth. However, it is important to note that this placement may result in some shadows being cast on the screen, which can affect the overall image quality. Therefore, careful consideration and testing is recommended before finalizing this position to ensure optimal viewing conditions.
Projector Placement 3 – Side Mounted
A less common but equally effective placement option is to mount the projector on the side of the room, facing towards the central screen. This positioning allows for more flexibility in terms of projection angle and can be adjusted based on individual preferences. It also frees up space in front of the screen, making it ideal for smaller simulator rooms.
Additionally, by mounting the projector on the side, it creates a more immersive viewing experience as the projected image can span across a wider field of view, enveloping the viewer in the content being displayed. This setup is particularly advantageous for gaming or virtual reality applications, where a wider projection can enhance the sense of presence and realism.
Projector Placement 4 – Floor Mounted
For those who have limited ceiling or wall space, floor mounting the projector is a viable option. This placement may require a longer throw distance, but it can be easily achieved by using an adjustable stand or platform. However, this position may result in some shadows and distortion, so proper testing and adjustment are crucial to ensure optimal performance.
Ceiling vs Wall Mounting: The Theater of Golf
When deciding on where to place your projector, you are often confronted with the classic debate of ceiling mount versus wall mount. Each has its benefits and trade-offs.
Ceiling Mounting
Ceiling mounting can be a great space-saving option for your projector. By mounting it on the ceiling, you can avoid any obstructions from objects or people. Additionally, it provides an unobstructed path for the projector throw, resulting in a clear and pristine image quality.
However, it’s important to note that ceiling mounting often requires professional installation to ensure proper setup and stability. There is also a slight risk of potential influence from vibrations or movement downstairs. Taking these factors into consideration will help you make an informed decision about whether ceiling mounting is the right choice for your projector setup.
Wall Mounting
When it comes to wall mounting, although it is generally less complex than aerial mounting, it offers a higher level of stability and easier access for maintenance or bulb replacement. However, to achieve an optimal throw distance, it might require some creative solutions. Additionally, it is worth considering that wall-mounted projectors could potentially be more susceptible to interference from room dynamics, such as the presence of shelving or doorways. Taking these factors into account will ensure an optimal viewing experience.
Projector Throw Distance: It’s All About the Angle
Projector throw distance is an essential consideration for a golf simulator setup. This metric determines the size of the image and the area it occupies on the projection screen.
Understanding Throw Distance
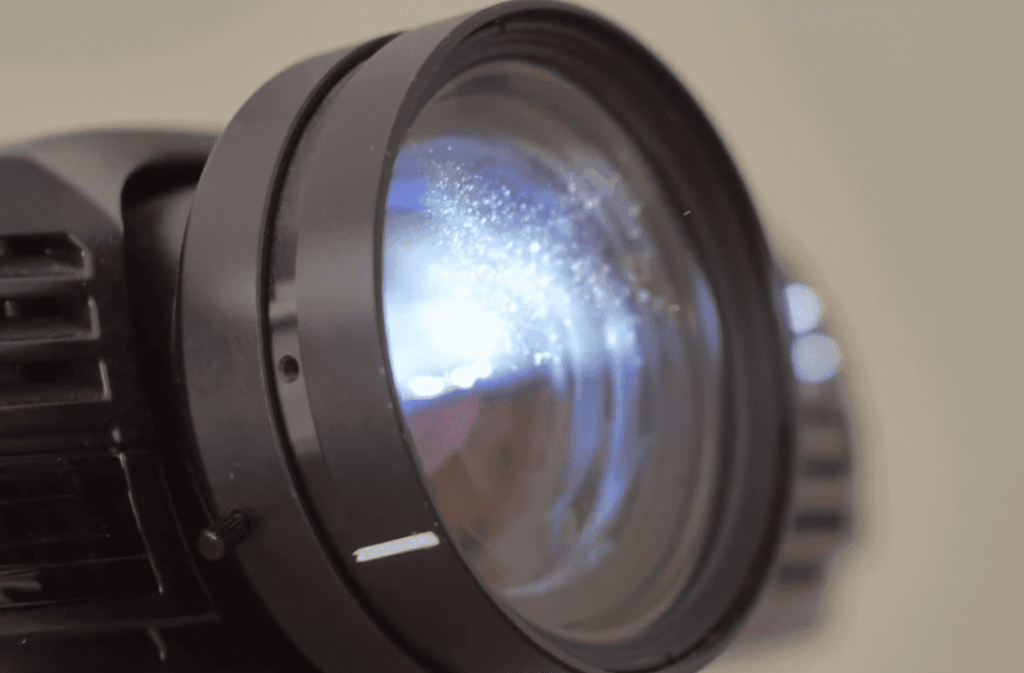
The throw distance, also known as projection distance, is the precise measurement determining the necessary space between the projector and the screen in order to achieve a desired image size. This critical factor is influenced by the zoom lens capability of the projector and the desired aspect ratio of the projected image. By carefully considering the throw distance, one can ensure optimal placement and achieve the desired visual experience with clarity and precision.
Calculating the Right Distance
A general rule of thumb to consider when setting up a projector is to allow for a distance of approximately two feet for every foot of diagonal screen size. However, it’s important to note that each projector model comes with its own unique lens characteristics that should be taken into account. To ensure precise measurements, it is recommended to make use of the throw distance calculators provided by manufacturers. These calculators can provide valuable insights and help optimize your projector setup for the best viewing experience.
Challenges and Solutions: Slicing through Setback
While setting up a projector for a golf simulator is no easy shot, success comes from navigating through the initial rough.
Deciphering the Angles
When it comes to finding the perfect placement for your projector, trial and error often becomes your best friend. While it’s a good starting point to follow the manufacturer’s recommendations for your specific model, it’s important to keep in mind that every room has its own unique characteristics. This means you might need to make slight adjustments to the placement to account for your room’s idiosyncrasies, such as the layout, lighting conditions, and furniture arrangement. So, don’t be afraid to experiment and fine-tune the projector’s position until you achieve the optimal viewing experience.
Cable Conundrums
Cables and wires, with their innate talent for getting tangled and their dislike for neatness, often pose a challenge. However, fret not! By investing in high-quality cable management solutions like raceways or conduits, you can ensure not only a professional and sleek installation but also a system that functions flawlessly, eliminating any potential headaches and frustrations along the way. So, don’t let those unruly cables dampen your setup, take charge and embrace the art of cable management!
DIY or Pro: The Eternal Question
When deciding whether to install the projector yourself or seek professional assistance, several factors come into play. Firstly, consider your comfort level with technology and the complexity of your system. If you are tech-savvy and have a basic understanding of audiovisual setups, a DIY installation could be a viable option. However, if your system is intricate or you lack confidence in handling the installation process, it may be wise to consult professional installers.
Moreover, your budget is another crucial aspect to consider. While a DIY installation typically saves on costs, professional installers can offer peace of mind and ensure that any potential errors or issues affecting your projection are promptly addressed. Their expertise and experience can help optimize your setup for optimal performance and longevity.
Ultimately, the decision rests on your individual circumstances and preferences. By carefully weighing these factors, you can make an informed choice that aligns with your needs and ensures a successful projector installation.
FAQ
Should I mount my golf simulator projector on the floor or ceiling?
The ideal placement for your golf simulator projector will depend on a few factors, such as the layout of your room and personal preferences. Mounting the projector on the ceiling offers an unobstructed path for the projector throw, resulting in a clear image quality. However, it may require professional installation and could be affected by vibrations or movement from floors below. On the other hand, wall mounting offers stability and easier access for maintenance, but may be more susceptible to room dynamics. Consider these factors carefully when deciding on the optimal placement for your projector.
How can I calculate the right throw distance for my projector?
To determine the appropriate throw distance for your specific projector model, you can use a throw distance calculator provided by the manufacturer. These calculators take into account your projector’s specifications and the desired aspect ratio of the projected image, to provide you with precise measurements for optimal placement. You can also refer to the manufacturer’s recommendations or seek professional assistance for further guidance.
Can I use any type of cable for my golf simulator projector?
It is recommended to use high-quality HDMI or VGA cables specifically designed for audiovisual setups. These cables ensure reliable and consistent transmission of signals, resulting in a clear and crisp image quality. Avoid using cheap or low-quality cables that may cause interference, leading to pixelation or distortion in the projected image.
Do I need a separate screen for my golf simulator projector?
While you can project onto any flat surface, it is highly recommended to use a dedicated screen for optimal viewing experience. A proper projector screen is designed to reflect light evenly and enhance contrast, resulting in a more realistic and immersive experience. Additionally, using a projector screen can also protect your walls from damage caused by constant exposure to projected light. So, investing in a quality projector screen can greatly enhance your overall golf simulator setup.
How far should my projector be from the screen golf simulator?
The ideal distance between your projector and the screen will depend on the throw ratio of your specific projector model. This is usually indicated in the manufacturer’s specifications. However, as a general rule of thumb, it is recommended to have a throw distance of 1.5-2x the width of your projected image for optimal performance. For example, if your projected image is 100 inches wide, your throw distance should be between 150-200 inches. Again, you can use a throw distance calculator or refer to the manufacturer’s recommendations for precise measurements. So, be sure to measure and adjust accordingly for the best golf simulator experience!
Where should I mount my projector?
Floor, table or ceiling? The optimal placement for your projector will depend on several factors such as the layout of your room and personal preferences. While mounting on the ceiling offers an unobstructed path for the projector throw, it may require professional installation and could be affected by vibrations or movement from floors below. On the other hand, placing the projector on a stable surface like a table or shelf can offer easier access for maintenance, but may be more susceptible to room dynamics. Consider your options carefully and choose the placement that works best for your setup. Remember to also factor in the appropriate throw distance for optimal image quality.
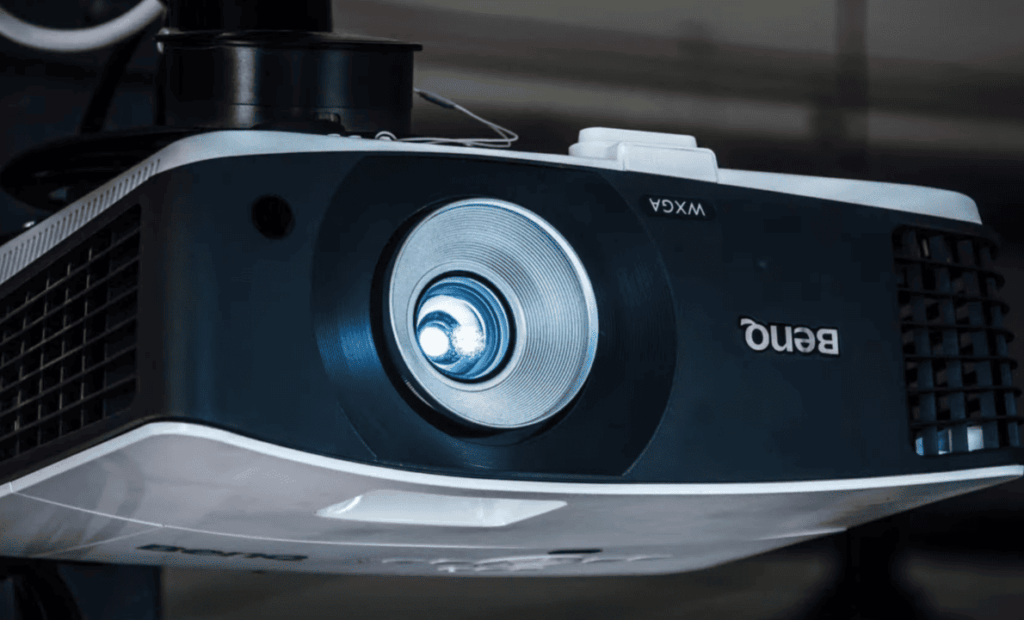
Can you use a regular projector for a golf simulator?
Yes, you can use a regular projector for your golf simulator setup. However, it is recommended to use a short-throw or ultra-short throw projector for optimal performance. These projectors have a wider lens angle and can project larger images at shorter distances, making them ideal for small spaces like home golf simulators. They also reduce the risk of shadow interference from players standing in front of the projected image. Additionally, using a projector specifically designed for golf simulators can enhance your overall experience with features such as swing analysis and shot tracking.
What is a throw ratio and why is it important?
The throw ratio of a projector refers to the distance between the projector lens and the screen, divided by the width of the projected image. This ratio is important because it determines the size of the projected image and can affect image quality if not in line with the recommended specifications. A high throw ratio means that the projector must be placed further away from the screen, while a low throw ratio allows for shorter distances between them. Understanding your projector’s throw ratio is crucial for achieving optimal image quality and avoiding potential issues like distorted or pixelated images. So, be sure to refer to the manufacturer’s specifications for the ideal throw ratio for your projector.
Can I project onto a wall instead of using a dedicated screen?
While you can project onto any flat and light-colored surface, it is not recommended as it can result in poor image quality and potential damage to your walls. Dedicated projector screens are designed to reflect light evenly and enhance contrast for a better viewing experience. Additionally, using a screen can also protect your walls from exposure to constant light and heat, preventing any potential damage. If budget is a concern, you can consider purchasing a portable or DIY projector screen instead of investing in a fixed one.
Do you need a special projector for a golf simulator?
While it is not necessary to have a dedicated projector specifically for golf simulators, using one designed for this purpose can greatly enhance your overall experience. These projectors often come with features such as swing analysis and shot tracking, which can be beneficial for improving your game. They also have shorter throw ratios, making them more suitable for smaller spaces like home setups. However, if you already have a regular projector, it can still be used for your golf simulator with proper placement and settings. So, consider your budget and preferences before deciding on the type of projector to use for your golf simulator setup.
Do you need a 4K projector for a golf simulator?
While a 4K projector can provide higher resolution and more detail in the projected image, it is not necessary for a golf simulator. A standard HD or even Full HD projector can still deliver clear and crisp images for an immersive experience. However, if budget allows, investing in a 4K projector may enhance the overall viewing experience with sharper details and more vibrant colors. It ultimately depends on your personal preferences and budget, so consider carefully before making a decision. With proper placement and settings, any high-quality projector can provide an enjoyable golf simulator experience. So, choose one that fits your needs and budget best.
Conclusion Paragraph
Mounting a projector for a golf simulator is not a one-size-fits-all affair. It demands preparation, patience, and the willingness to adapt. As you embark on this journey, remember that every room presents its unique challenges, and every projector has its own sweet spot. With diligence and a dash of trial and error, you will soon have a home golf simulator that rivals the finest golfing facilities in versatility and realism. Remember, the right swing starts with the right setup — so take the time to get it right, and don’t be afraid to ask for a mulligan.