
Did you know that over 50 million Raspberry Pi units have been sold worldwide? A surprising number of these tiny computers are now running Microsoft’s operating system, despite no official support from the Raspberry Pi Foundation.
This comprehensive guide walks you through the entire process of getting Windows working on your single-board computer. You’ll discover how talented developers created tools and firmware that make this hardware combination possible.
We’ll be honest about the challenges you’ll face. Limited networking support and performance considerations are real factors. But the rewards can be significant for hobbyists, developers, and curious tech enthusiasts alike.
Whether you want to experiment with new projects or test Windows ARM applications, this guide provides the roadmap. We break down complex technical steps into manageable sections that anyone can follow.
By the end, you’ll understand the entire process from preparation to troubleshooting. Get ready to explore exciting new possibilities for your projects.
Key Takeaways
- Windows can run on Raspberry Pi hardware through community-developed tools
- This setup is not officially supported but works surprisingly well
- Performance and networking may have some limitations
- The process is accessible to both beginners and experienced users
- Proper preparation is essential for a successful installation
- This opens up new testing and development opportunities
- Troubleshooting guidance is available for common issues
Introduction to Windows on Raspberry Pi
What was once considered impossible has become reality thanks to dedicated developers who bridged the gap between different computing architectures. This setup combines Microsoft’s modern operating system with versatile single-board hardware.
Overview of the Installation Process
The breakthrough came when developers created custom UEFI firmware for the hardware. This allows the bootloader to initialize properly on equipment it wasn’t designed for.
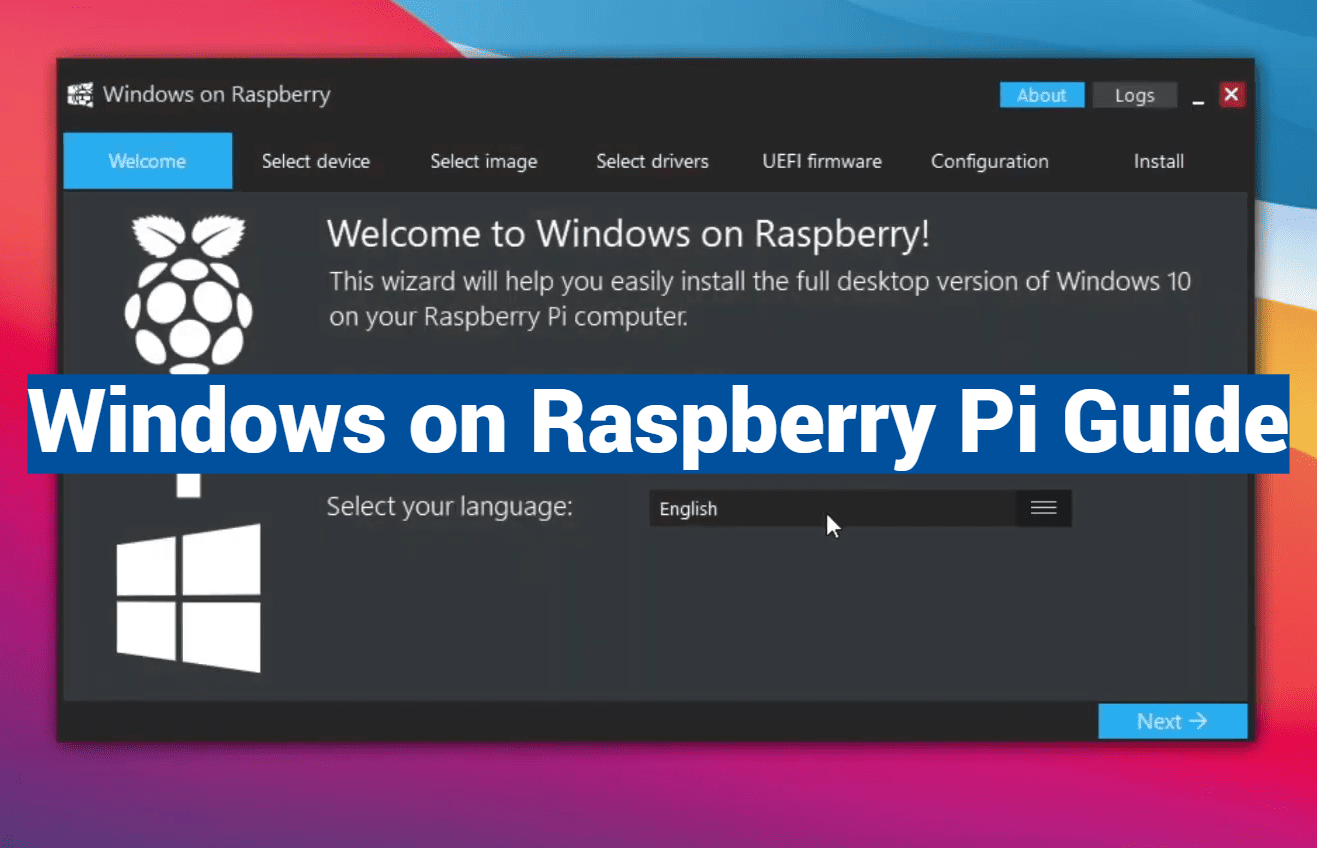
You’ll use the Windows on Raspberry flasher tool, which simplifies what used to require multiple applications. This software consolidates the entire setup into one streamlined package.
What to Expect from This How-To Guide
We provide complete transparency about performance and limitations. The experience may have some constraints due to unofficial support from both companies.
This guide walks through each stage systematically. People should allocate sufficient time for downloads and configuration.
| Installation Method | Time Required | Tools Needed | Difficulty Level |
|---|---|---|---|
| Traditional Manual Setup | 3-4 hours | Multiple applications | Advanced |
| WoR Flasher Tool | 1-2 hours | Single software package | Beginner-Friendly |
Understanding Hardware and Software Requirements
Before diving into the installation process, careful selection of your hardware and software components is essential. Getting the right equipment together upfront will save you time and prevent frustration later.
Essential Hardware Considerations
Your hardware selection is critical to success. You’ll need a compatible single-board computer model with specific memory configurations. The recommended options provide the best performance for this setup.
For storage, choose either a USB drive or SD card with adequate capacity. We strongly suggest 128GB or larger to accommodate the operating system and future updates. Quality storage devices ensure reliable performance.
One crucial limitation involves networking functionality. The built-in Wi-Fi and Ethernet ports won’t work due to missing driver support. You must have a USB to Ethernet adapter for network access.
Compatible Software and Device Support
Regarding software requirements, you’ll temporarily install Raspberry Pi OS to use the flashing tool. This prepares your storage device for the main operating system installation.
Compatible Windows versions include specific ARM editions of both major releases. The right version depends on your hardware model to ensure stability and proper functionality.
Remember that this configuration lacks official support from either company. You’re relying on community-developed drivers and workarounds for basic functionality. This represents enthusiast territory rather than a mainstream solution.
Preparing Your Raspberry Pi for Installation
Before we can proceed with the main installation, we need to establish a reliable temporary workspace. This preparation phase ensures everything runs smoothly when you’re ready to begin the actual setup process.
Installing the Temporary Operating Environment
You’ll first need to set up a Linux-based desktop environment as your working space. The official imager application makes this straightforward. Download it from the manufacturer’s website and write the operating system to your storage media.
Once booted up, open the terminal using CTRL + ALT + T. This gives you access to the command-line interface where you’ll execute the necessary preparation commands.
Updating Packages and Installing Essential Tools
Begin by refreshing your package list with sudo apt update. This ensures your system knows about the latest available software. Follow this with sudo apt upgrade -y to automatically install security patches and updates.
Next, install Git using sudo apt install git. This version control system lets you download the flasher repository from GitHub. The programming tools handle the complex data transfer automatically.
| Preparation Step | Command Used | Purpose | Time Required |
|---|---|---|---|
| System Update | sudo apt update | Refresh package database | 2-5 minutes |
| Package Upgrade | sudo apt upgrade -y | Install latest updates | 5-15 minutes |
| Git Installation | sudo apt install git | Enable repository access | 2-3 minutes |
| Tool Download | git clone [repository] | Get flasher software | 1-2 minutes |
This careful preparation creates a stable foundation for the installation process. Your system will be ready with all necessary tools installed and updated.
Using the Windows on Raspberry Pi Flasher
With your system prepared, the next phase involves configuring the specialized installation tool. This software simplifies what was once a complex multi-step procedure.
Downloading and Setting Up the Flasher
The WoR flasher presents a user-friendly interface that guides you through the entire setup. It consolidates multiple installation steps into one streamlined process.
Launching the application reveals intuitive menus for selecting your configuration. The tool automatically handles complex backend operations that would otherwise require manual intervention.
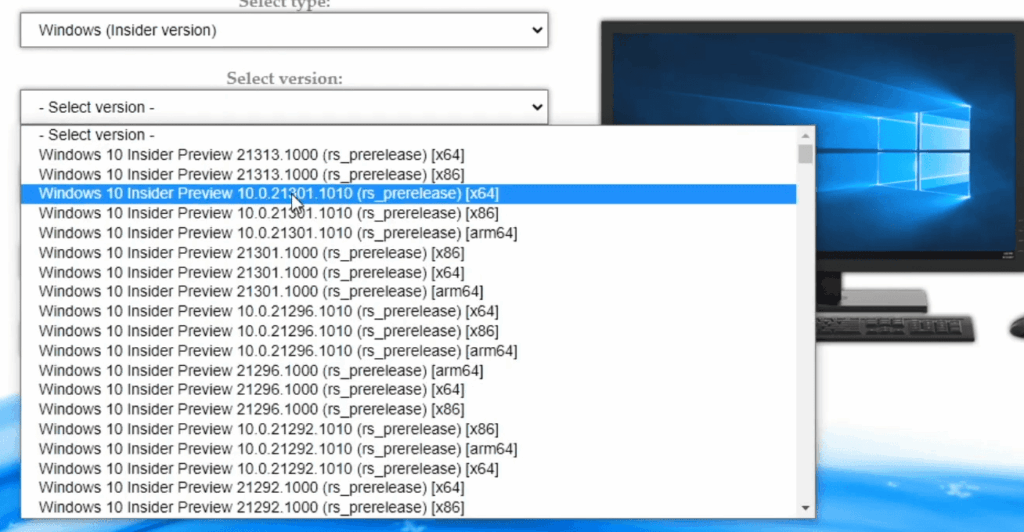
Selecting the Correct Windows Version
Choosing the appropriate operating system build is crucial for compatibility. The flasher offers different paths depending on your hardware model.
For newer single-board computers, simply select the latest release and corresponding device option. The software configures everything automatically for optimal performance.
Older models require accessing additional settings through the “More Options” menu. Here you can specify exact builds known to work reliably with your equipment.
| Device Model | Recommended Version | Configuration Path | Compatibility Notes |
|---|---|---|---|
| Pi 5 | Windows 11 | Standard selection | Full automatic configuration |
| Pi 4 | Windows 11 22631.2715 | More Options → Exact version | Newer releases may have boot issues |
| Pi 3 | Windows 10/11 specific builds | More Options → Custom selection | Limited driver support available |
This careful version matching prevents common installation problems. The flasher handles downloading and preparing the system image automatically.
Sticking with tested builds ensures a smoother experience rather than choosing the latest release. This approach saves time troubleshooting compatibility issues later.
Windows on Raspberry Pi Installation Process
You’re now ready to personalize your setup with language preferences and storage selection. These final configuration steps ensure your system boots with the right settings from the start.
Configuring Language and Regional Settings
The flasher application presents dropdown menus for language selection. Choose your preferred option carefully.
This choice affects the initial setup experience. You can adjust system languages later within the operating environment.
Double-check your selection before proceeding. The tool uses this data to download the correct media files.
Managing Storage Device Selection and Flashing
Next, identify your target drive from the displayed list. The software clearly labels each device with size information.
Carefully select your intended storage media. This prevents accidentally overwriting the wrong card or drive.
You’ll face a choice about file handling during the process. The tool can keep downloaded files in RAM or save them locally.
Choosing local storage is the smarter way unless you’re extremely limited on space. This saves download time for future installations.
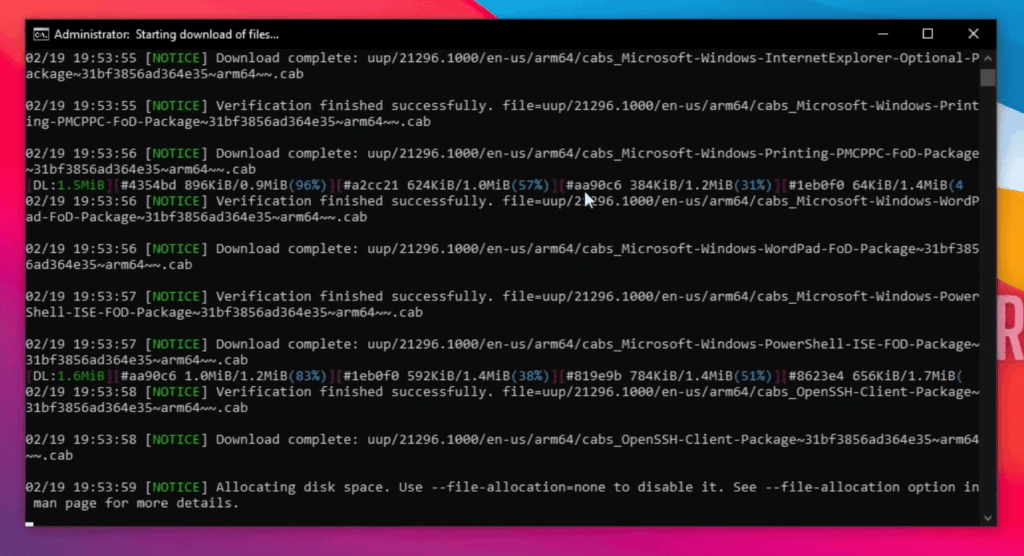
After confirming your choices, click “Flash” to begin. The application downloads the complete system image and custom firmware.
This process takes considerable time depending on your internet speed. Be patient as the software writes everything to your device.
Once complete, power down your equipment. Remove the temporary operating system media and boot from your new installation drive.
Handling Networking Challenges
Getting online presents unique challenges that require creative solutions in this unconventional hardware setup. The built-in network components simply won’t function with Microsoft’s operating system due to missing driver support.
Utilizing USB to Ethernet for Connectivity
Your most reliable path to internet access involves using a USB to Ethernet adapter. This external device provides stable connectivity when the internal hardware fails to work.
Many generic adapters offer excellent compatibility because they use common chipsets with built-in driver support. Look for models known to function well with ARM-based systems.
Wi-Fi connectivity remains unavailable even with USB dongles. This limitation means your setup must be within Ethernet cable range, affecting placement flexibility.
| Networking Method | Compatibility Status | Hardware Required | Reliability Level |
|---|---|---|---|
| Built-in Ethernet | Not Supported | None (non-functional) | Unavailable |
| Built-in Wi-Fi | Not Supported | None (non-functional) | Unavailable |
| USB Ethernet Adapter | Fully Supported | External adapter | Excellent |
| USB Wi-Fi Dongle | Limited/Unreliable | External adapter | Poor |
For users running network-dependent applications, the USB Ethernet solution isn’t optional—it’s essential. This requirement highlights why this project suits enthusiasts rather than mainstream users.
If wireless connectivity is critical for your application, consider alternative approaches that offer better networking support. The wired Ethernet solution provides solid performance despite the extra hardware requirement.
Troubleshooting and Performance Optimization
Optimizing your setup requires patience and specific strategies to overcome inherent limitations. The experience may feel rougher than traditional PC setups due to limited driver support.
Resolving Common Installation Issues
If the setup seems stuck, give it time. The process can take 80 minutes or longer on newer hardware models. Patience is essential during this phase.
Using fast storage makes a significant difference in system responsiveness. Quality USB 3.0 drives or high-speed media improve the overall experience dramatically.
When components don’t work correctly, check community forums and GitHub repositories. Developers frequently share updated drivers and workarounds for common problems.
Tips for Enhancing System Performance
Disabling visual effects and animations through system settings helps reduce processing load. This simple adjustment improves performance noticeably.
Stick with ARM-native applications whenever possible. Older x86 software requires emulation, which adds substantial performance overhead.
Keep expectations realistic about what this hardware can handle. Think of it as an educational project rather than a production workstation for the best experience.
Exploring Advanced Features and Community Projects
Beyond basic functionality lies an ecosystem of community projects that expand what’s achievable. These innovative tools transform your experimental setup into a versatile platform.
Leveraging Windows ARM and Emulation Options
The ARM architecture offers unique advantages for modern computing. Built-in emulation allows traditional applications to run, though with performance considerations.
Real-time instruction translation is an impressive technical achievement. However, emulated software runs slower than native ARM applications.
| Framework | Compatibility Level | Performance Impact | Best Use Case |
|---|---|---|---|
| Built-in x86 Emulation | Good for 32-bit apps | Moderate to High | Basic legacy software |
| Box86 | Limited in Windows | Variable | Linux environments |
| FexEmu | Experimental | High overhead | Development testing |
Additional Tools and Driver Support
Community developers regularly release updated driver packages. GitHub repositories and dedicated forums offer current solutions.
Always check the release date of any tools you download. This ensures you’re using maintained software rather than abandoned experiments.
For complex USB device communication, native x86 hardware often provides better reliability. The ecosystem continues evolving with more ARM-native applications appearing regularly.
Conclusion
Your persistence has paid off, bringing together two technology worlds that weren’t designed to work together. This achievement opens up exciting possibilities for testing ARM applications and creative projects.
The experience teaches valuable skills in system configuration and troubleshooting. You’ve learned to work with boot environments and manage settings through various inputs.
Remember this remains a community-driven effort. Stay connected with other people through web forums to keep your setup current. Share your discoveries to help others.
If the limitations feel too restrictive, consider the virtual machine option. It offers a different way forward with better hardware support.
Whatever direction your next projects take, the skills you’ve gained will serve you well. Happy experimenting with your new programming environment!