In the realm of Arduino programming, some believe that executing multiple `void` loops in parallel is a possibility. This belief often stems from the desire to run concurrent processes, a concept familiar to those with a background in multitasking operating systems. Yet, the reality of Arduino’s functionality and design may challenge this assumption. Let’s delve into the intricacies of Arduino’s structure and explore the feasibility of running multiple void loops.
What is an Arduino?
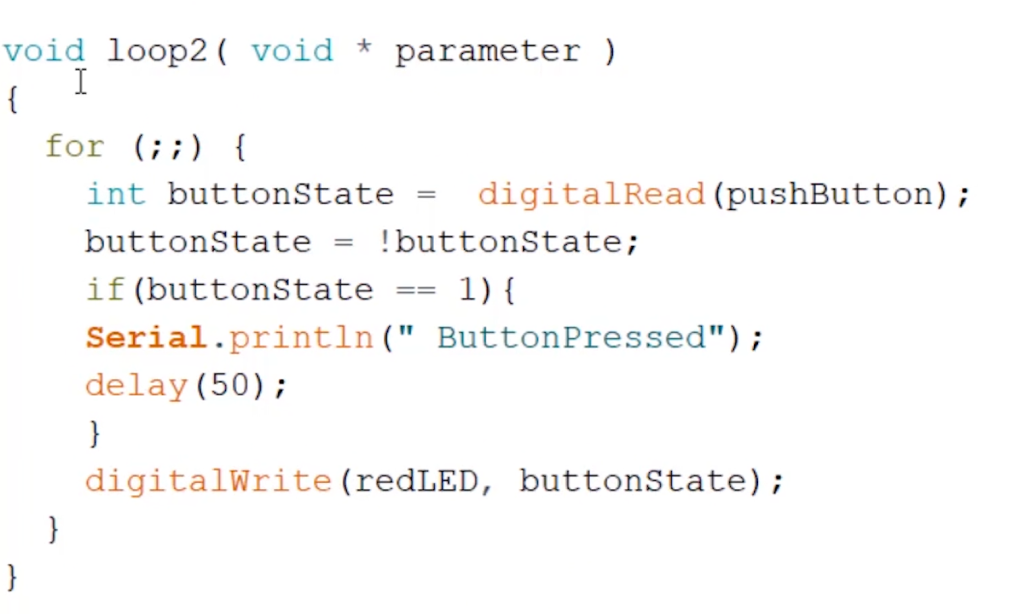
Understanding Void Loops in Arduino
In Arduino programming, a loop is a section of code that continuously repeats until a certain condition is met. A void loop, also known as an infinite loop, is a type of loop that will run continuously without any break or end until the power is turned off or reset. This means that any code written inside the void loop will continue to repeat over and over again.
Can Multiple Void Loops be Used in Arduino?
The short answer is yes, it is possible to run multiple void loops in an Arduino project. However, there are certain considerations that need to be taken into account while doing so.
Firstly, it is important to understand that only one void loop can be active at a time. This means that if there are two or more void loops in the code, only one will run while the other(s) will remain inactive. The active void loop is determined by the order of their placement within the code and can be changed by rearranging them.
Secondly, multiple void loops can result in complex and difficult to debug code. This is because each void loop operates independently, making it harder to track the flow of the program. Therefore, it is important to carefully plan and organize the code before using multiple void loops.
Lastly, using multiple void loops can also result in decreased performance and memory usage. This is because each void loop requires a certain amount of time and resources to run, and having several of them can overload the microcontroller. To avoid this issue, it is recommended to use other types of loops (such as for or while loops) instead of multiple void loops whenever possible. [1]
Ways to Run Multiple Void Loops in Arduino
While it is not recommended to use multiple void loops, there are some ways in which it can be achieved if required. One way is by using interrupts, which are functions that allow certain events (such as a button press) to interrupt the main code and run a specific set of instructions. Another way is by using timers, which can trigger certain actions at specific intervals without causing conflicts between multiple void loops. Additionally, external libraries or functions can also be used to simulate multiple void loops within the code.
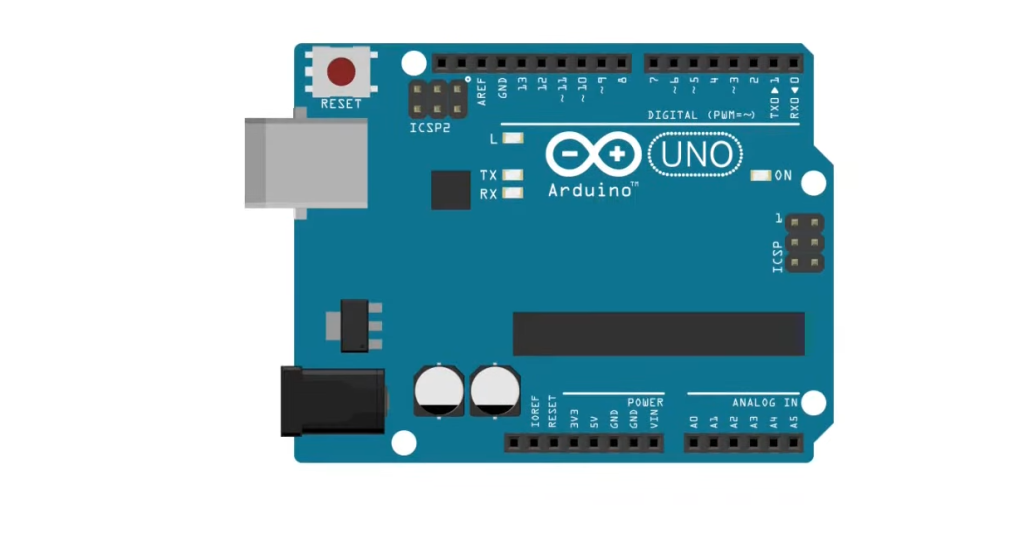
Advantages of Running Multiple Void Loops
While there are some drawbacks to using multiple void loops in an Arduino project, there are also some advantages that make it a viable option. One of the main advantages is that it allows for multitasking and running different processes simultaneously. This can be useful when building projects with complex functionalities or when working with real-time data. Additionally, using multiple void loops can also help reduce the overall code size and improve readability by separating different tasks into separate loops.
Challenges and Solutions for Running Multiple Void Loops
As mentioned earlier, using multiple void loops can result in complex and difficult to debug code. This is why it is important to plan and organize the code carefully before implementing multiple void loops. Additionally, proper documentation and comments within the code can also help make the process of debugging easier.
Another challenge with multiple void loops is ensuring that they do not interfere with each other’s operations. To overcome this issue, it is important to assign different memory spaces and variables for each loop or use other types of loops as mentioned previously.
Overall, while there may be some challenges involved in running multiple void loops in Arduino, with proper planning and implementation, it can lead to more efficient and advanced projects.
Can You Break A While Loop In Arduino?
Yes, it is possible to break a while loop in Arduino. A while loop will continue to run as long as the condition specified at the beginning of the loop remains true. However, using certain conditions or functions within the loop can stop its execution before the condition becomes false. These include using break statements, changing variables that affect the condition, or using external interrupts. By breaking a while loop, users can control when and how many times a certain set of instructions should be executed within a program. [2]
How Fast Can Arduino Loop?
The speed at which an Arduino loop can run depends on various factors such as the complexity of the code, type and number of loops used, and the capabilities of the microcontroller board being used. Generally, an Arduino loop can run at a speed of several thousand loops per second, but this can vary significantly depending on the above-mentioned variables. Additionally, certain techniques such as using interrupts or prioritizing tasks within the code can also affect the overall speed of the loop. Overall, while there may be some limitations to consider, Arduino is capable of running loops at a relatively fast pace compared to other microcontrollers.
Is It Bad Practice To Use Break In While Loop?
A break in a while loop can be both good and bad practice, depending on the situation. On one hand, using a break statement allows you to immediately exit a loop when a certain condition is met, saving time and resources. This can be especially useful when working with large datasets or complex calculations. However, relying too heavily on break statements can also lead to code that is difficult to debug and maintain.
One potential issue with using break in a while loop is that it can make the logic of your code less clear. By breaking out of a loop before it reaches its intended end, you may be creating unexpected outcomes or missing important steps in the process. This can make it more difficult for other developers (or even yourself) to understand and modify your code later on. Additionally, if you are using break statements to avoid properly handling errors or exceptions, it can cause unexpected behavior and make debugging even more challenging.
Another consideration when using break in a while loop is the potential for an infinite loop. If your condition for breaking out of the loop is never met, your code will continue to run indefinitely, consuming resources and potentially causing crashes or other issues. This highlights the importance of carefully planning and testing your code before relying on break statements as a solution.

In general, it is important to consider the tradeoffs of using break in a while loop and make sure it aligns with your overall coding style and goals. If used sparingly and thoughtfully, break statements can be a helpful tool in certain situations. However, if you find yourself relying on them too heavily or using them as a shortcut for proper code structure, it may be worth reassessing your approach. As with any programming practice, there is no one right answer – it ultimately depends on the specific needs and context of your project. [3]
Can Arduino Sleep?
Yes, Arduino has a built-in sleep function that allows it to enter low-power mode for a specified amount of time. This can be useful in projects where you want to conserve energy or prolong the battery life of your device. The sleep function is typically used in conjunction with an interrupt or timer to wake the Arduino back up after a certain period of time.
To put an Arduino board into sleep mode, you would use the “`sleep_mode()“` function. This takes in a parameter specifying which type of low-power state you want the board to enter (e.g. SLEEP_MODE_IDLE, SLEEP_MODE_ADC, etc.). Once in sleep mode, the board will consume significantly less power and can be woken up by an external event such as a button press or sensor reading. You can also set a timer for the sleep mode using the “`set_sleep_mode()“` and “`sleep_enable()“` functions.
It’s important to note that not all Arduino boards have the same sleep capabilities, so it’s always best to consult the documentation for your specific board before implementing this feature. Additionally, while in sleep mode, some functionality may be disabled such as Serial communication or interrupt handling. It’s important to carefully consider how these factors may impact your project before incorporating sleep modes into your code. [4]
Can Arduinos Overheat?
The main factor that contributes to Arduino overheating is excessive current draw. When the board is trying to process too much information or control too many components at once, it can lead to an overload of the system and cause overheating. This is why it’s important to carefully plan and optimize your code to avoid unnecessary strain on the board. Additionally, using a higher voltage power supply can also put more strain on the board and increase the risk of overheating.
To prevent overheating and potential damage to your Arduino, it’s important to regularly monitor the temperature of the board while it is in use. You can do this by using a thermometer or temperature sensor near the board, or even utilizing built-in sensors if your board has them. If you notice that the temperature is consistently getting too high, it may be necessary to make adjustments to your project or consider using a different type of board with higher capabilities. In extreme cases, you may also need to add additional cooling measures such as fans or heat sinks to prevent overheating. [5]
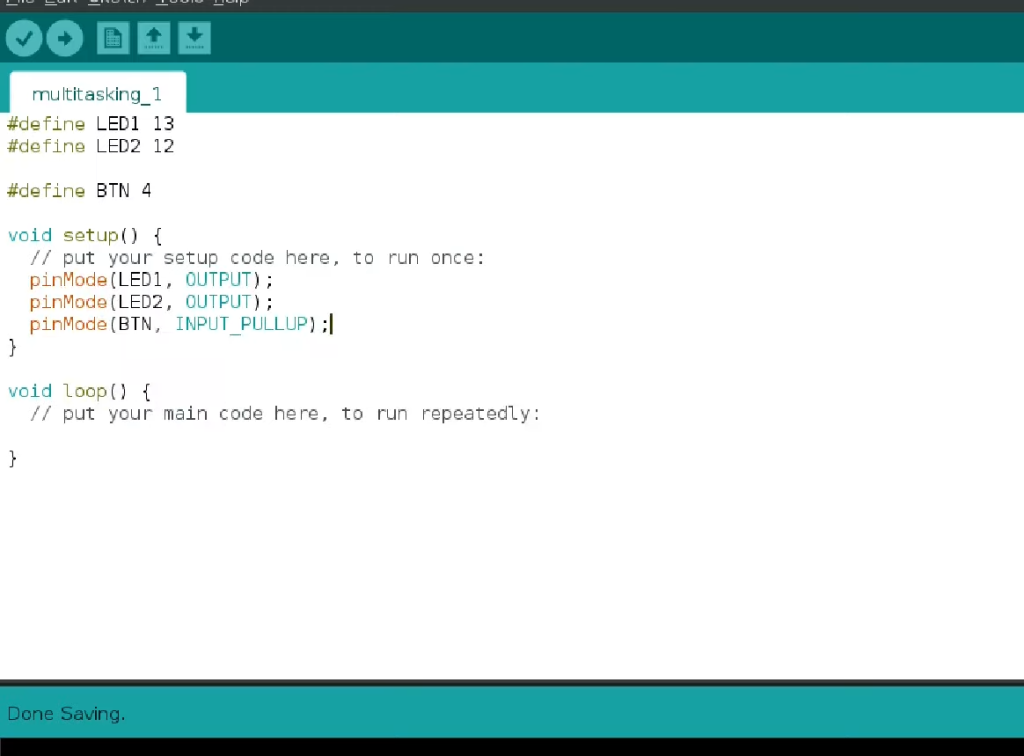
FAQs
Can you run multiple void loops in Arduino?
Yes, it is possible to run multiple void loops in Arduino. However, the way in which this can be achieved may vary depending on your specific project and programming skills.
One method is by using a hardware interrupt. This allows for multiple functions or tasks to be executed simultaneously without one blocking the other. By assigning different interrupts to each void loop, you can run multiple loops concurrently.
Another method is by using conditional statements such as if and else. With this approach, different sections of code can be executed depending on certain conditions being met. This allows for the creation of multiple void loops, each with its own set of instructions to be carried out.
It is also worth noting that the Arduino language is based on C++, which supports multiple threads. This means that with proper programming techniques, it is possible to create and run separate void loops within a single sketch. However, this may require more advanced knowledge of programming.
What are some alternatives to running multiple void loops in Arduino?
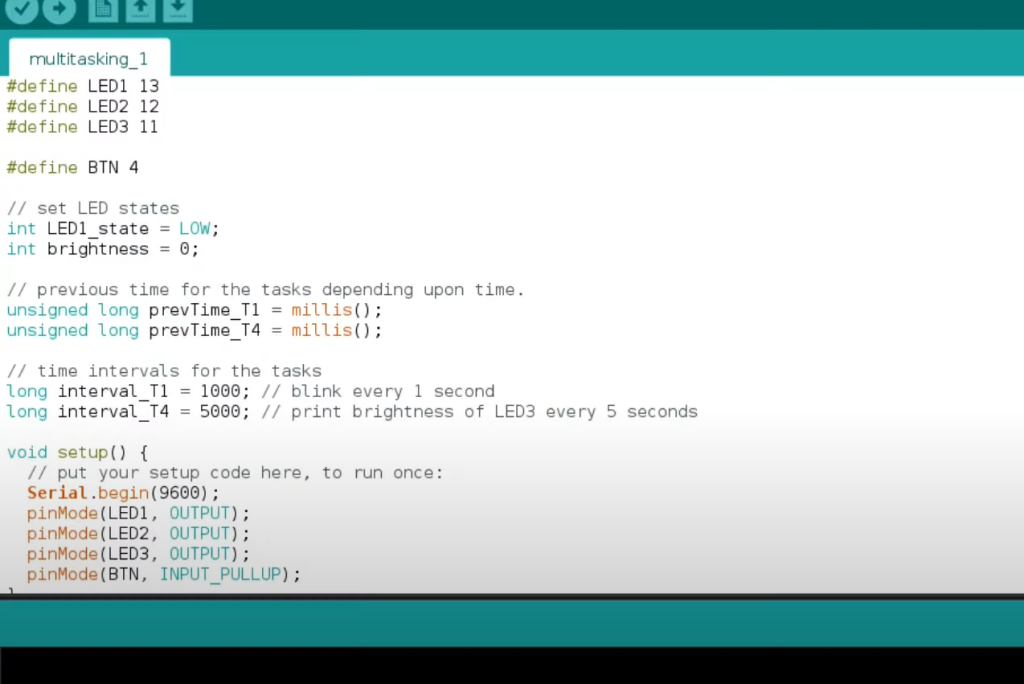
Aside from using interrupts and conditional statements, there are other alternatives for running multiple void loops in Arduino. One option is to use the millis () function, which can be used as a timer to schedule different tasks within a single loop. This approach may be more efficient than having multiple loops running simultaneously.
Another alternative is to use a library or framework that supports multitasking, such as the Protothreads library. These tools can help simplify the process of running multiple void loops and managing various tasks within a single Arduino sketch.
Is it possible to use interrupts as a workaround for multiple void loops in Arduino?
Yes, interrupts can be used as a workaround for running multiple void loops in Arduino. However, it is important to note that interrupts may not always be the best solution and should be used carefully. Interrupts can cause unexpected behavior and could potentially interfere with other parts of your code. It is recommended to thoroughly test and debug your code when using interrupts for multitasking in Arduino.
What is the effect of attempting to run multiple void loops in Arduino?
Running multiple void loops in Arduino can have various effects on your project. On one hand, it can allow for the execution of different tasks simultaneously, resulting in more efficient and responsive code. However, if not properly managed, it could lead to conflicts and unexpected behavior. It is important to carefully plan and design your code when incorporating multiple void loops to ensure smooth operation.
Why does Arduino not support multiple void loops directly?
Arduino is designed to be a beginner-friendly platform, and supporting multiple void loops directly may complicate the programming process for beginners. Instead, Arduino offers various alternatives and techniques for running multiple tasks within a single sketch, making it accessible for users of all skill levels. Additionally, incorporating multitasking capabilities could potentially increase the cost and complexity of Arduino boards.
Are there software libraries that can help manage multiple tasks in Arduino?
Yes, there are several software libraries and frameworks available that can assist with multitasking in Arduino. Some popular options include the Protothreads library, the TaskScheduler library, and the CoopTasker framework. These tools can help simplify the process of managing multiple tasks within a single loop or sketch, making it easier to incorporate multiple void loops in your project.
What are the best practices when dealing with multiple tasks in Arduino?
When working with multiple tasks in Arduino, it is important to carefully plan and design your code to avoid conflicts and unexpected behavior. Use conditional statements or interrupts only when necessary and test your code thoroughly before implementing it into your project. Additionally, consider using software libraries or frameworks that support multitasking to simplify the process and ensure efficient code execution.
How does Arduino’s single-threaded nature affect the execution of multiple tasks?
Arduino’s single-threaded nature means that only one piece of code can be executed at a time. This can affect the execution of multiple tasks as it may cause delays or conflicts if not properly managed. However, with proper programming techniques and the use of interrupts or multitasking libraries, it is possible to overcome this limitation and efficiently run multiple tasks in Arduino.
Conclusion
In conclusion, we have learned that it is possible to run multiple void loops in Arduino. This is achieved by using the millis() function and implementing a state machine approach.
This method allows us to take advantage of the non-blocking nature of the millis() function, which ensures that each loop runs independently without affecting the others. By keeping track of time and using conditional statements, we can control when each loop should run and for how long. This is a powerful technique that can greatly expand the capabilities of our Arduino projects.
Useful Video: Arduino: Can I make multiple void loops with Arduino Uno? (5 Solutions!!)
References:
- https://chargedwarrior.com/can-you-run-multiple-void-loops-in-arduino/
- https://www.digikey.com/en/maker/projects/multi-tasking-the-arduino-part-1/b23d9e65c4d342389d20cbd542c46a28
- https://stackoverflow.com/questions/76862624/exiting-loop-in-arduino-after-doing-an-operation-for-specific-number-of-times
- https://www.reddit.com/r/arduino/comments/utankx/why_cant_i_have_two_void_loops_running_at_once/
- https://copyprogramming.com/howto/about-multiple-void-loops-and-functions

