
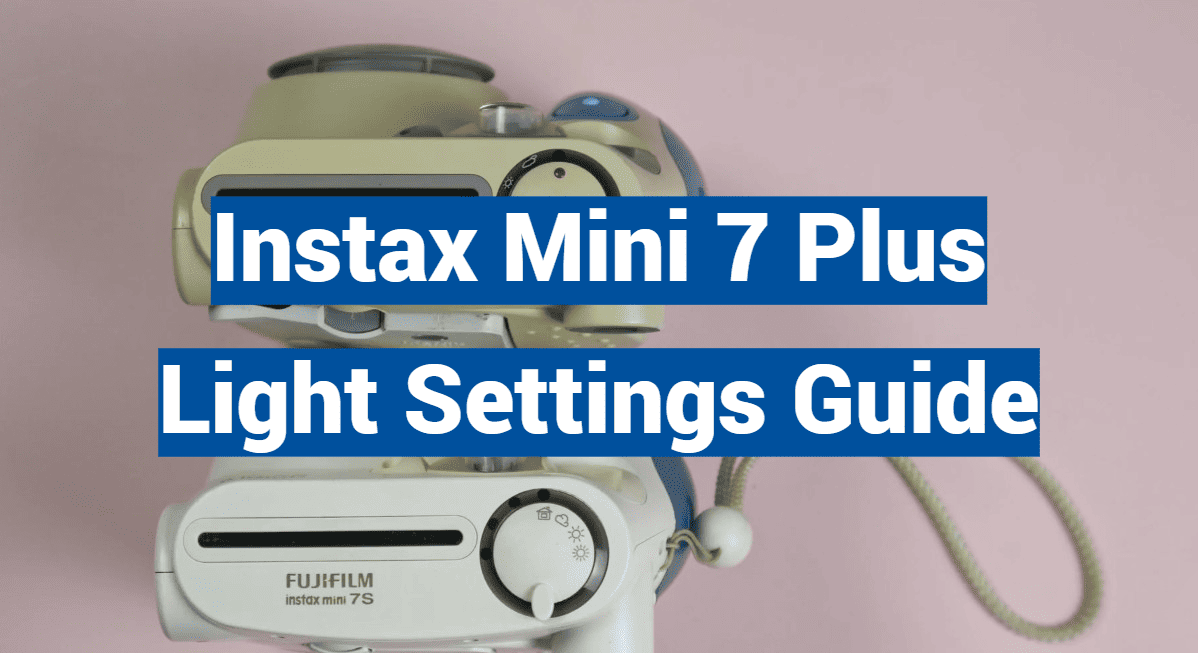
Capture memories in the perfect light with the Instax Mini 7 Plus! Whether you’re a seasoned photographer or a novice in the world of instant film, mastering the art of light settings can make all the difference in achieving that picture-perfect shot every time. With this comprehensive guide to the Instax Mini 7 Plus Light Settings, you’ll unlock the secrets to beautiful, well-balanced images that will leave you in awe. Say goodbye to poorly exposed photos and hello to a world of stunning visuals – it’s time to take your Instax game to the next level!
What Are The Instax Mini 7s Light Settings?
Indoor Light Setting
The Instax Mini 7s, a popular instant camera, features a versatile built-in flash that comes in handy when capturing photos in indoor environments. This flash setting should be used judiciously, primarily when the natural light is insufficient or completely absent. The camera’s intelligent system automatically adjusts the shutter speed, ranging from a slower 1/2 second to a faster 1/400 second, depending on the brightness of the surroundings. This ensures optimal exposure and crisp image quality, allowing you to capture memorable moments with ease and precision.
Cloudy Light Setting
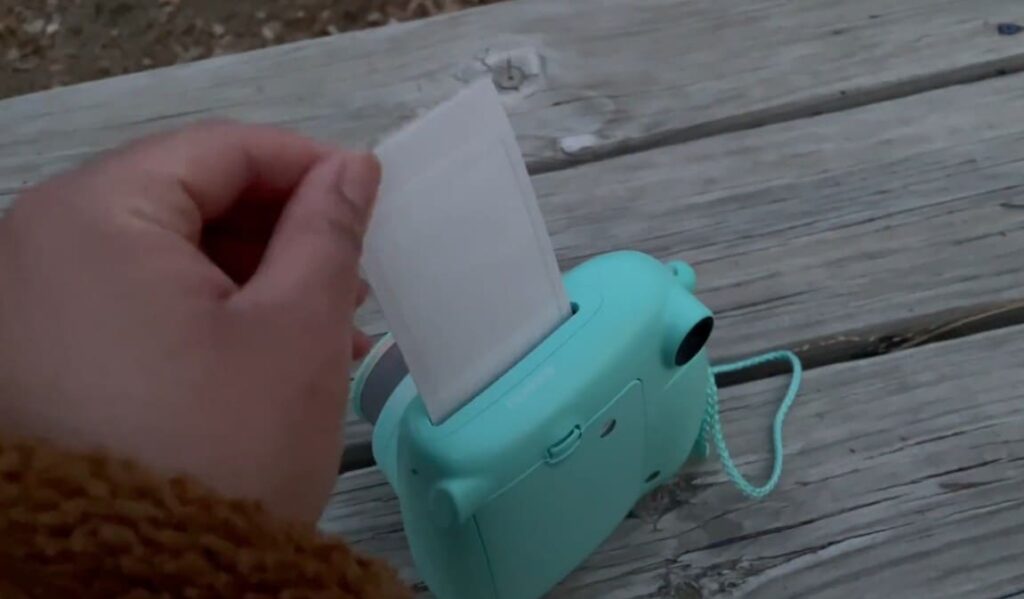
When you find yourself in an environment with a low level of light, the Instax Mini 7s comes to the rescue with its convenient cloudy setting. By selecting this setting, you can rest assured that your precious moments will be captured with proper exposure and accurate color balance. The built-in intelligence of the camera adjusts the shutter speed to a typical 1/60 second or slower, ensuring that even in dimly lit situations, your photos turn out beautifully. So, whether you’re capturing a cozy candlelit dinner or a mesmerizing sunset, the Instax Mini 7s has got you covered!
Fine Light Setting
The fine setting is specially crafted to capture stunning photos in optimal bright light conditions. Whether you’re out and about on a glorious sunny day or immersed in an indoor setting with powerful artificial lighting, this setting is here to deliver exceptional results. With a flexible shutter speed range of 1/250 to 1/400 second, you have the ability to freeze motion and seize every moment with impeccable clarity, ensuring that your images are sharp, vivid, and truly remarkable.
Bright Light Setting
The bright setting is specifically tailored for use in highly luminous environments, particularly under direct sunlight. By utilizing this setting, you can mitigate the potential for overexposure and ensure accurate color reproduction in your captures. The recommended shutter speed for this setting is typically set at 1/500 second or faster, allowing you to freeze motion and capture even the most fleeting moments with precision.
Fill Light Setting
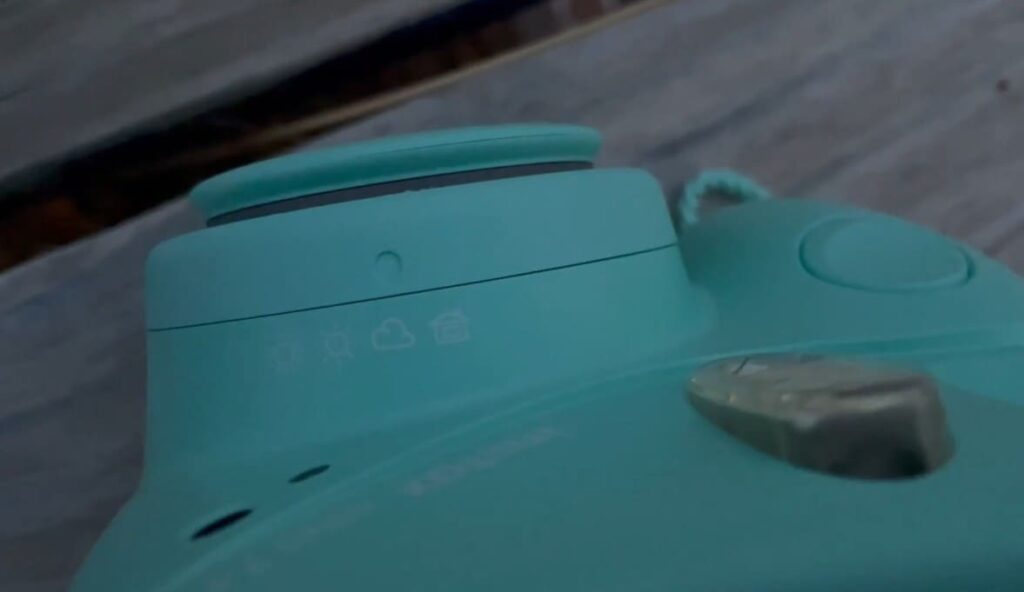
When you find yourself in a situation with insufficient natural light, the Instax Mini 7s comes to the rescue with its innovative fill light setting. This remarkable feature is specifically designed to add an extra touch of illumination to your photos, effectively brightening shadows and reducing contrast. By doing so, it allows you to capture even the finest details in darker environments, ensuring that your memories are preserved in all their glory. It’s worth noting that the shutter speed for this setting is typically set at 1/60 second or slower, guaranteeing optimal results every time you snap a shot. So, with the Instax Mini 7s by your side, never let low light conditions dampen your photography aspirations again!
Natural Light Setting
The Instax Mini 7s camera offers a convenient natural light setting, which lets you capture stunning photos without relying on a flash. This feature is specifically designed to enhance your outdoor photography experience, especially during the daytime or in the early evening when natural light is abundant. With a flexible shutter speed range of 1/250 to 1/400 second, you can effortlessly capture the perfect shot in various lighting conditions. Whether you’re enjoying a sunny day at the beach or capturing the warm hues of a sunset, the natural light setting on the Instax Mini 7s ensures that your photos are beautifully illuminated and filled with vibrant details.
Manual Light Setting
The manual light setting on the Instax Mini 7s empowers you with complete control over the shutter speed and flash level, providing endless possibilities for creative photography. This versatile setting is particularly useful when capturing photos in challenging lighting conditions, allowing you to adapt and overcome any obstacles.
With the ability to adjust the shutter speed from 1/4 to 1/400 second, you have the freedom to freeze fast-moving subjects or create stunning effects with wider apertures. Additionally, the flash level can be manually adjusted, enabling you to precisely control the amount of light that illuminates your photos, resulting in perfectly balanced and visually captivating images.
Whether you’re a seasoned photographer or just starting out, the manual light setting on the Instax Mini 7s opens up a world of opportunities to capture breathtaking moments with unparalleled creativity and precision.
When To Choose Which Light Setting?
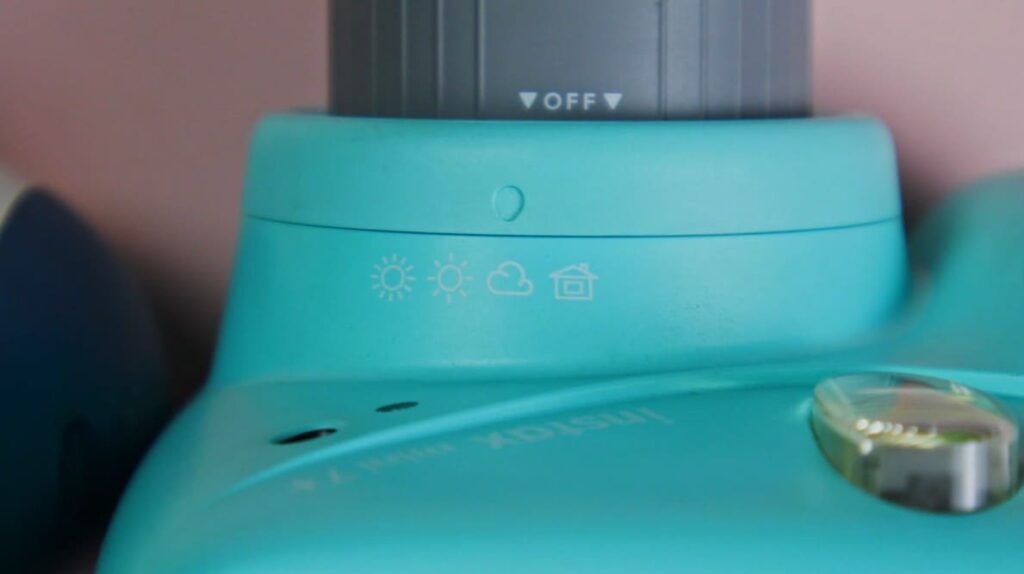
When it comes to choosing which specific light setting to use, some general guidelines can be helpful. If you’re looking for a soft, diffused look with no shadows, choose the “Flat” option. In contrast, if you want more drama and depth to your images, select “Spotlight”. This will create strong shadows that give an image a dynamic, three-dimensional effect. If you want to capture crisp details in your photos, use the “Natural” setting for a true-to-life look. For something more surreal or dreamy, try the “High Key” setting which will reduce shadows and brighten up darker areas of an image. Lastly, if you’re shooting indoors and need extra light, switch to the “Fill Flash” setting which will add a bit of brightness and help to reduce any shadows cast by overhead lighting.
No matter which light setting you choose, it’s important to keep in mind your composition and the angles of your shots. This can help you to make use of each light option to get the most out of your images. Additionally, playing with the light settings can be a great way to experiment and discover new creative possibilities. Have fun and try out different combinations of light and shadow to get the perfect shot!
For those looking for even more control over their lighting setup, advanced options like strobes and LED lights may be worth considering. With these tools, you can adjust the intensity and color of the light to get exactly the look you want. Whether it’s a dramatic effect or something more subtle, each type of lighting can help to enhance your photos in unique ways. So don’t be afraid to experiment and find out which light setting is best for your project!
Finally, it’s important to remember that the right light can go a long way. It can help to bring out the beauty in a subject and create powerful images, no matter what type of photography you’re doing. Whether you’re shooting with natural light or using a more advanced lighting setup, take some time to explore and find the best option for your goal. With practice and experimentation, you can start creating stunning photographs that will make your work stand out from the rest.
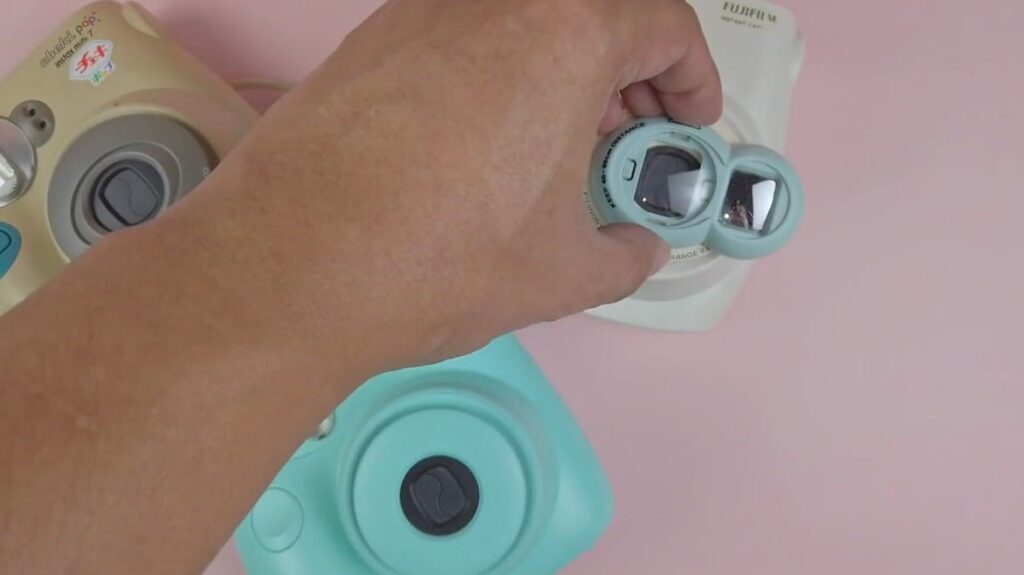
How To Get The Perfect Exposure In Your Instax Mini 7s
Why Are My Pictures Coming Dark In Instax Mini 7s?
One of the typical problems photographers encounter with Instax Mini 7s is that their pictures come out too dark. This can be caused by several different issues, but a few key tips can help you get the perfect exposure in your photos.
First and foremost, it’s important to make sure you’re using the correct film type for your camera. Instax Mini 7s is compatible with both color and black-and-white film, but they each require different exposure settings. Color film requires more light so it’s best to set the ISO accordingly when taking photos in low-light conditions.
Next, be sure to adjust the flash on your camera to the appropriate setting for each shot. The flash should be set to “auto” for most shots, but you can adjust it manually if you need more light. Additionally, make sure your LED indicator is set to the correct level for each shot; it should be green when taking photos in dark conditions and orange when shooting in bright sunlight.
Finally, take some test shots before taking any important pictures. This will allow you to adjust your camera settings if necessary and check the composition of your shot. You can also use a light meter to ensure that you’re getting the correct exposure levels in each photo.
Why Are My Pictures Coming Too Bright In Instax Mini 7s?
On the other hand, some photographers may find that their photos are coming out too bright when using Instax Mini 7s. This can be caused by several different issues as well, but following a few simple tips can help you get the perfect exposure in your photos.
First and foremost, it’s important to adjust your camera’s ISO setting accordingly. Instax Mini 7s is compatible with both color and black-and-white film, but they each require different exposure levels. Color film requires less light so you should set the ISO accordingly when taking photos in bright conditions.
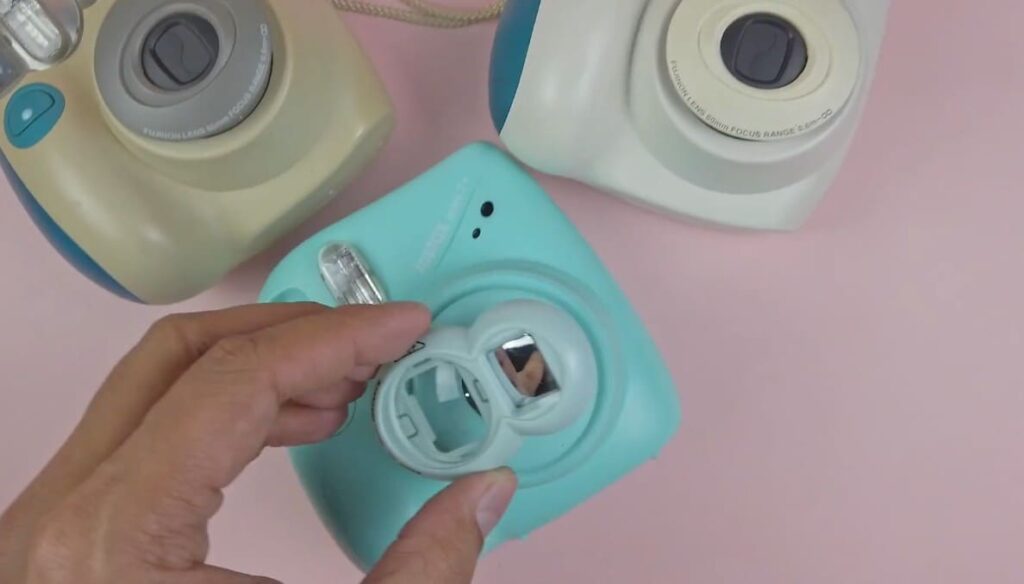
Next, be sure to adjust the flash on your camera to the appropriate setting for each shot. The flash should be set to “auto” for most shots, but you can adjust it manually if you need less light. Additionally, make sure your LED indicator is set to the correct level for each shot; it should be green when taking photos in bright conditions and orange when shooting in dark environments.
Finally, take some test shots before taking any important pictures. This will allow you to adjust your camera settings if necessary and check the composition of your shot. You can also use a light meter to ensure that you’re getting the correct exposure levels in each photo.
Can I Turn Off My Flash In Instax Mini 7s?
Yes, you can turn off your flash in Instax Mini 7s. This can be done by selecting the “off” option on the flash setting menu located under the camera settings. Additionally, you can also adjust the LED indicator to the “dim” or “bright” options depending on how much light you would like in your photos. However, you should use caution when turning off the flash or adjusting the LED indicator as this can affect your photo’s exposure. It’s best to take some test shots first before taking any important pictures.
Is There Any Night Mode In Instax Mini 7s?
Yes, there is a night mode in Instax Mini 7s. This can be accessed from the camera settings menu and allows you to take pictures in low-light conditions with less noise. Additionally, you can also adjust the LED indicator to the “dim” or “bright” options depending on how much light you would like in your photos. However, it’s important to use caution when using night mode as this can affect your photo’s exposure. It’s best to take some test shots first before taking any important pictures.
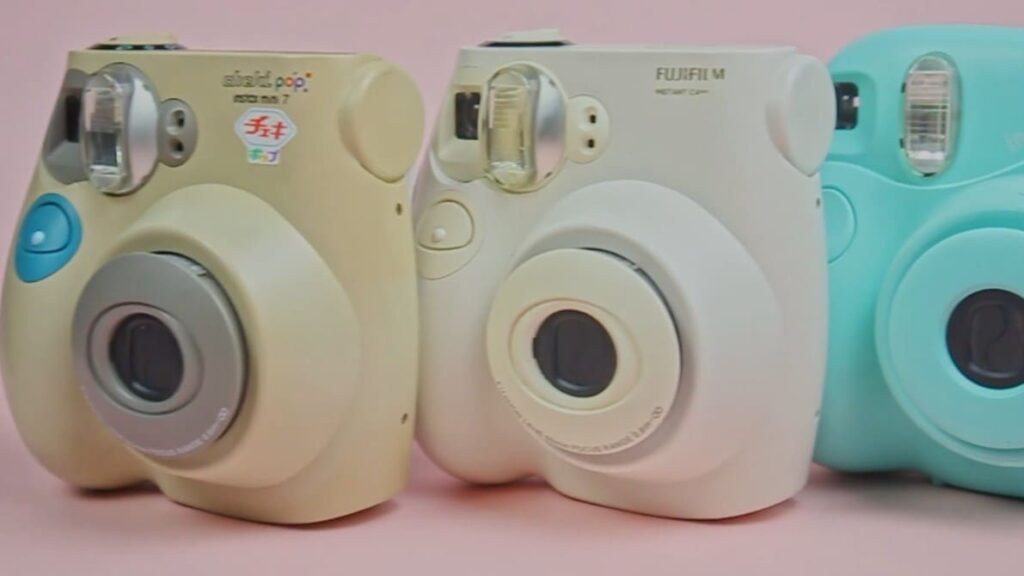
Tips for Taking Perfect Photos With Instax Mini 7s
Taking great photos with Instax Mini 7s isn’t always easy, but following these basic tips can help you get the perfect shot every time.
- Make sure your background is interesting and attractive. If you’re taking a portrait, consider setting up a backdrop to make your subject stand out even more.
- When composing an image, remember the rule of thirds: divide the frame into three equal parts both horizontally and vertically, then position your subject at one of the intersecting points for a balanced composition.
- One of the best features of Instax Mini 7s is its built-in flash, but be sure to use it sparingly. Too much light can result in washed-out images with harsh shadows.
- If you’re shooting a landscape or other wide-angle shot, don’t forget to check your exposure settings. The Instax Mini 7s has three different aperture settings that allow you to adjust the amount of light entering the lens for better low-light performance and brighter photos.
- Once you’ve taken a few shots, don’t forget to review them on the LCD screen before printing. This will help you see which images turn out best and adjust your settings accordingly for future shots.
- When shooting indoors, keep an eye out for reflective surfaces that can affect the exposure of your photos. Pay attention to windows, mirrors, and other shiny objects which can create unwanted flare in your images.
- If you’re looking for a creative way to add drama or atmosphere to your photos, try experimenting with the Instax Mini 7s’s different color filters. These are easy to attach and can instantly change the feel of a shot.
- Last but not least, don’t forget to have fun! Taking photos should be a creative and enjoyable experience, so don’t get too bogged down in technical details. Experiment with different angles, compositions, and lighting to discover what works best for you.
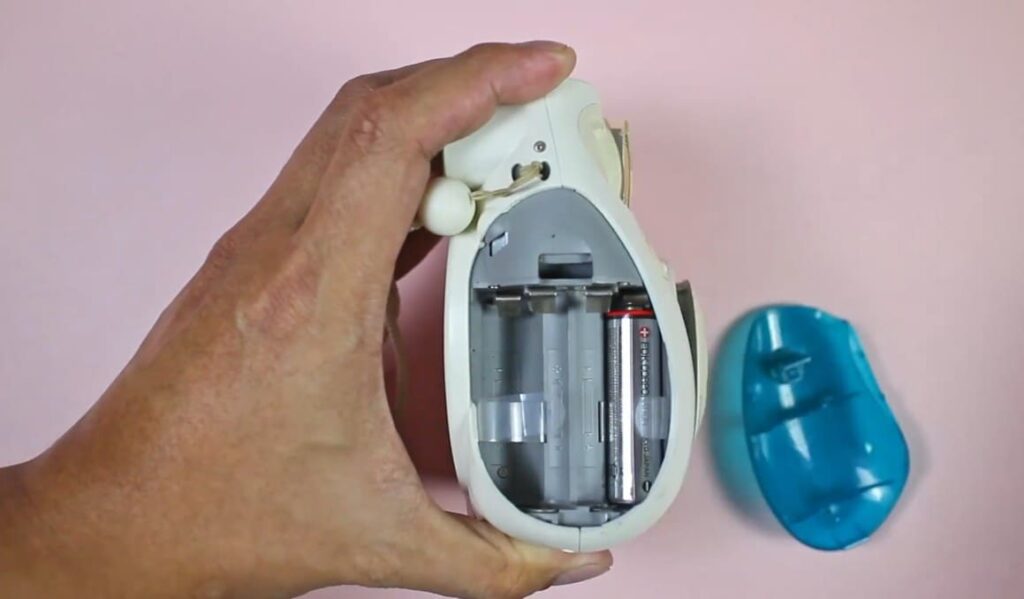
FAQ
What are the main settings on an Instax Mini 7+?
The Instax Mini 7+ has a variety of settings that you can adjust to get the perfect shot. The main settings are exposure compensation, white balance, flash mode, self-timer and macro. By adjusting these settings you can achieve the desired results for whatever photo you are taking.
Additionally, the Instax Mini 7+ also has an auto mode which can be used to take photos without any manual adjustments. This is great for those who are new to photography or just want to get the perfect shot without having to adjust all of the settings manually.
Can I print photos directly from my smartphone?
Yes, you can! The Instax Mini 7+ has a free companion app that allows you to print your photos directly from your smartphone. The app is available for both Android and iOS devices. To print a photo, simply select the image you want to print in the app, adjust the contrast and brightness as needed, and then hit “print”. Your Instax Mini 7+ will automatically start printing the photo once it has been sent from your phone.
How do I make my Instax Mini 7 pictures brighter?
To make your photos brighter on the Instax Mini 7+, you can adjust the exposure compensation setting. Increase it to add more brightness, or decrease it to create a darker effect. Moreover, if you possess a smartphone with a flash option, utilizing it can also help capture well-lit pictures. Enhancing the exposure settings and utilizing additional tools will give you more control over the brightness of your photos, allowing you to achieve the desired results effortlessly.
Can I change the film in my Instax Mini 7+?
Yes, you can easily change the film in your Instax Mini 7+ by pressing the button on the back of the camera. This will open up a small door at the bottom of the camera where you can insert new film cartridges. It’s a simple and convenient process that allows you to quickly switch between different types of film. Make sure to always use Instax Mini film when changing cartridges to ensure that your photos come out looking great. The Instax Mini film is specifically designed for this camera and delivers high-quality, vibrant prints with every shot. So, whether you’re capturing precious memories or exploring your creative side, you can count on the Instax Mini 7+ to provide you with beautiful and instant results.
Why are my Instax mini 7 pictures so dark?
There are a few different reasons why your Instax Mini 7 pictures may be coming out too dark. Firstly, you may need to adjust the exposure compensation setting on the camera to let in more light and improve the brightness of your photos. Additionally, check that the flash is enabled and positioned correctly to ensure sufficient illumination. Another factor to consider is the film cartridge – ensure that it is properly loaded and has enough film remaining for optimal exposure. Lastly, it’s important to keep the lens on the camera clean, as any dirt or fingerprints can obstruct light and result in darker images. By addressing these factors, you can enhance the quality and brightness of your Instax Mini 7 photos.
Can I take close-up shots with my Instax Mini 7+?
Yes, you absolutely can! The Instax Mini 7+ camera is equipped with a fantastic macro mode that brings your close-up shots to life with incredible detail. With this feature, you can capture stunning shots from as close as 30cm away, allowing you to focus on the intricate beauty of your subjects. To activate the macro mode, simply toggle the switch on the lens to the “macro” setting, and you’ll be ready to embark on a journey of capturing breathtaking close-up shots that will truly amaze you and your friends. Get ready to explore the world of photography in a whole new way with the Instax Mini 7+ and its remarkable macro capabilities!
Can I use my Instax Mini 7+ at night?
Yes, you can! The Instax Mini 7+ has a built-in flash which will allow you to take photos in low light conditions. Additionally, the camera also has an “auto” mode that will automatically adjust the settings to capture photos in darker environments. However, it’s important to note that the flash may not be sufficient for some night shots and additional lighting may be needed. To further improve your nighttime photography, you can also purchase a tripod to ensure that your camera is perfectly still while taking pictures in low light conditions. With these tips and tricks, you’ll be able to capture stunning photos even at night with your Instax Mini 7+.
Final Thoughts
So, the Instax Mini 7 Plus light settings are a great way to capture the perfect selfie shot. Not only can you adjust the brightness of your photo, but you can also select various filters and lighting effects to help create an original work of art every time. Whether you’re looking for a frame or just want something quirky and fun, these Instax Mini 7 Plus settings are sure to deliver. With a few simple steps, you can customize your photo to match your style and create a beautiful, memorable moment.